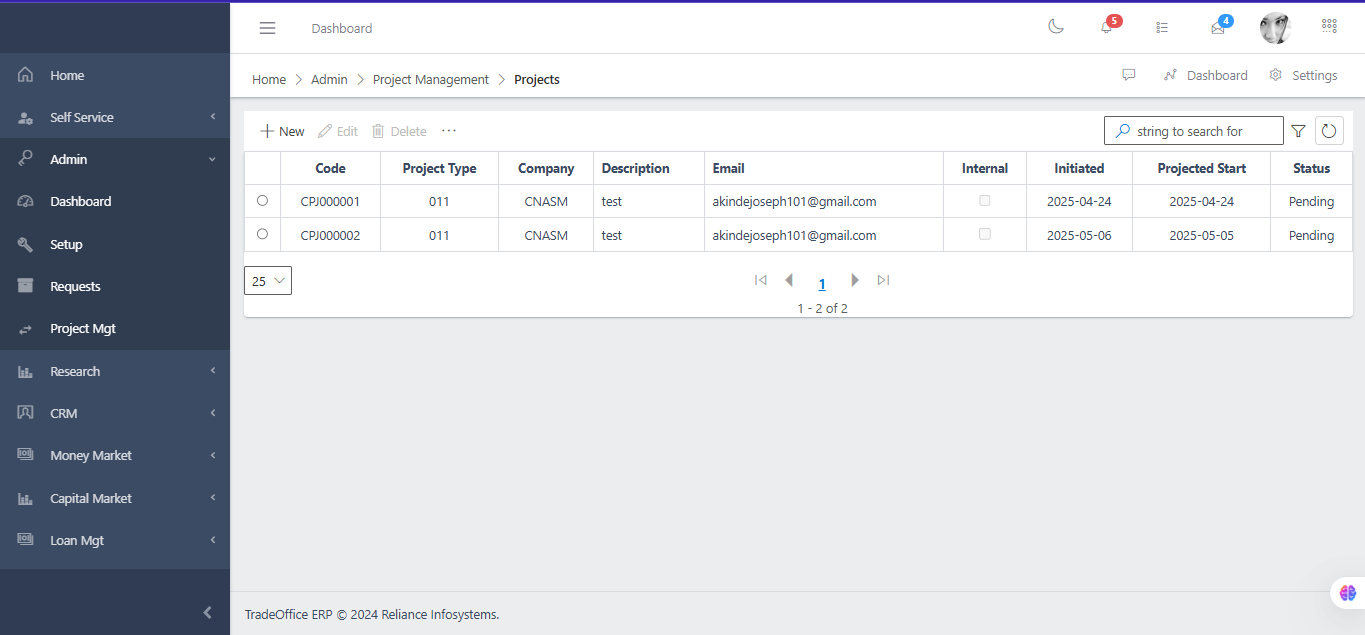
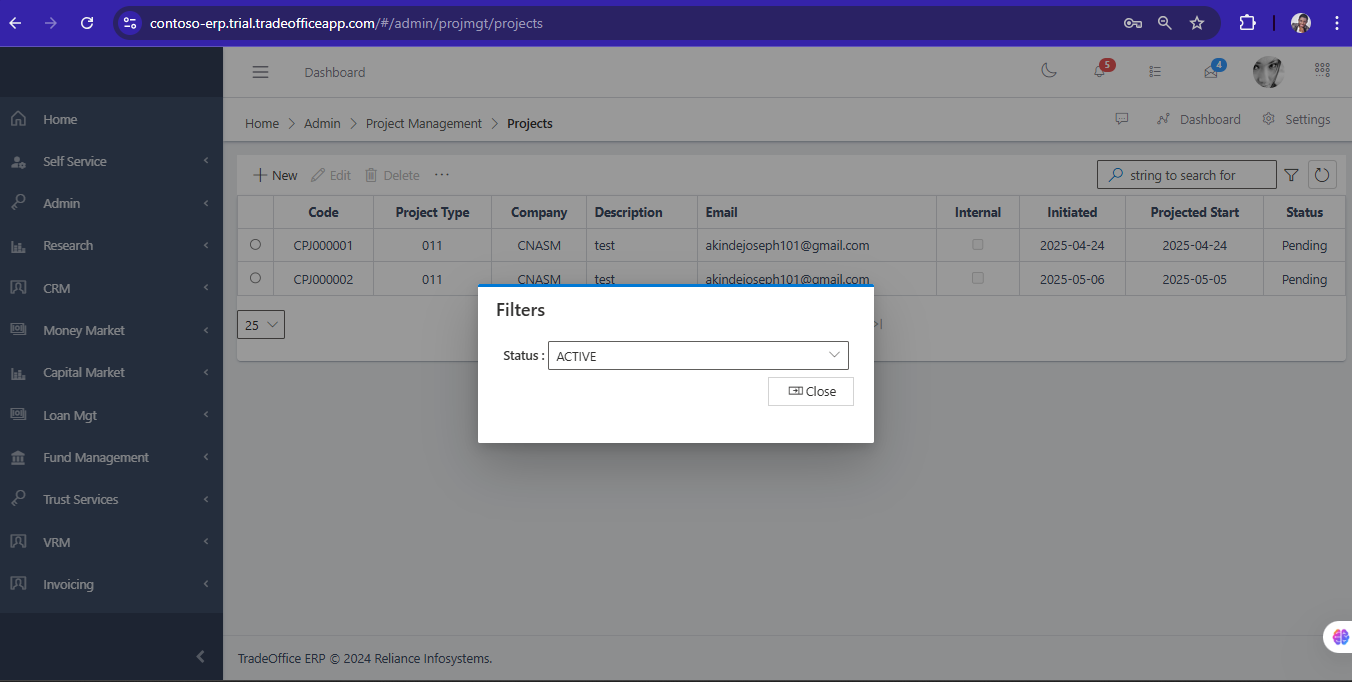
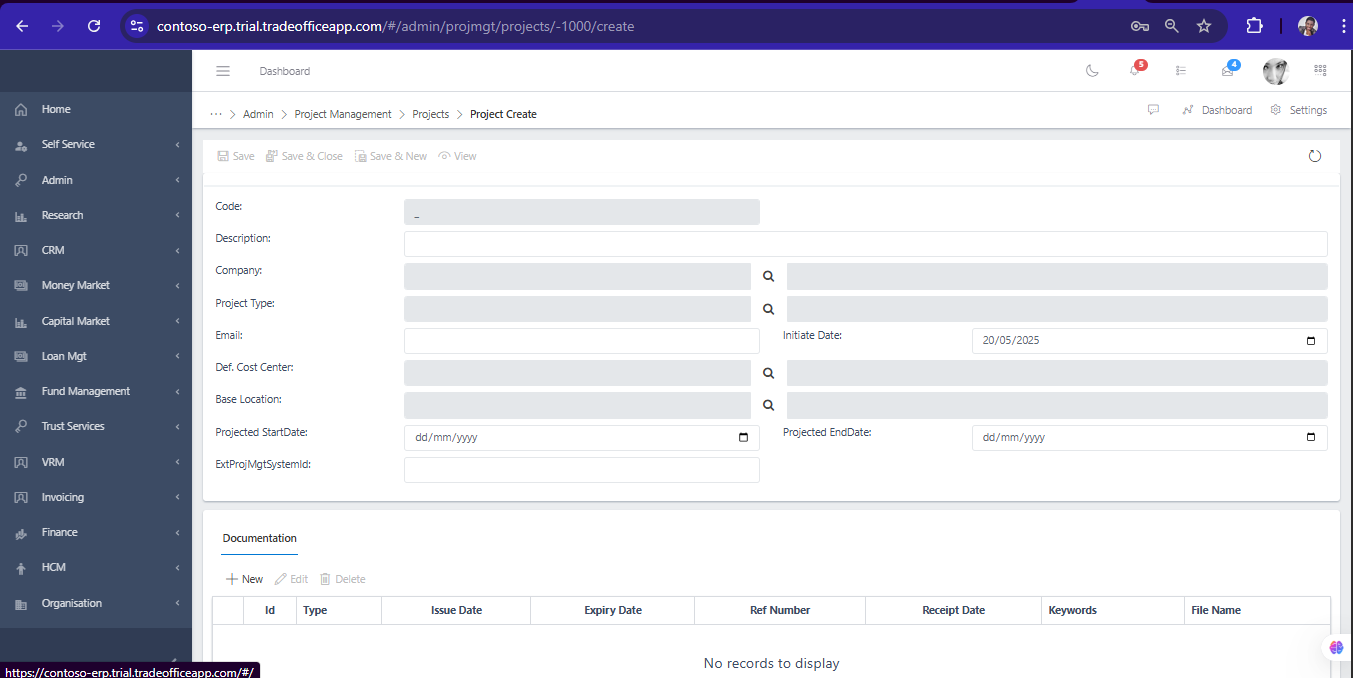
Project On this page Navigate to Project# Access the ProjectMgt from the Admin module. Fig 1.0 Use the Filter button, when clicked, gives you a dropdown where you can specify various parameters for filtering the records:Search string: for filtering records A dropdown list of statuses Fig 1.1 Create a new Project# To create a New Project, hit the New button in the toolbar area and populate the form fields. Fig 1.2 The following are some of the fields that needs to be populated:
Company Project Type Base Location (The location for the Project) Email If you want to add a Document (Click on The Document tab as shown in the image below)
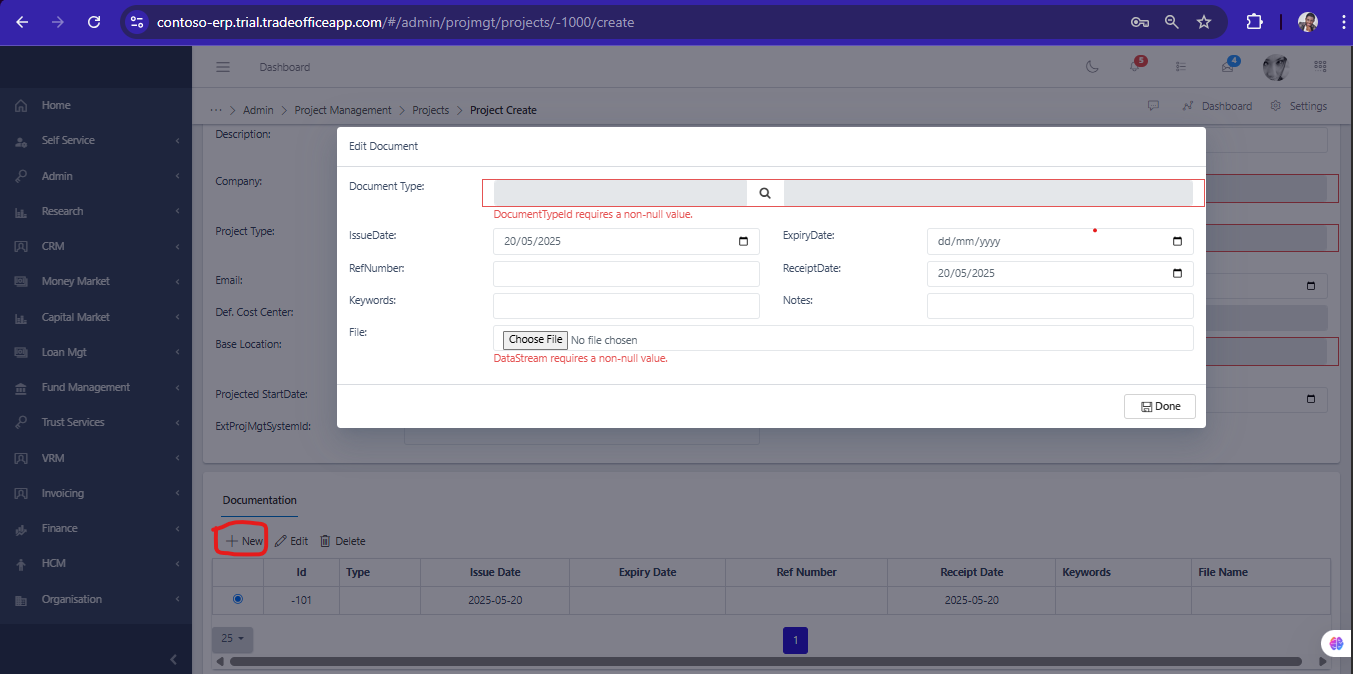
Click on the search icon in the middle of the document type to select a particular document type and the file to select the file you want to Upload.
After the file has been Uploaded, Then you click on Save and Close
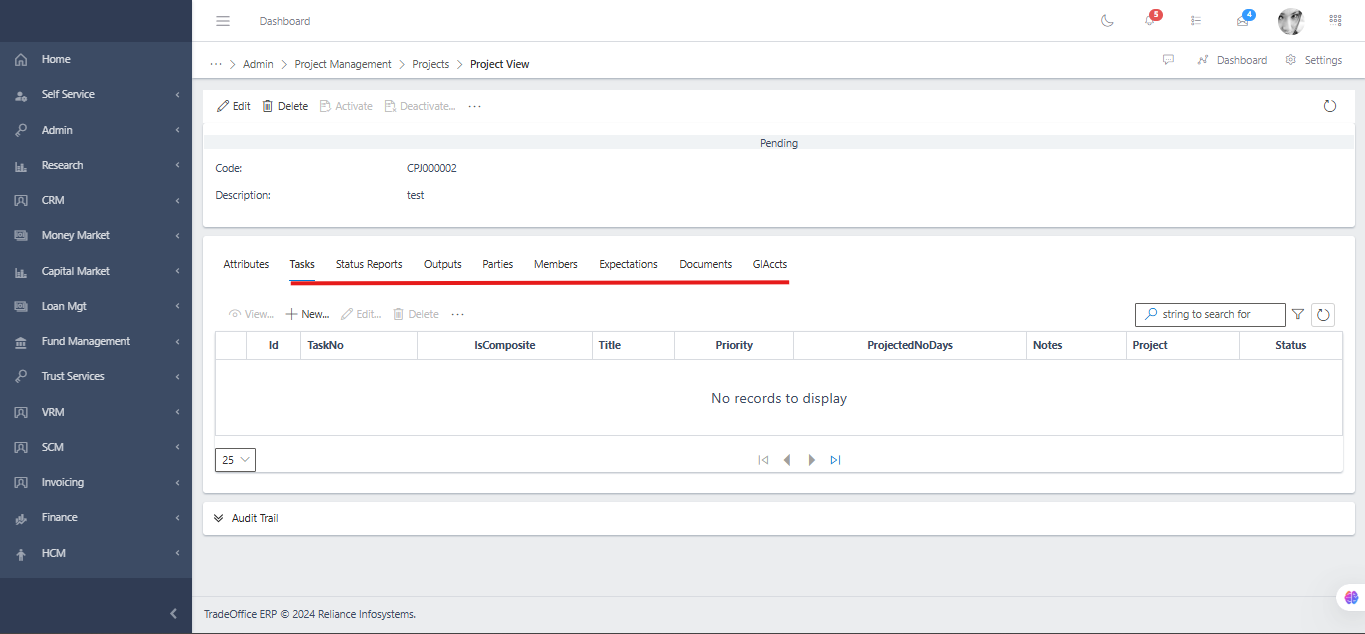
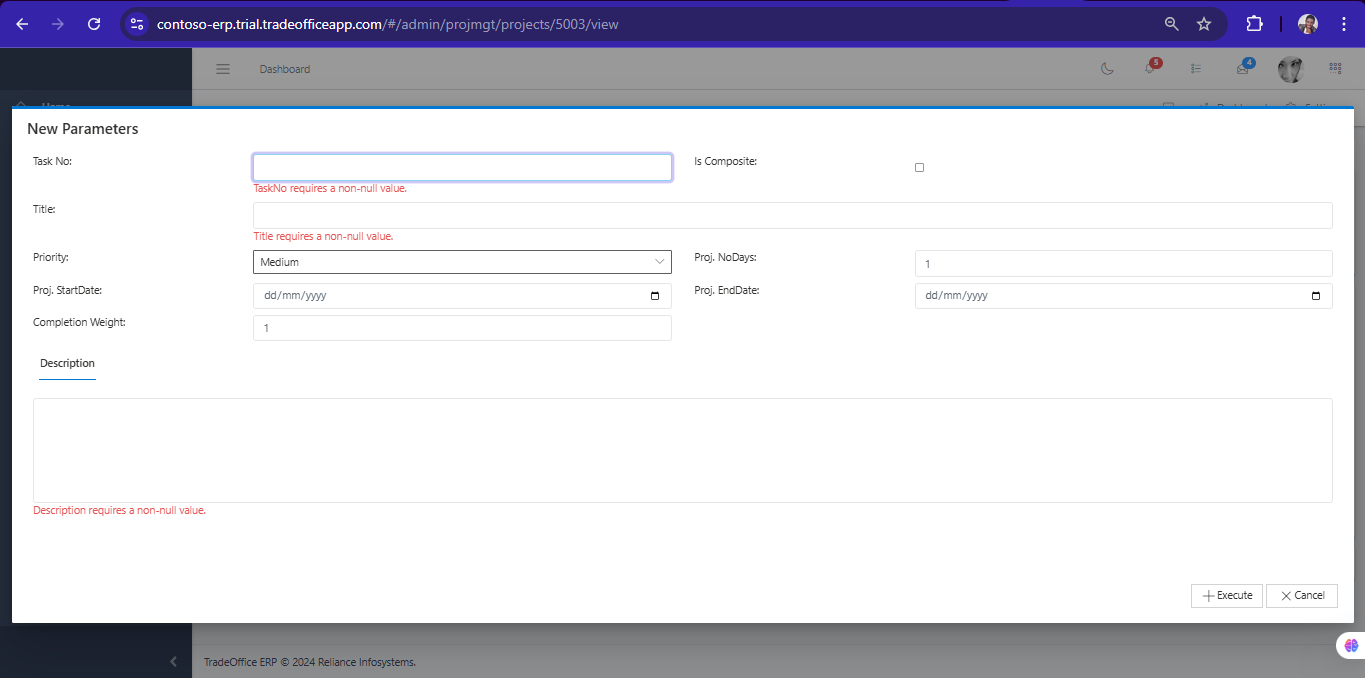
Fig 1.3 Create Project Sub Tasks# After Saving, Then click on the Particular Project Created to create the following# Tasks Status Reports Outputs Parties Members Expectations Documents GlAccts Fig1.4 Create a Task for a Project# To create a New Task, hit the New button in the toolbar area and populate the form fields. Fig 1.5 The Following are some of the fields that needs to be populated:
Task No (Input a number as desired) Task Title Description (Description of the task) Other Fields Included are:
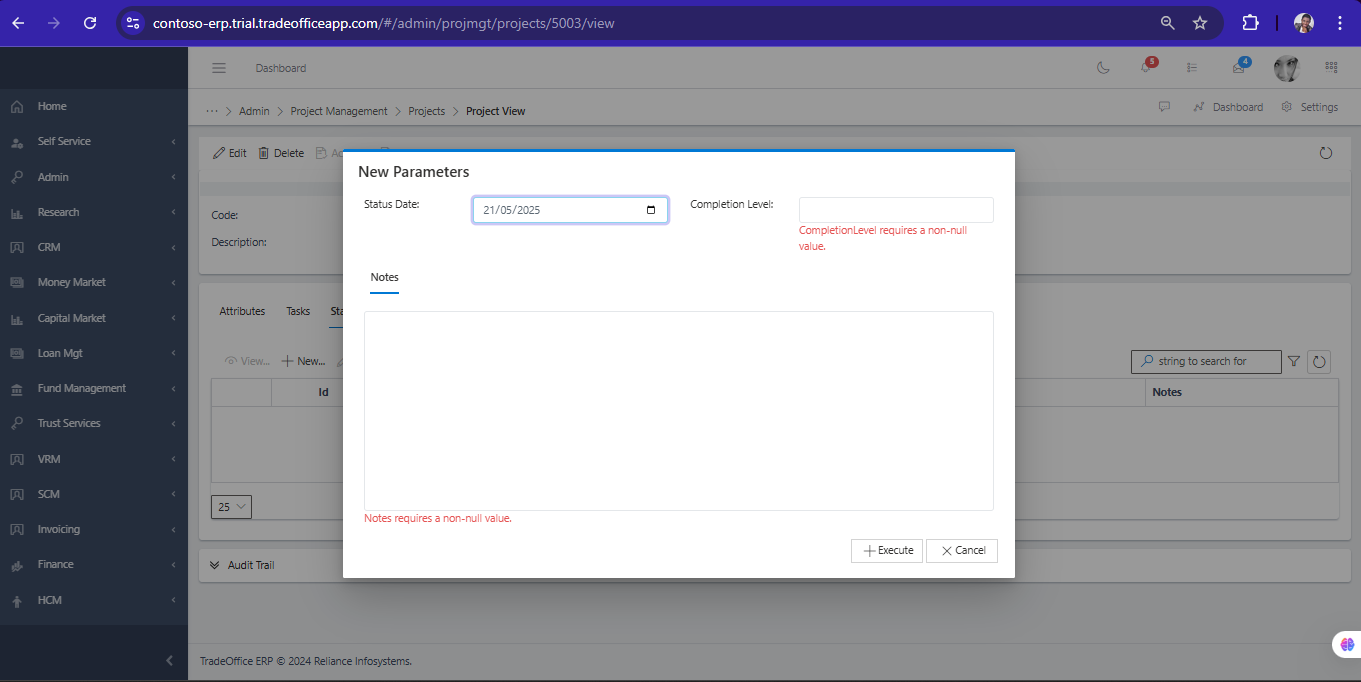
ProjStart Date ProjEnd Date Completion Weight (Percentage Completion of the task) Proj No Days (No of Days for the task to be completed) Is Composite (For sub tasks) Create Status Reports for the Project# To create a New Status Report, hit the New button in the toolbar area for Status Report and populate the form fields.
Fig 1.6 The Following are some of the fields that needs to be populated:
Status Date Completion Level (In Percentage) Notes (Details of the task) Create Output (report) for the Project# To create a New Output (report), hit the New button in the toolbar area for Output and populate the form fields.
Fig 1.7 The Following are some of the fields that needs to be populated:
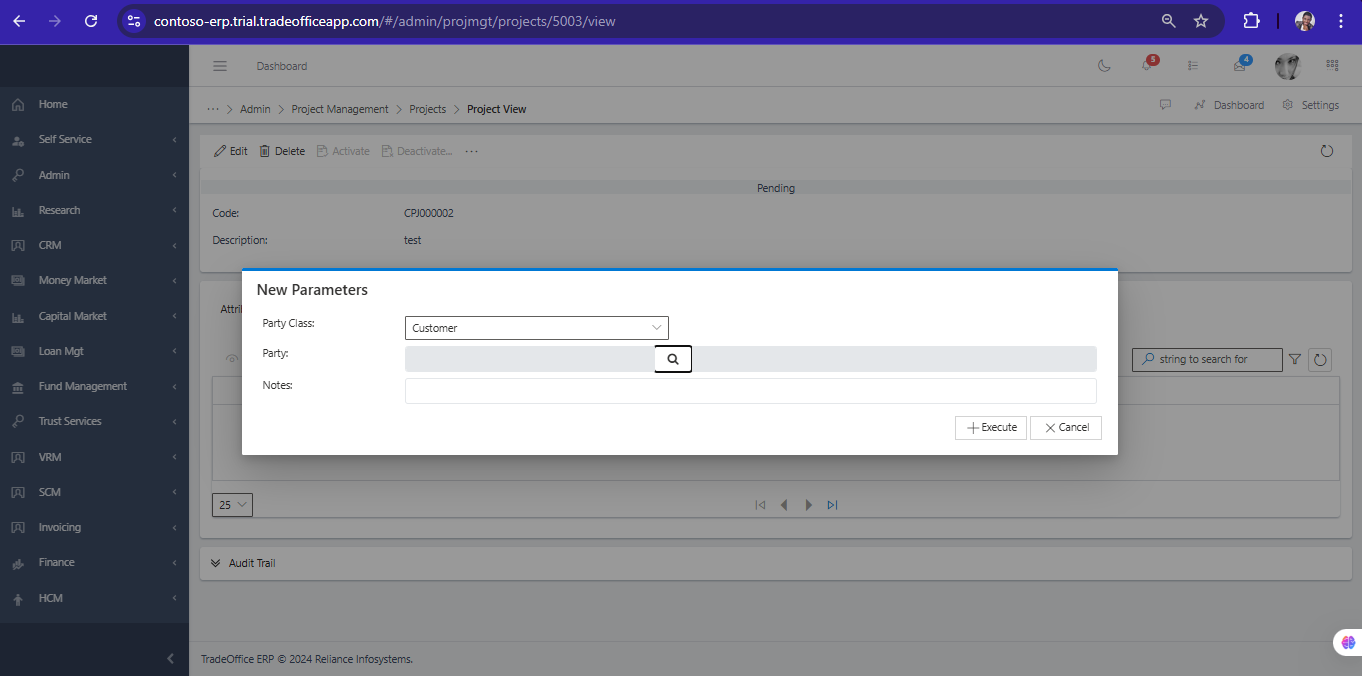
Output type ( Click on the search icon to select a list of output types or click on the link to create different Output type) Delivered Date Description Measures Notes Create Parties for the Project# To create New Parties, hit the New button in the toolbar area for Parties and populate the form fields.
Fig 1.8 The Following are some of the fields that needs to be populated:Party Class (Click the drop down to select the class of party you are interested to add Customer/ Vendor)
Party (Click on the search icon in the midle of the Party tab to select either Customers or Vendors)
Notes
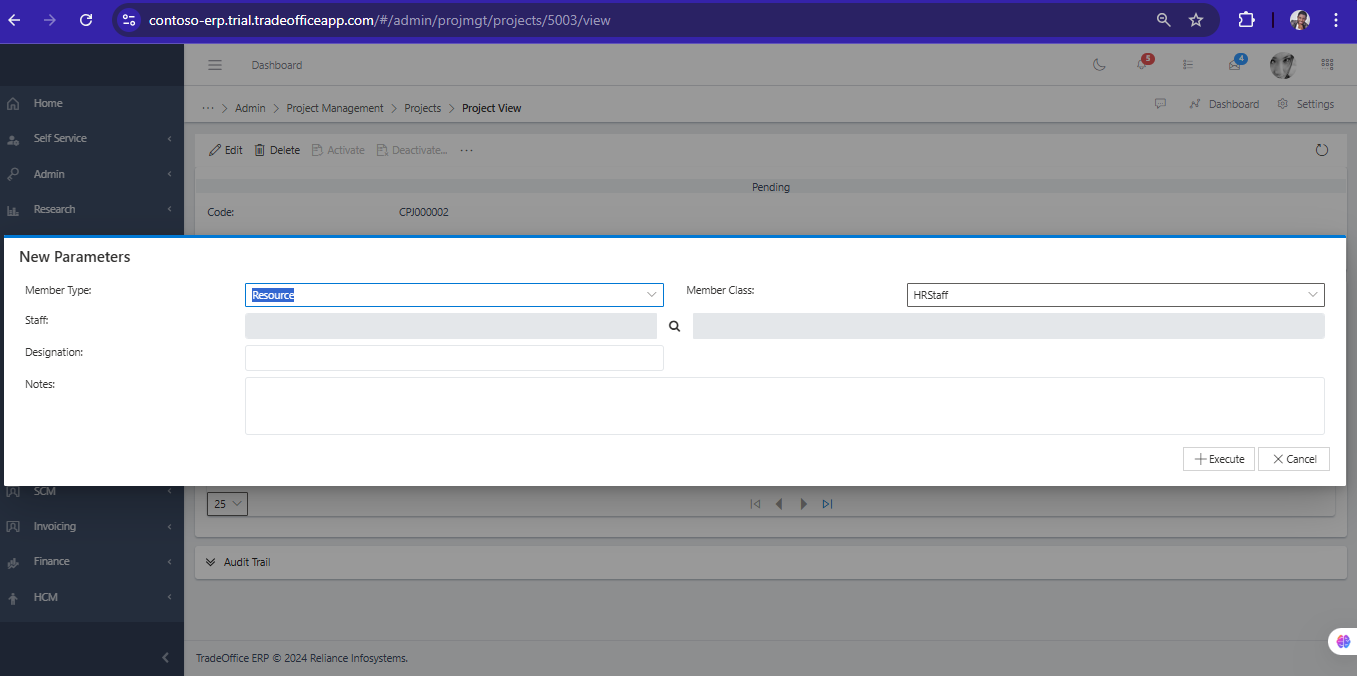
Create Members for the Project# To create New Members, hit the New button in the toolbar area for Members and populate the form fields. Fig 1.9 The Following are some of the fields that needs to be populated:
Member Type (select the drop down to select different type of member e.g Lead, Stakeholders,Resource) Member Class (Select the drop down to select the class of member either Staff, Customer or Vendor) Staff Designation Notes Addition field when you select Customer Or vendor In Member Class
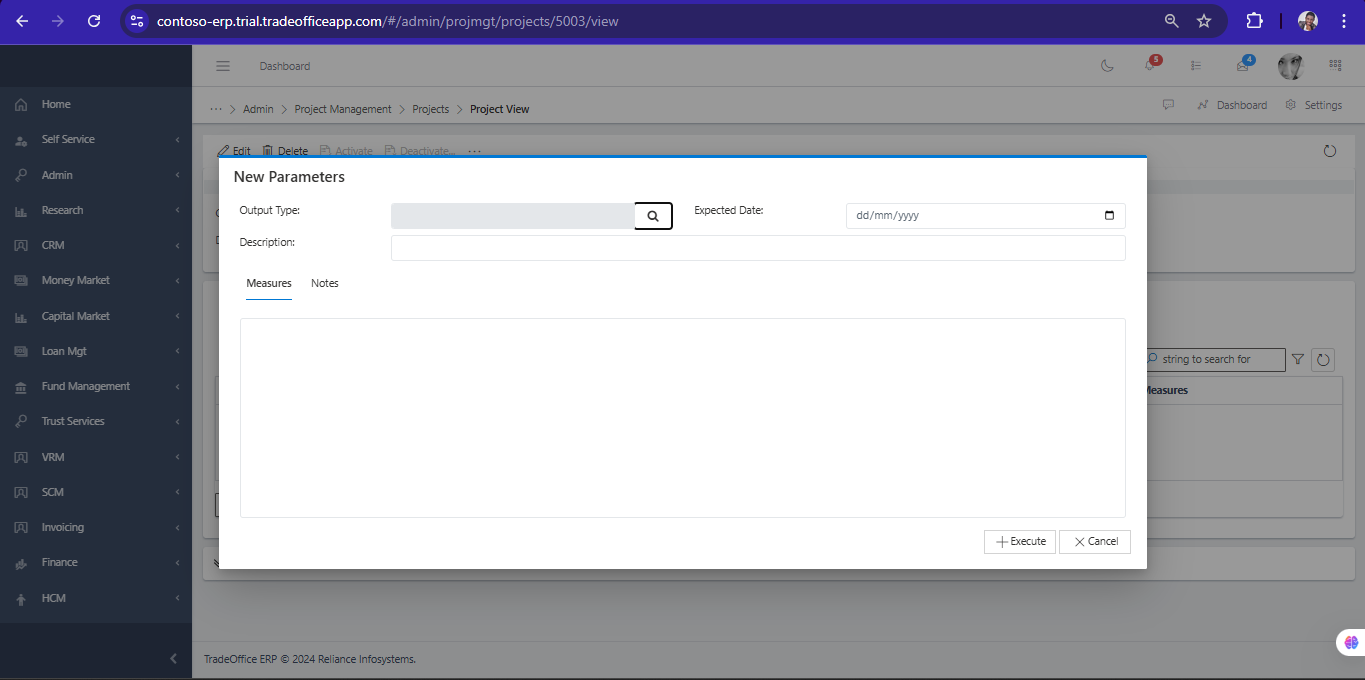
Party (The Party that was Selected in the Previous tab (Parties tab) ) Representative (Next of Kin or employee for the Customer or Vendor selected) Create Expectations (report) for the Project# To create a New Expectations (report), hit the New button in the toolbar area for Expectations and populate the form fields.
Fig 2.0 The Following are some of the fields that needs to be populated:
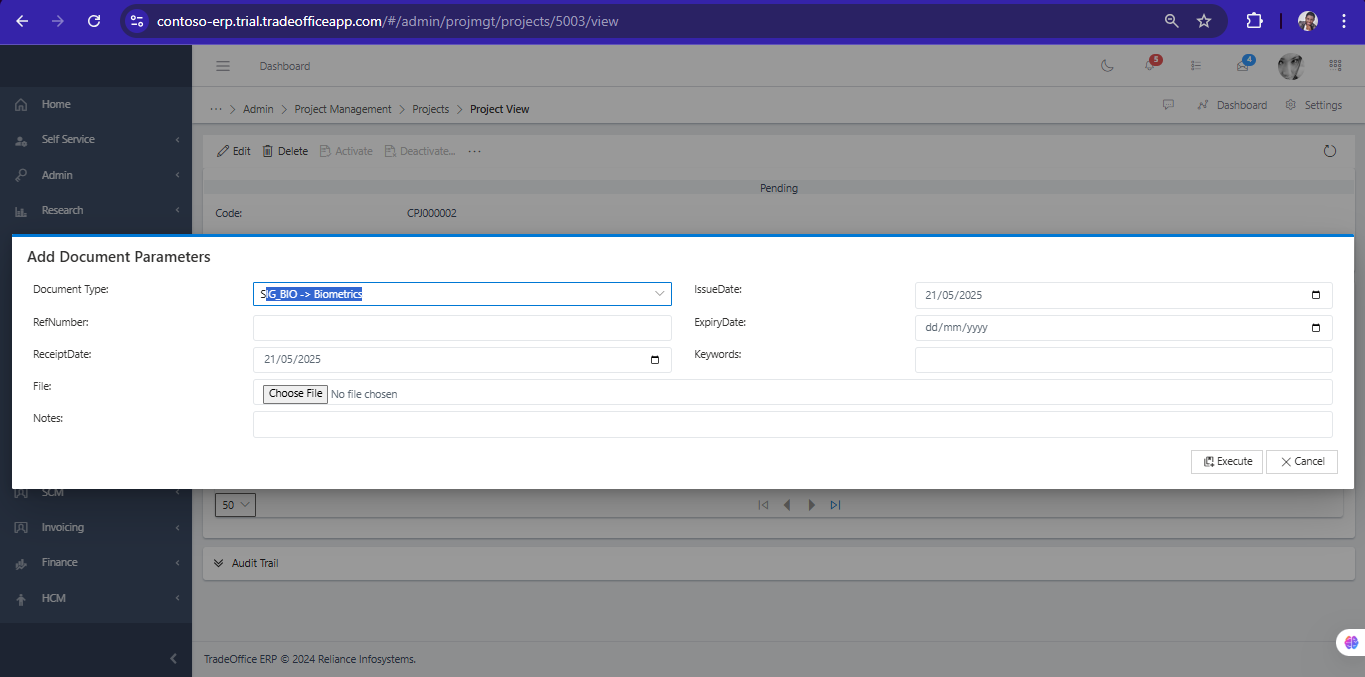
Output type ( Click on the search icon to select a list of output types or click on the link to create different Output type) Output Type: (Click on the search icon and select the output type) Expected Date Description Measures Notes Add Document to the Project# To create a New Document, hit the New button in the toolbar area for Documents and populate the form fields.
Fig 2.1 If you want to add a Document (Click on The Document tab as shown in the image below)
Select a particular document type and the file to select the file you want to Upload.
After the file has been Uploaded, Then you click on execute
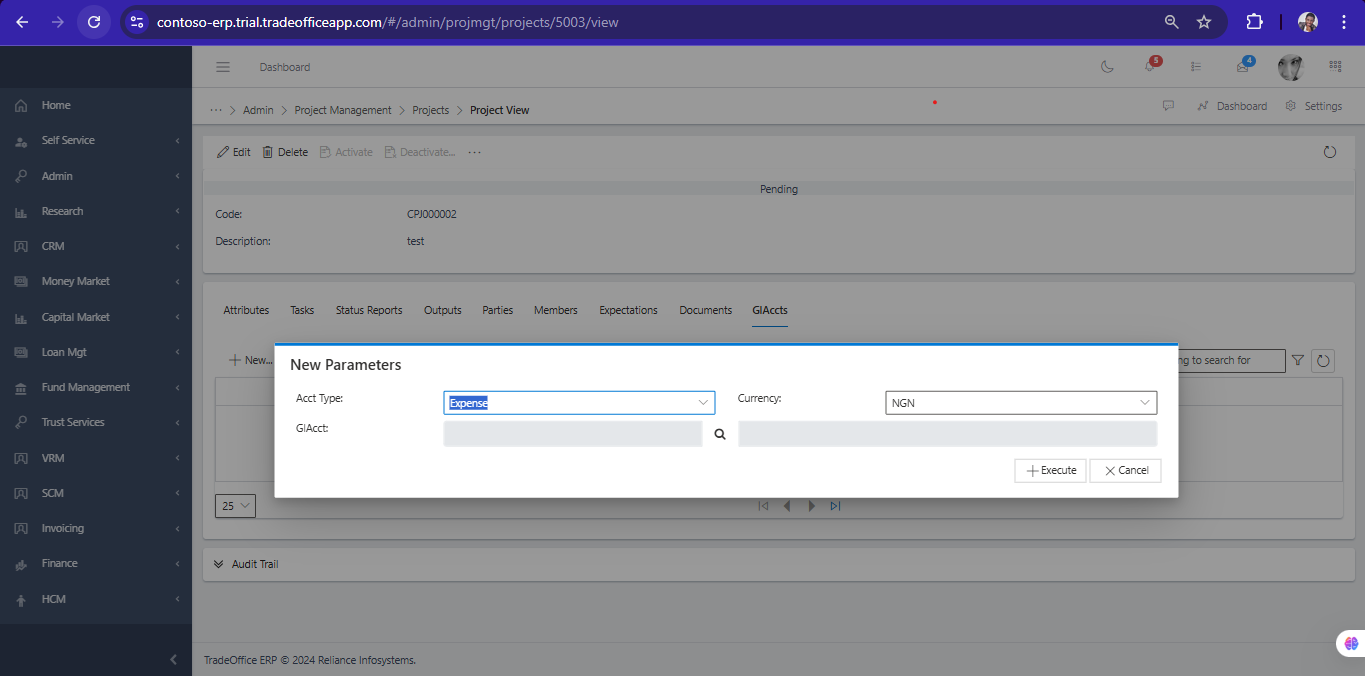
Fig 2.2 Add GlAcct to the Project# To Add a Gl account to a project , hit the New button in the toolbar area for GLAcct and populate the form fields. Fig 2.3 The Following are some of the fields that needs to be populated:
Acct Type (Select the account type) Currency (Select the currency) Gl Acct (Select Gl Account)