Title here
Summary here
After creating document types, one can decide to group a set of documents to fast track client or user onboarding. All mandatory KYC requirements could be grouped for example. If a client is being onboarded. He could be assigned a particular KYC group and all the documents within that group must be provided before the client will be properly onboarded into the system.
Management of Document Requirement Groups can be done in the following steps
A list view of active Doc. Req Groups is displayed as shown in fig 2 below.
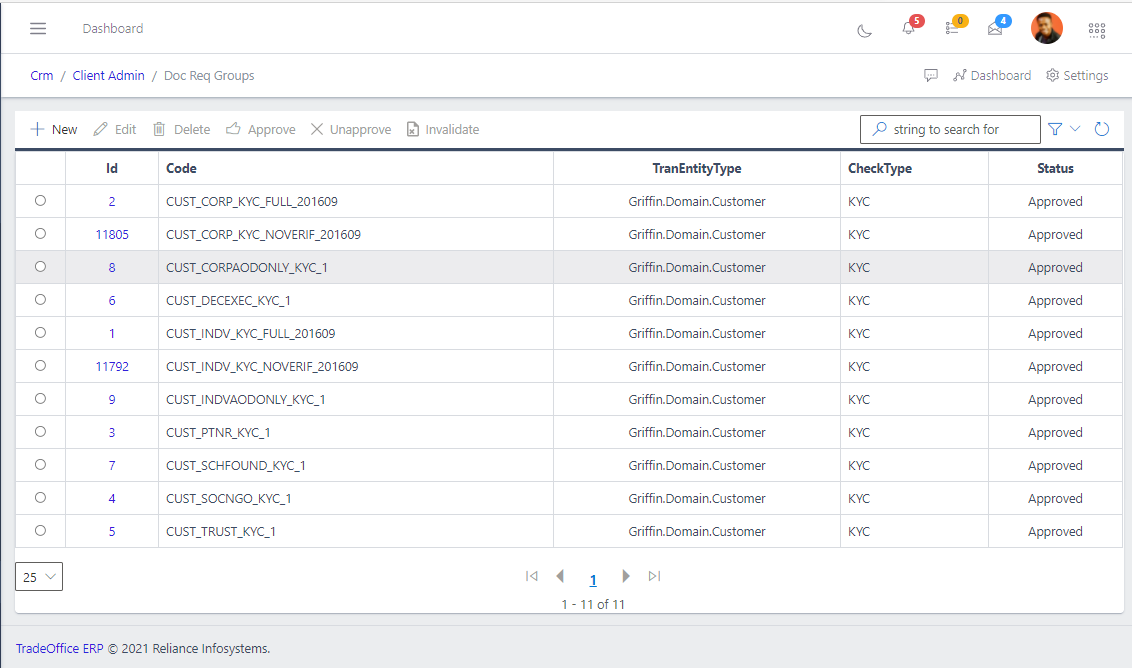
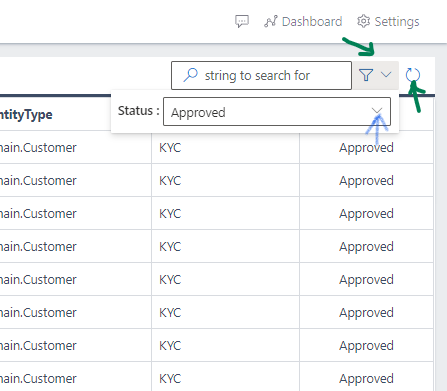
fig 3 shows a Filter button, when clicked, gives you a dropdown where you can specify various parameters for filtering the records:
To Create a Document Requirement Group, click on the New button in the toolbar area and populate the form fields as shown in fig 4.
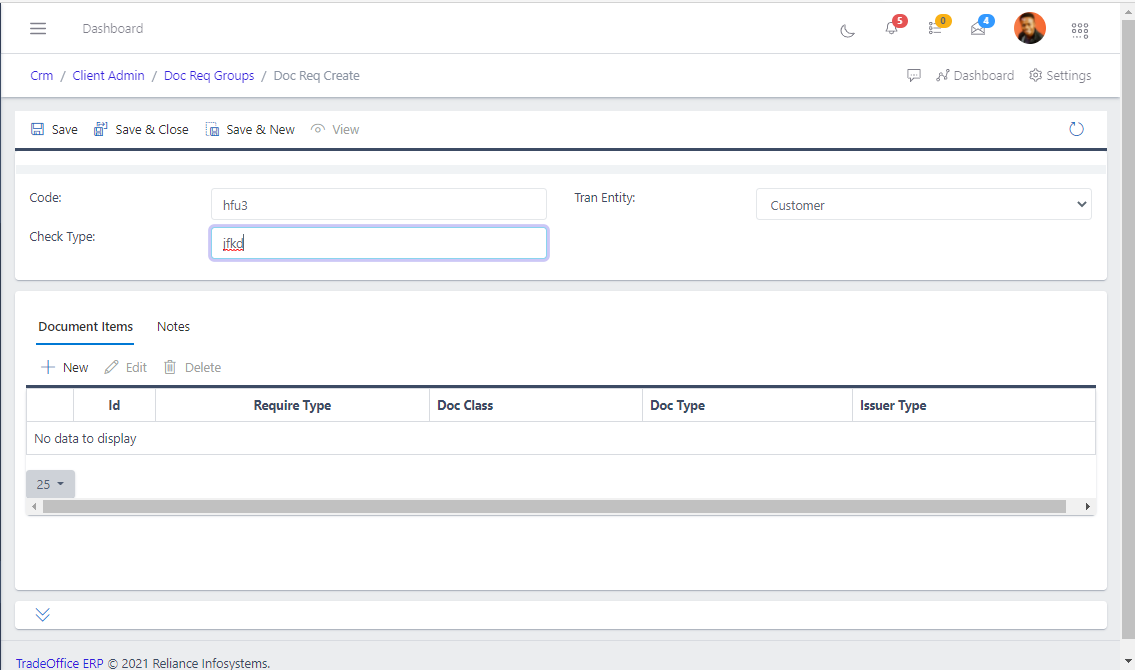
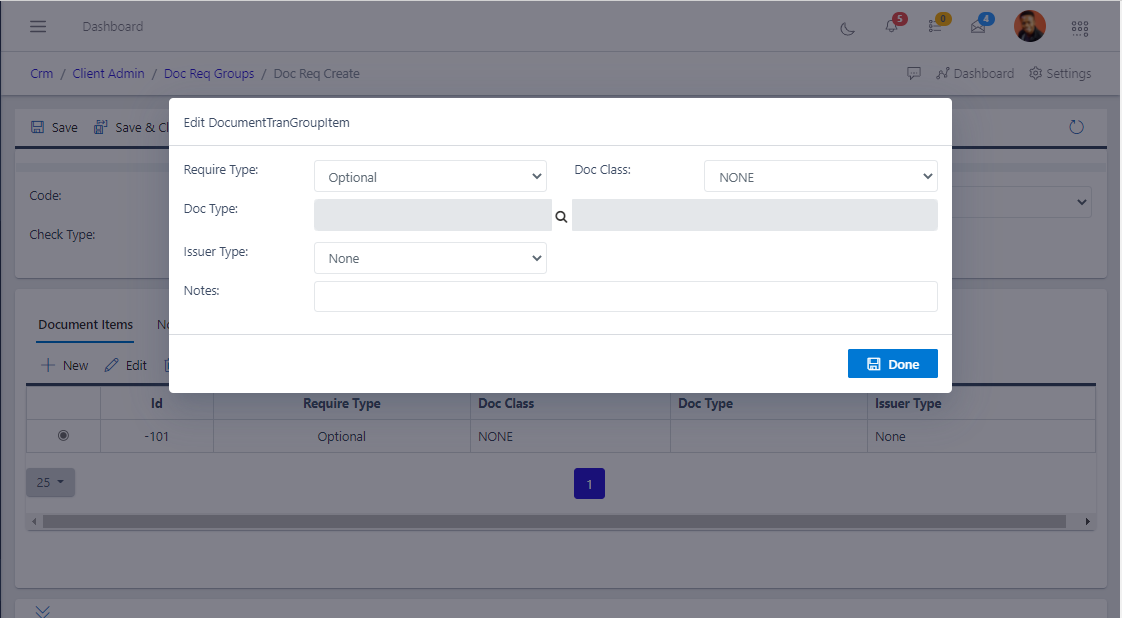
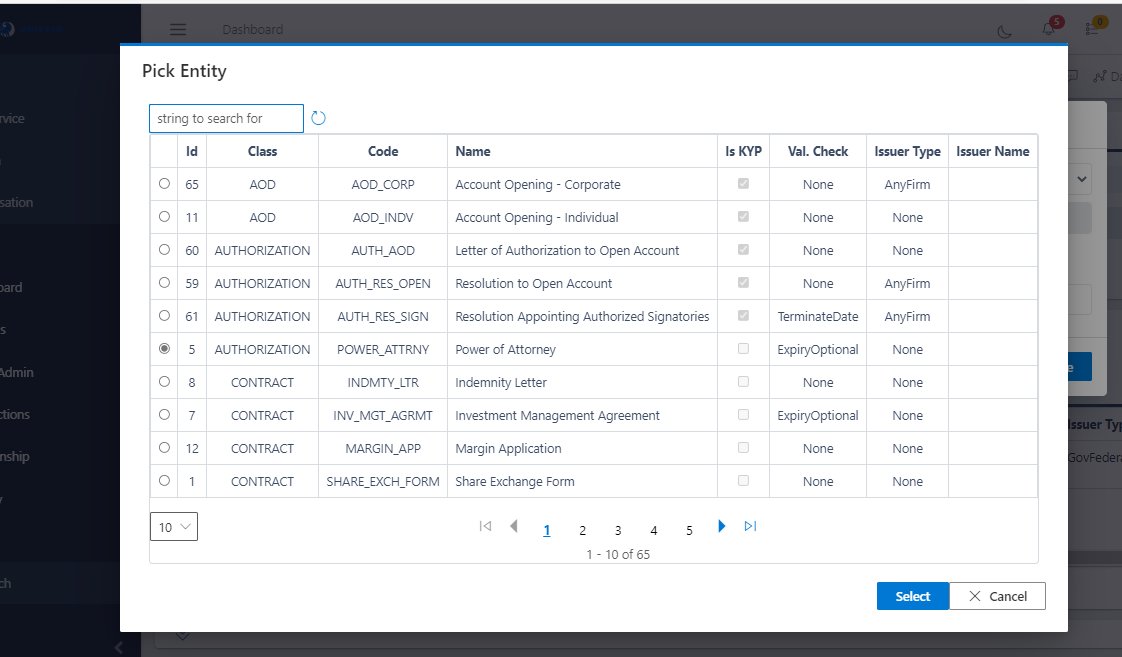
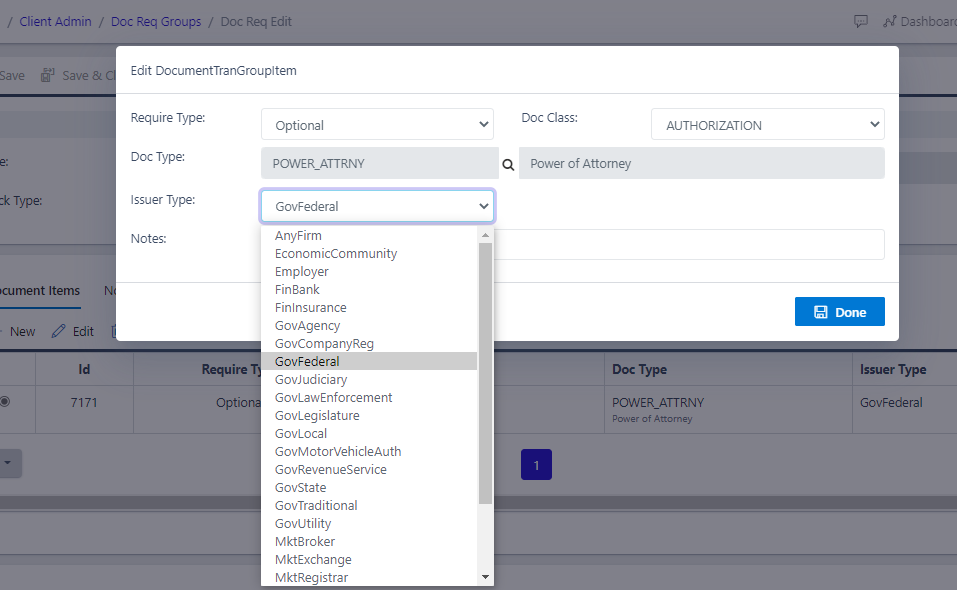
One area to take note of while creating new Document Req Group is the “Document Item” submodule from where you can add the document types you want to group. This is shown in fig 5 and fig 6. If the right issuer Type and the right Document Class are not selected, you wouldn’t be able to save the Doc Req Creation. The admin should proberly define the classes of documents and their issuers while creating the Document Type.
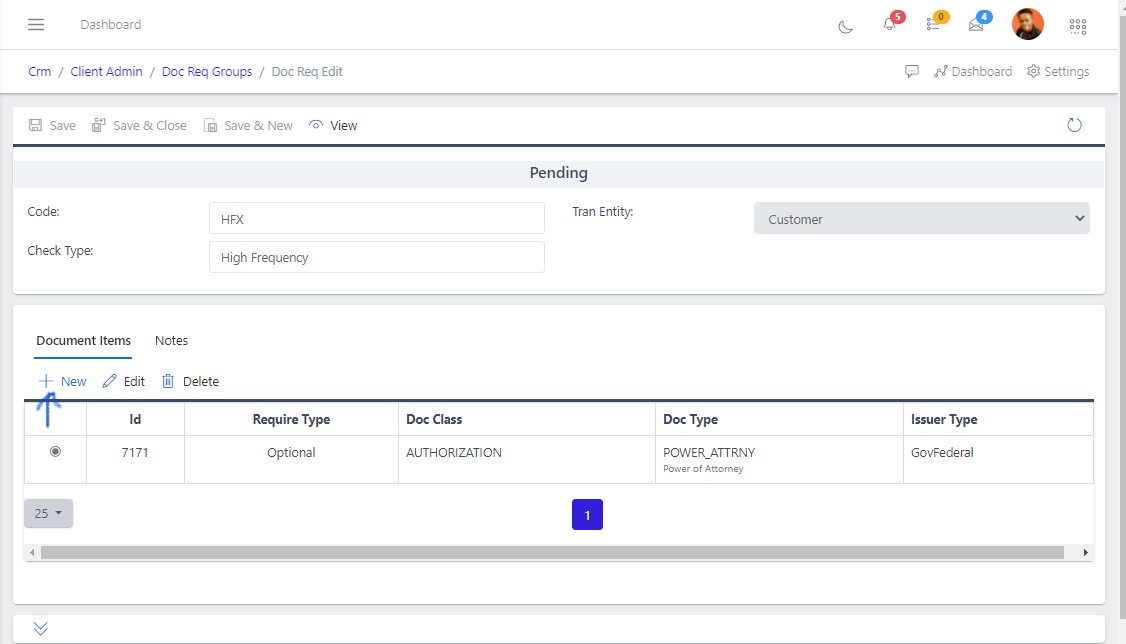
From the list view, select the item to be updated and click the UPDATE button. See fig 6 To delete a Doc Req Group, you need to delete the document type(s) that have been added to it already. Else, you will have an inner exception error. An approved doc req group cannot be deleted. You must unapprove it by clicking “UNAPPROVE” and remove the inner doc types before you can delete An invalidated doc group can’t be approved or deleted or updated as well.