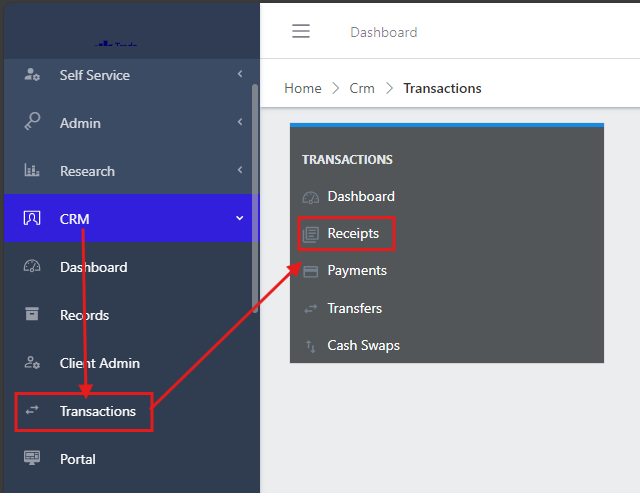
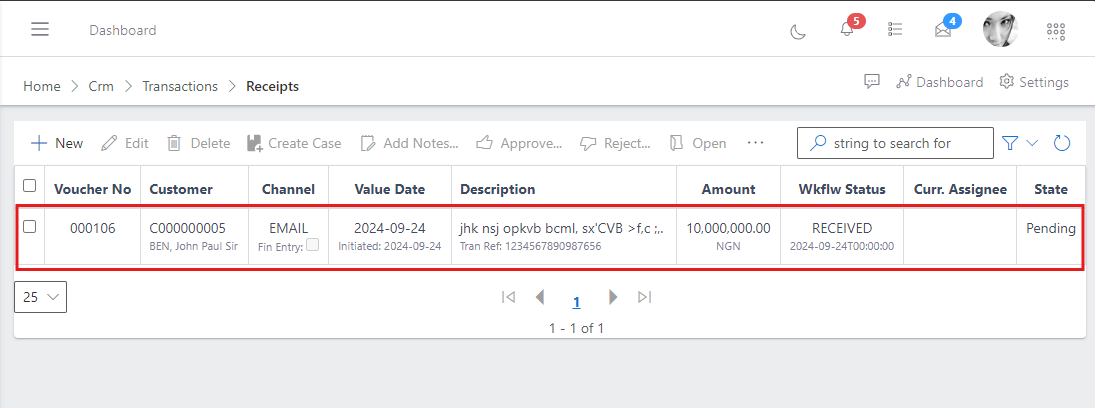
Reciept stands for the money recieved from a customer in to your in-house account (your company account). The reciept feature provides the ability for relationship managers to manage and execute instructions from customers who want to deposit money in to their account, in order to be used for various purposes, such as purchasing equity or shares, trustfund investments and more. The relationship manager can keep track of the receipts of payment made by customers into in-house (your company) account and every other necessary information to asertain that a payment was truly made by a customer before any further instructions in regards to how the funds should be used, is being executed.
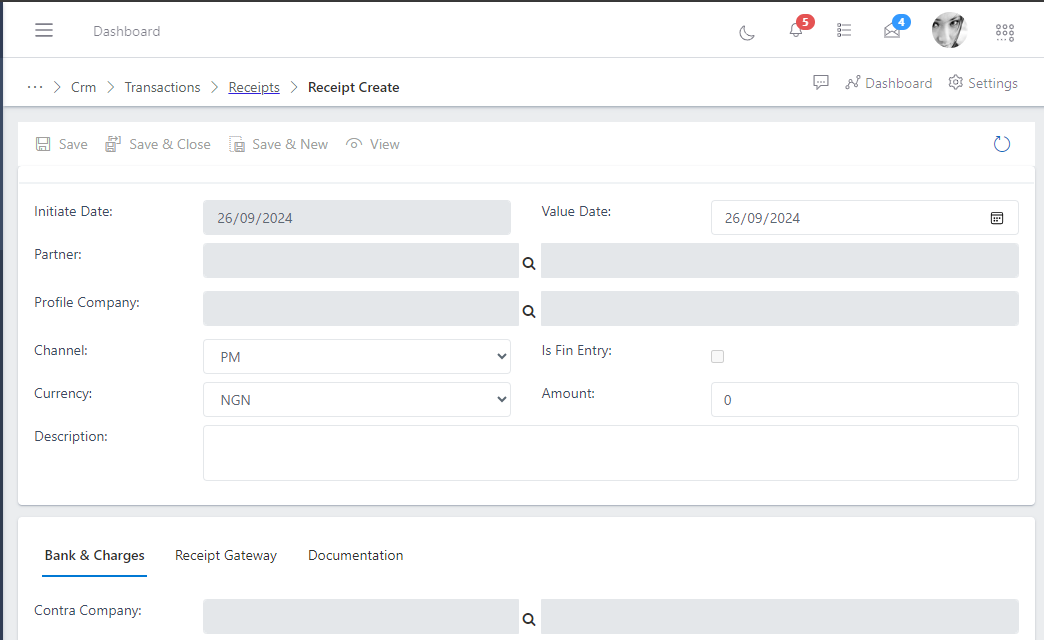
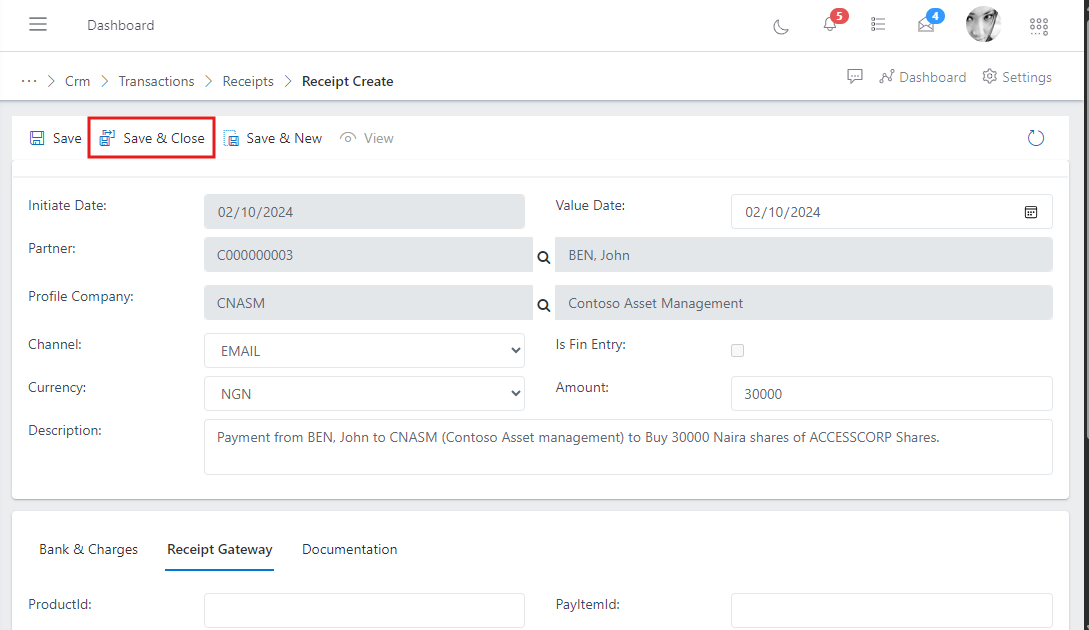
Initiate Date: The day the receipt was created in the app
Value Date:
Partner: The partner, also known as the customer, who is making a payment to the company.
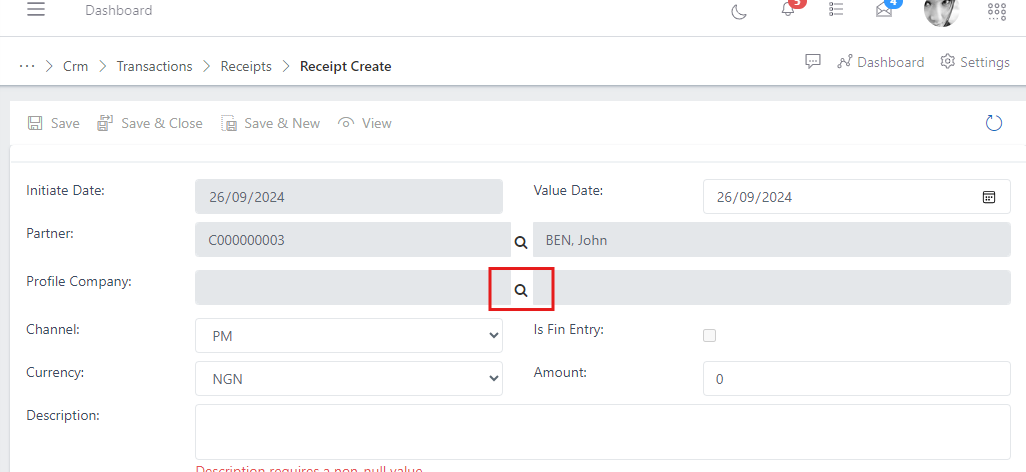
Profile Company: The company or specific subsidary company (if you run more than one company profiles within the ERP) that the customer is paying to.
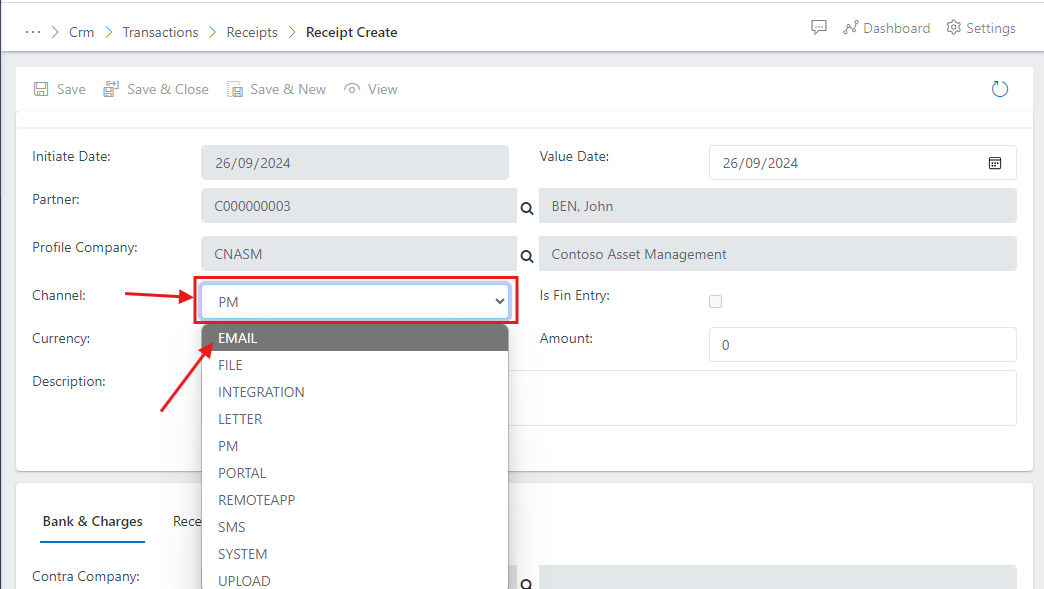
Channel: The means to which the instruction was sent. An instruction is a note or directive from a customer to a relationship manager, defining how the customer funds should be used.
is Fin entry?: A checkbox option to determine if the person creating the receipt is a staff from the Finance department (one who has Finacial rights in the app).
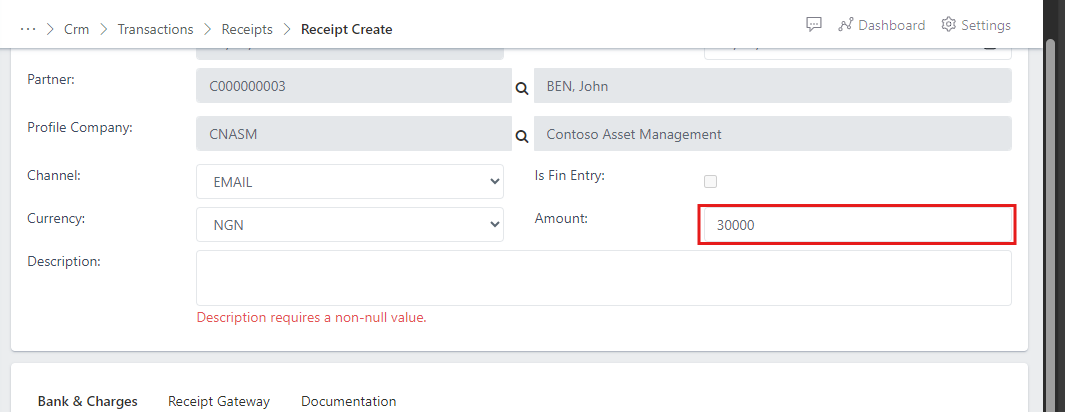
Currency: The currency used for the payment made by the customer to the company account.
Amount: The amount of money that was paid
Description: The detail of instructions given by the customer to the relationship manager as to how the transferred funds will be used.
choose the partner by clicking on the search icon on the partner field,
Fig.5 Showing search icon to select a partner
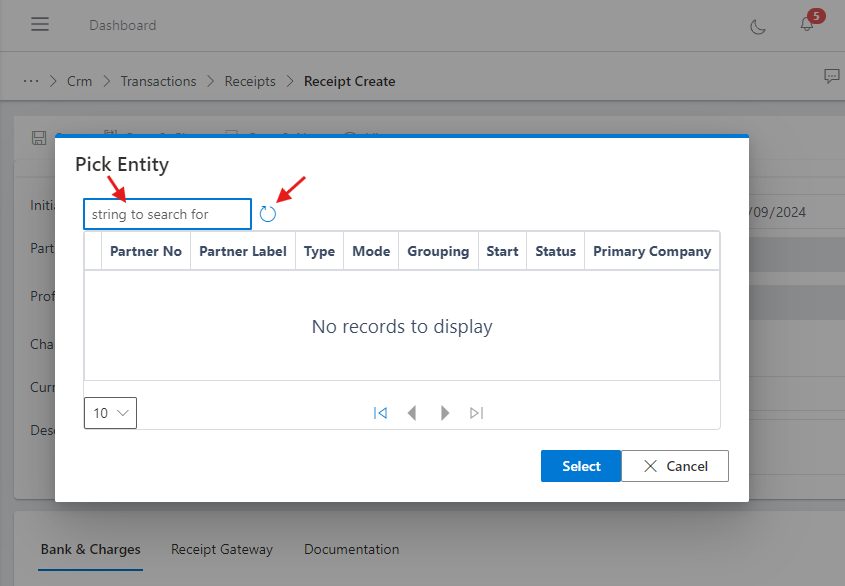
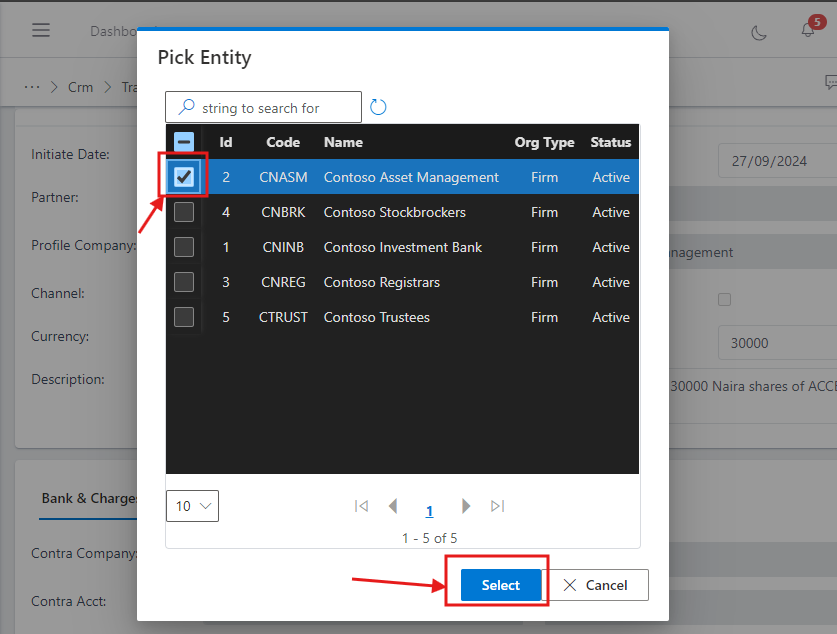
You notice a modal box pop-up, click on the refresh icon or the search field and hit enter key,
Fig.6 showing modal box with search bar and refresh icon
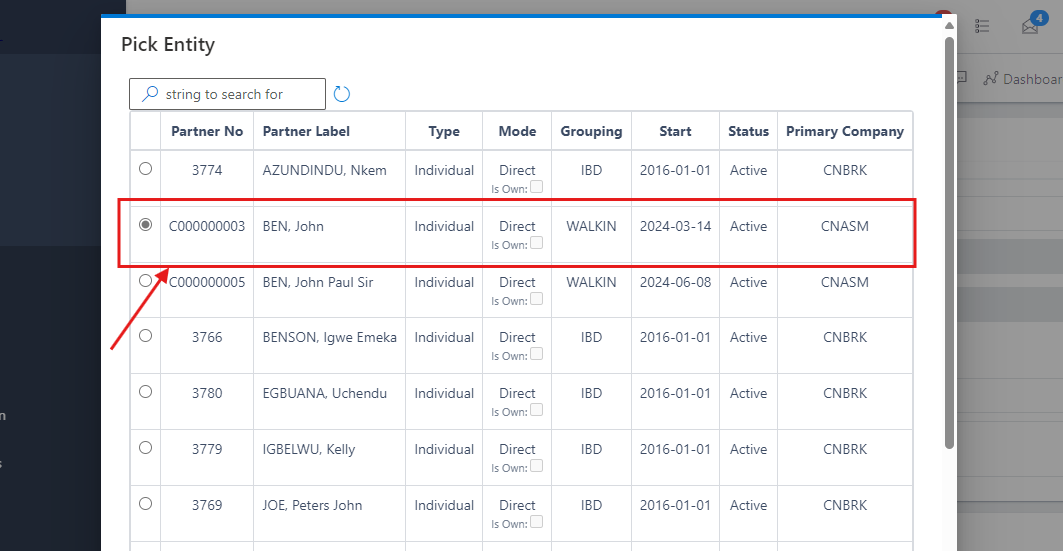
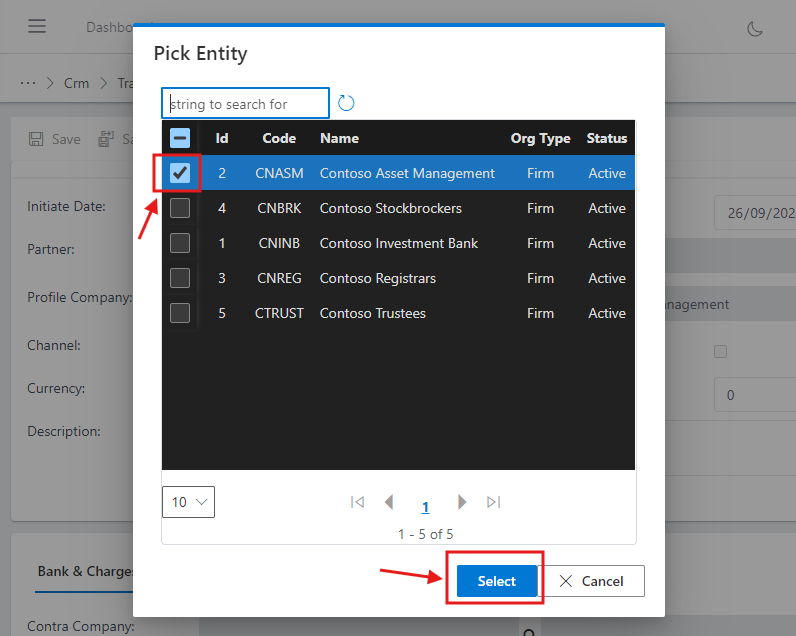
You notice a list of customers, select the customer (for this demo, we will use Ben, John)
Fig.7 Showing list of partners (customers)
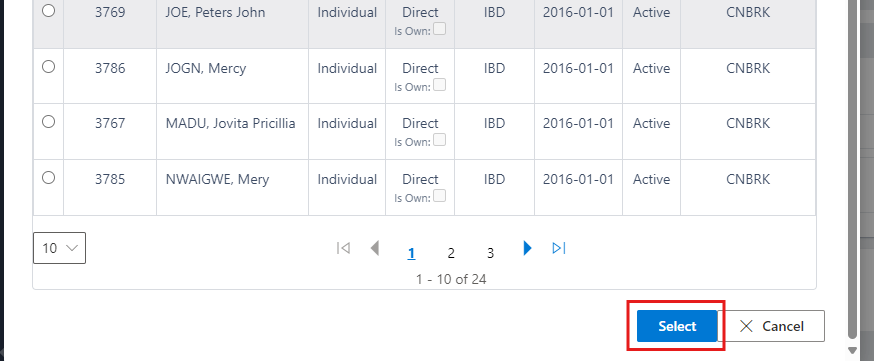
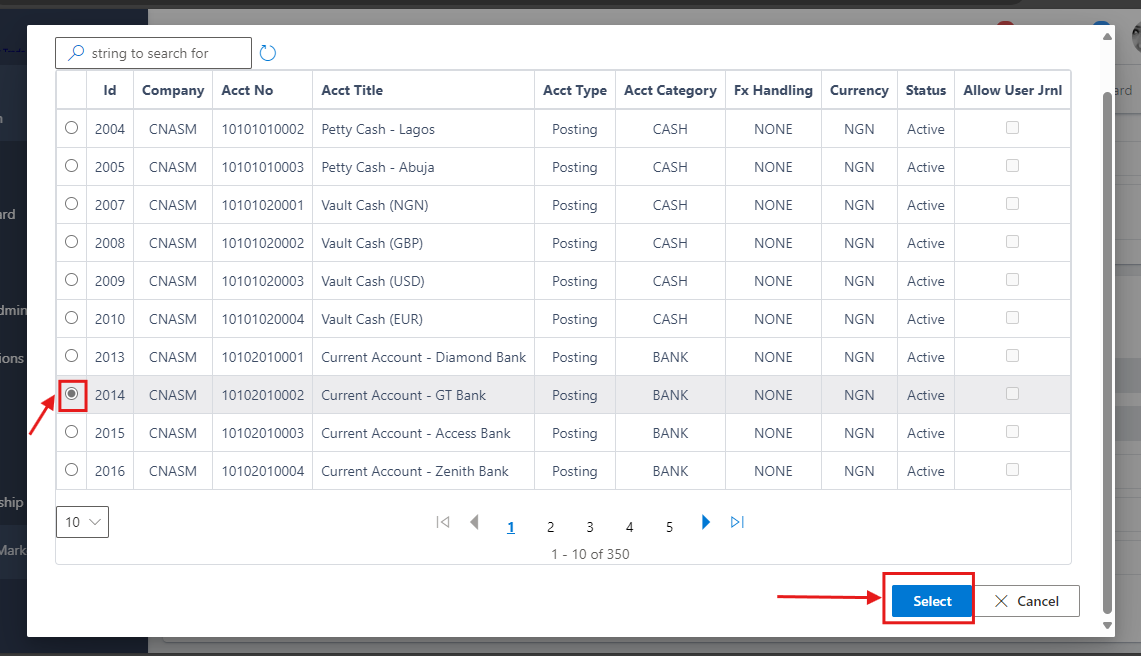
Then scroll down and click on the select button,
Fig.8 Showing partner select button
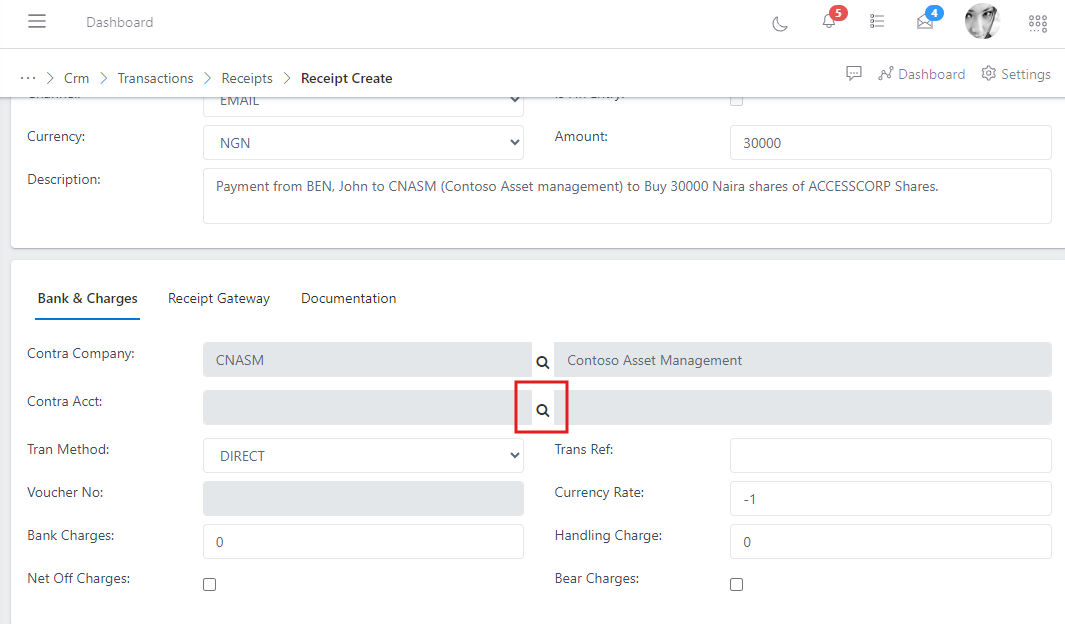
Note: Once a partner is selected, the system auto-resolves the partner's GL account details, where the funds will be debited from once payment to the company account is confirmed by the Finance department.
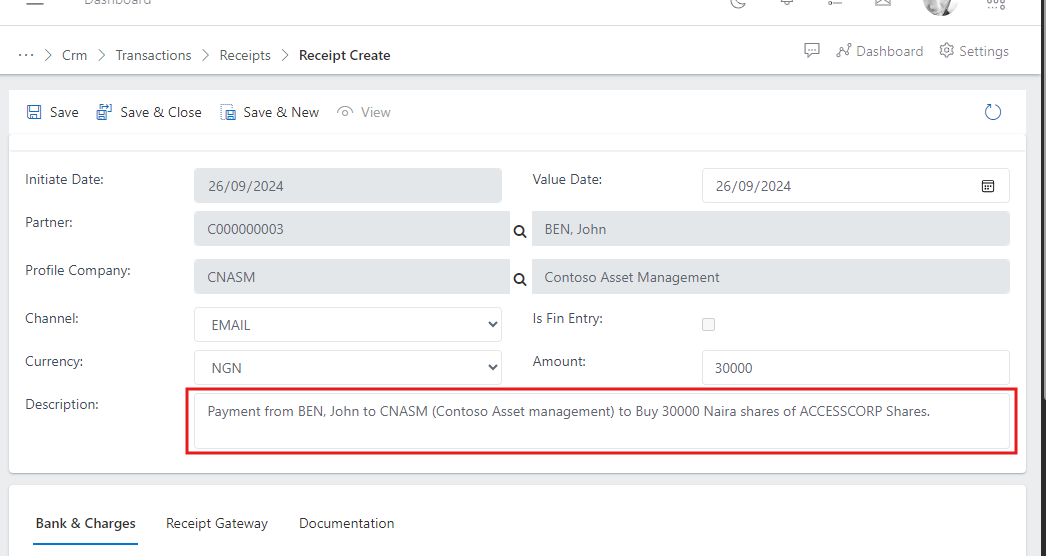
Click on the description field and type instructions given by the partner regarding the payment that was made.
Fig.14 Showing description field with partner instructions
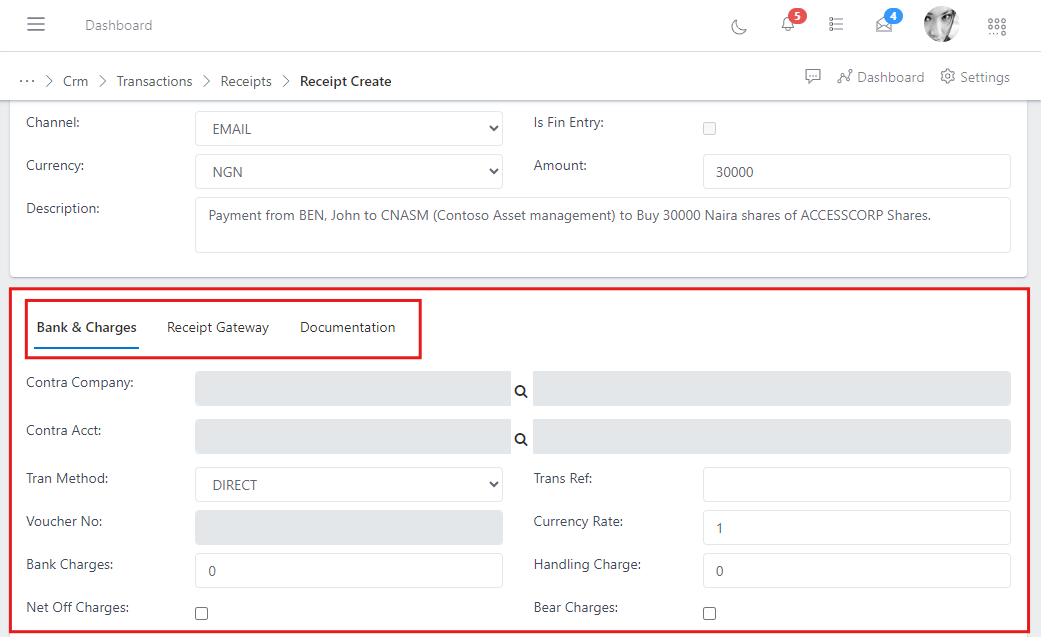
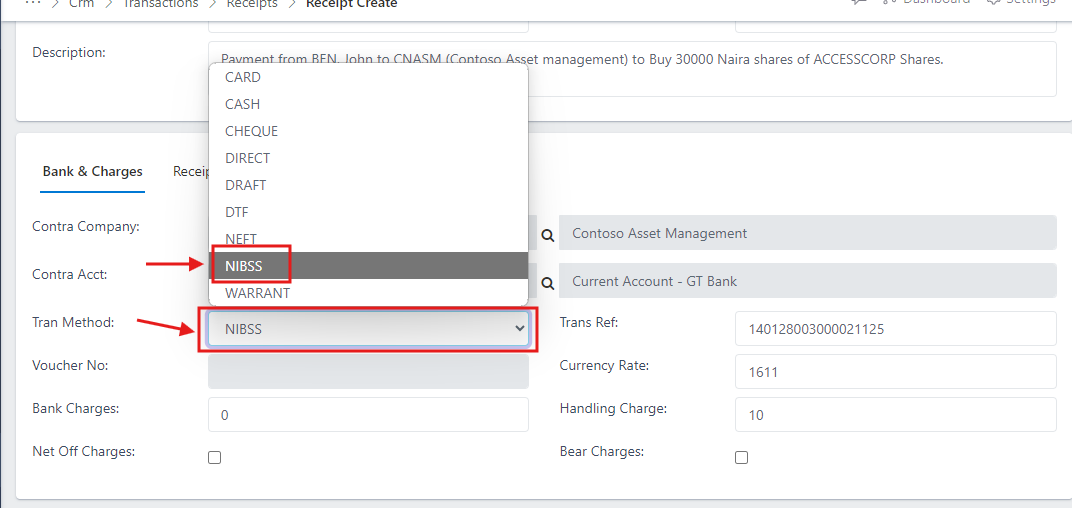
After successfully filling the form section above, Go ahead to complete the other section below where you can setup the Bank Charges and upload any importantant Documentation associated with the partners payment or instructions. see image below:
Fig.15 Showing section to setup bank & Charges, Payment gateway and documentation
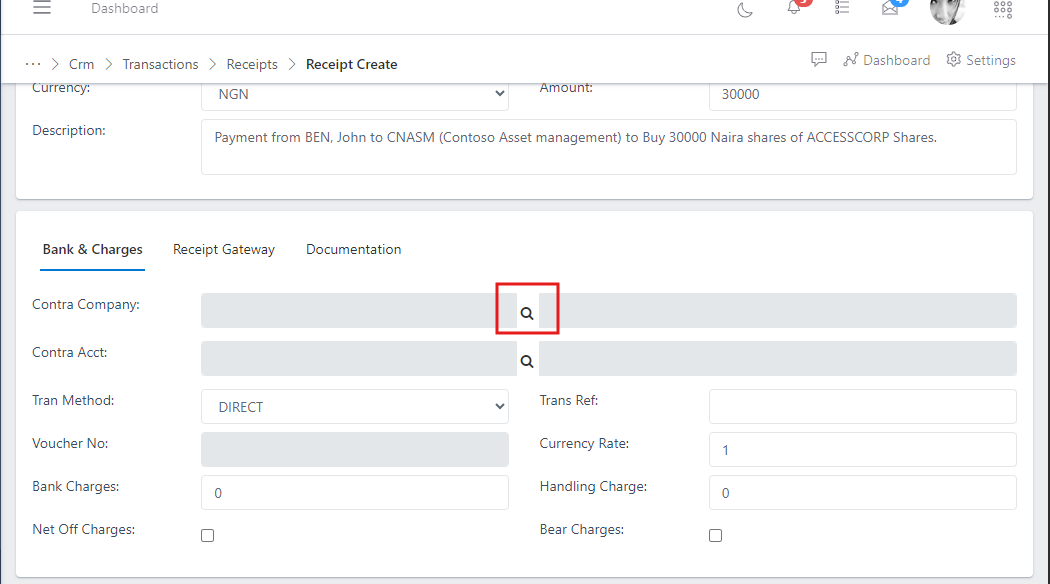
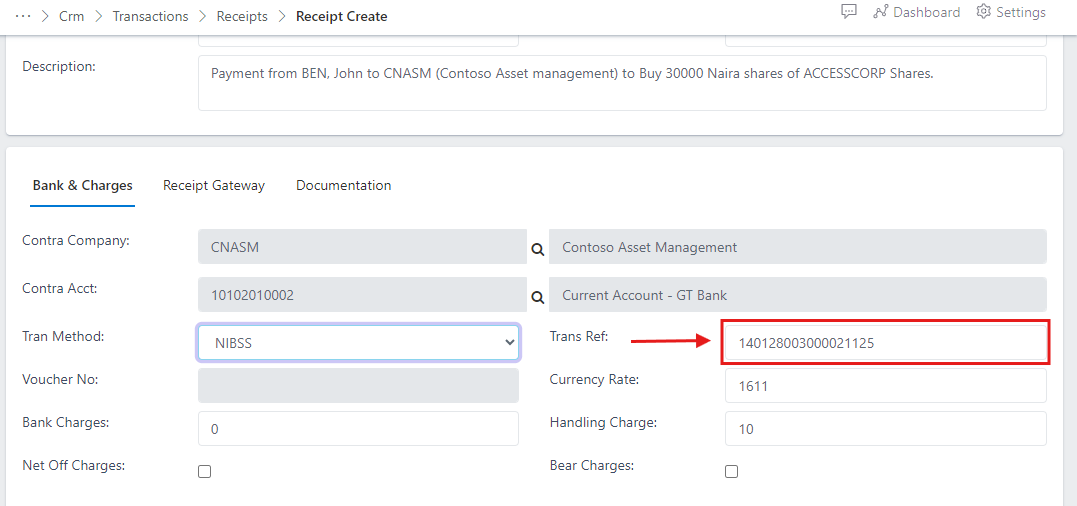
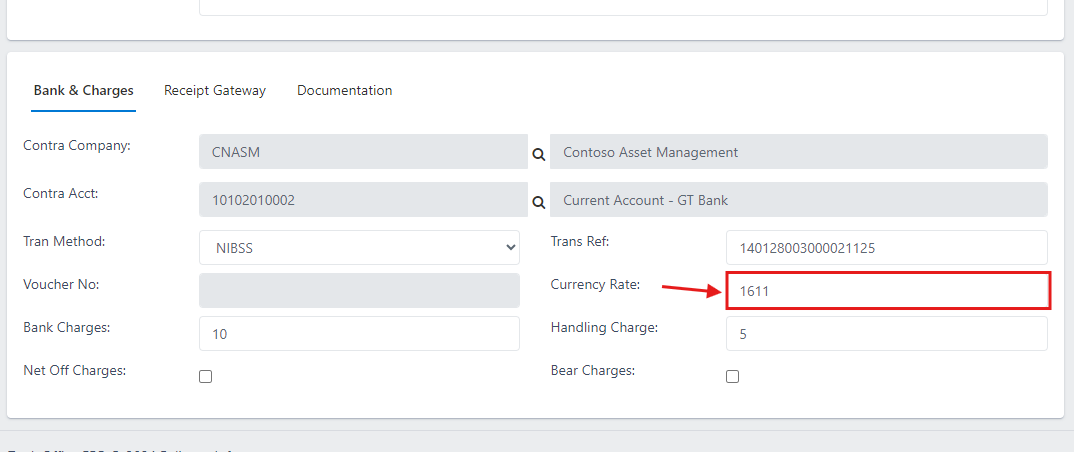
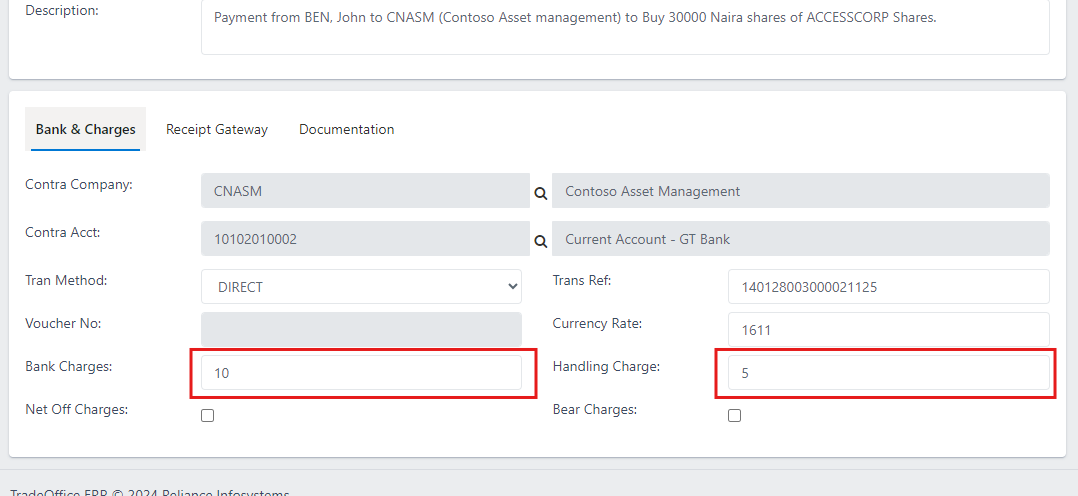
This section is where the relationship manager or user provides the key information that speaks to how their company will be charged for a transaction made onbehalf of a partner and some key information from the evidence of the partner’s initial payment made to the company account such as the transaction reference number.
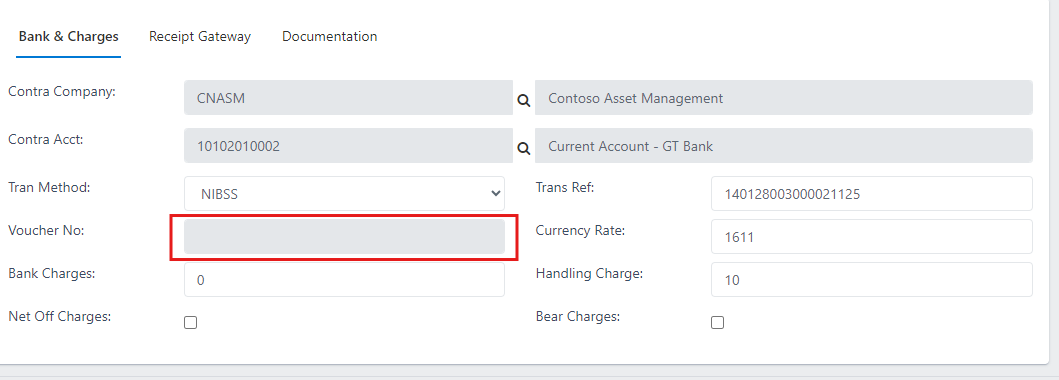
Simply populate these fields with the agreed / standard charges as stated by your bank and / or payment gateway. Note: If there are none, leave it at zero (0).
Fig.24 showing Bank charges & handling charges input field
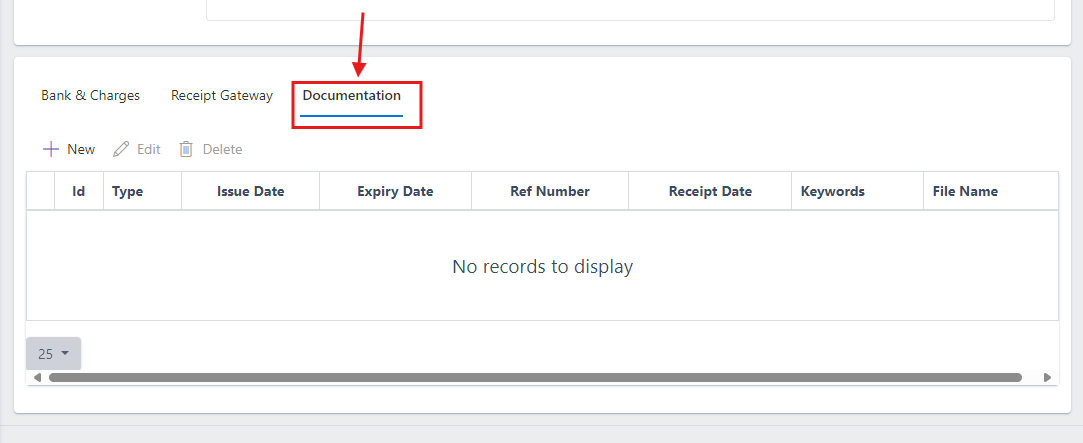
To add a supporting document that serves as an evidence of payment made to your company account by a partner, simply follow the steps below:
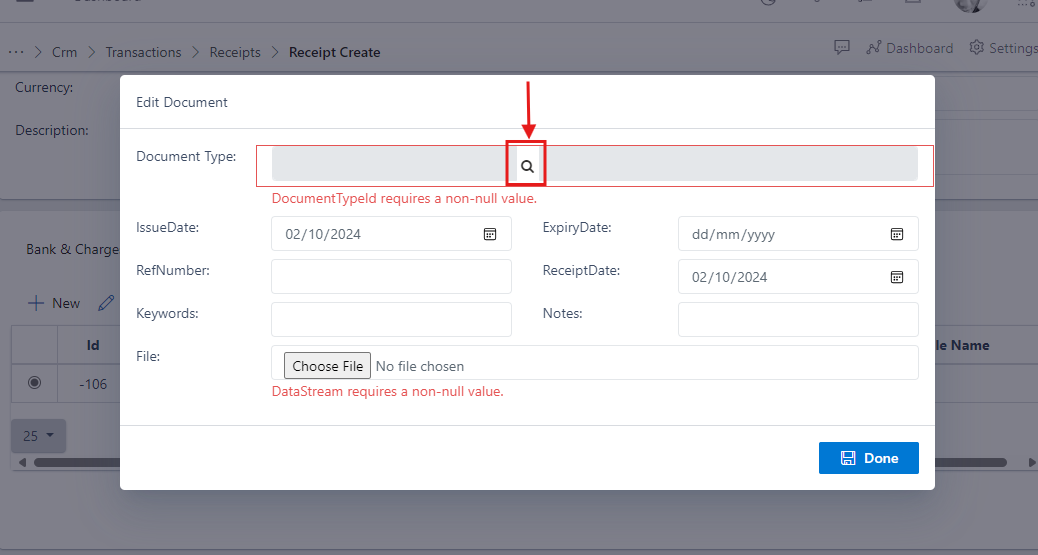
Click on the Document tab.
Fig.26 showing Document tab
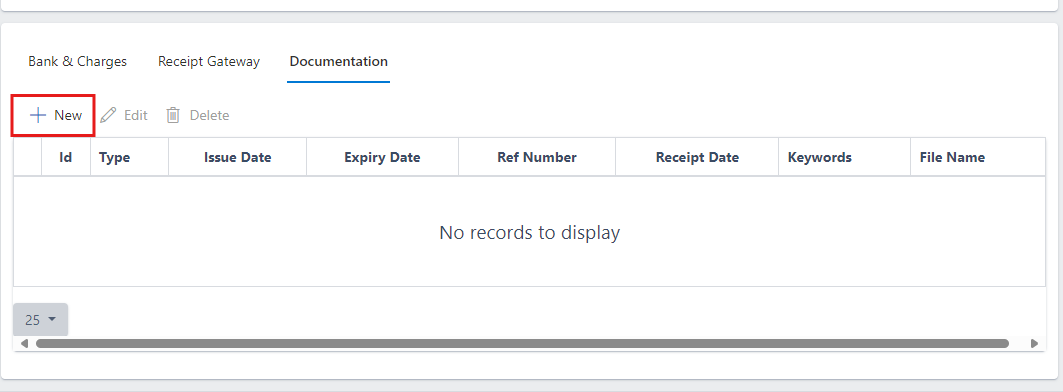
Click on the new button.
Fig.27 showing new button to create document
Click on the search icon on the Document Type input field to select the type of document you want to upload.
Fig.28 showing search icon in document type input field
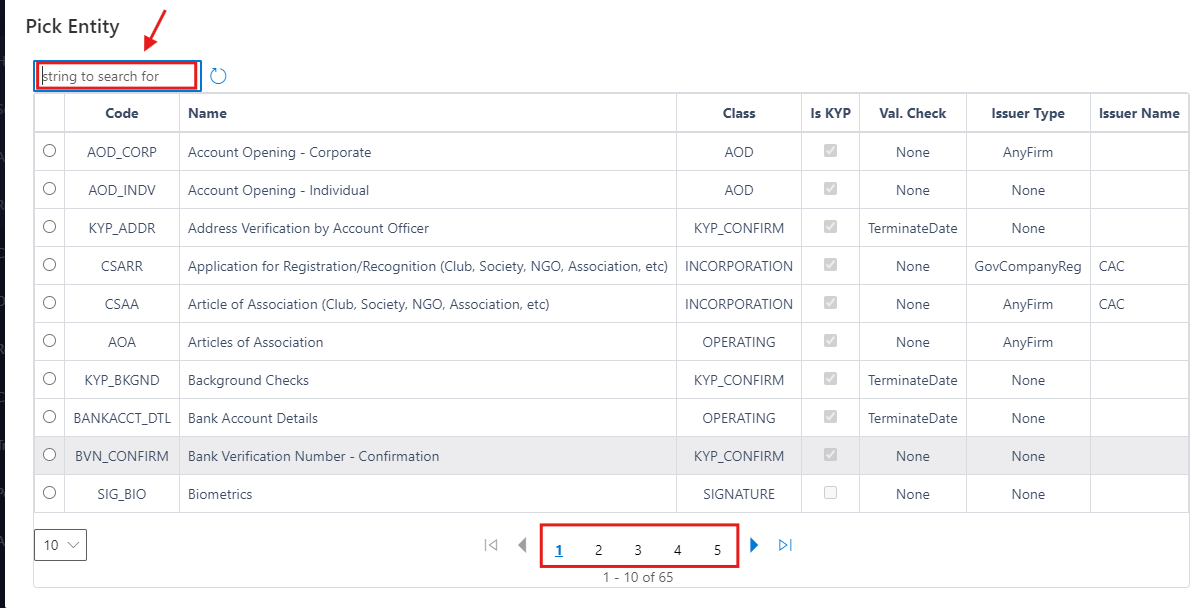
You will notice a table appear with a list of document types, you can select the desired document if it appears on the first page as shown otherwise you can use the search bar to directly type the name of the document type you intend to upload or you can use the pagination below to navigate through the pages.
Fig.29 showing search bar and pagination to locate a specific document type
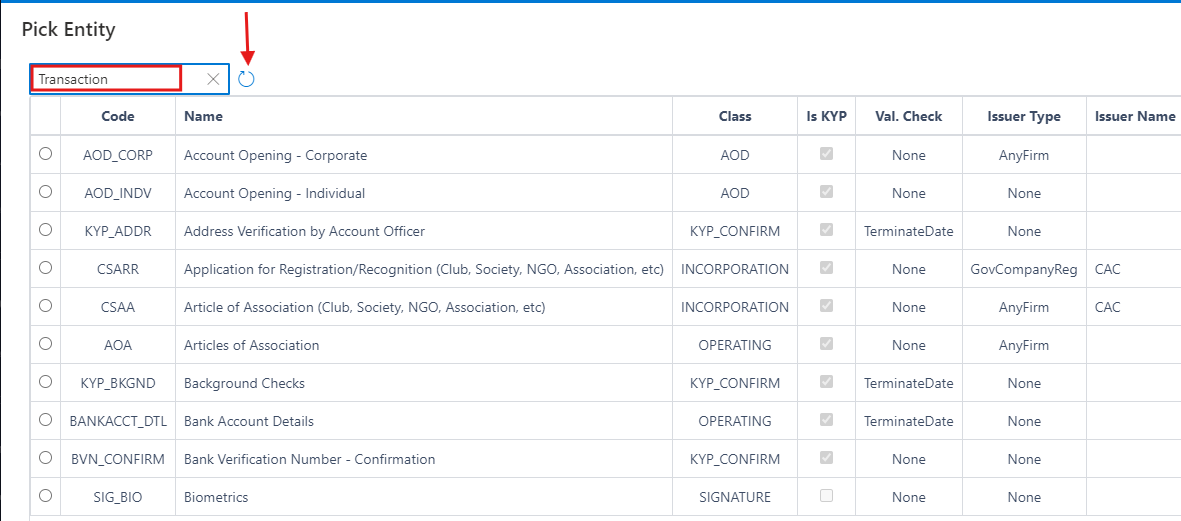
In this scenario, we are trying to upload a transaction receipt or mandate, so you can type the keyword transaction in the search bar and then click on the refresh icon beside the search bar ti execute your search
Fig.30 showing search text in the search bar input
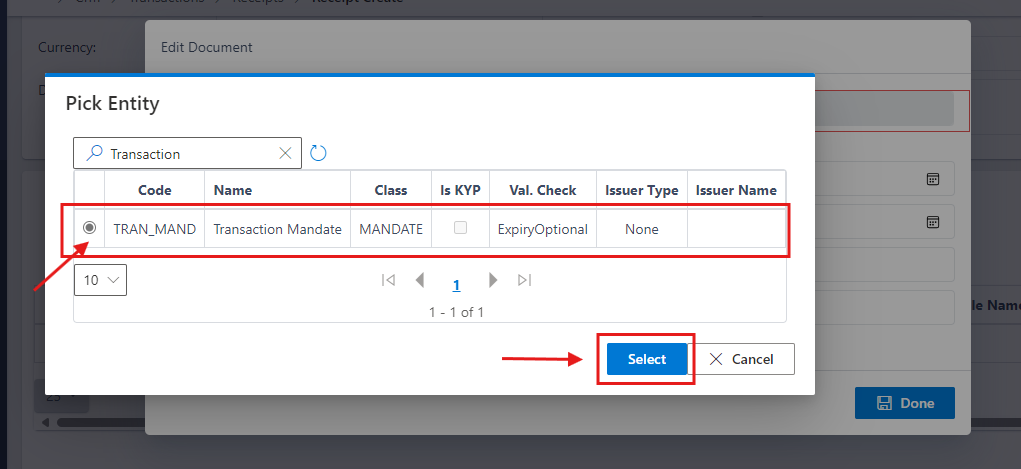
From the search result screen you can see the document type of “Transaction Mandate”, select it and then click on the select button below.
Fig.31 showing search result and button to select search result
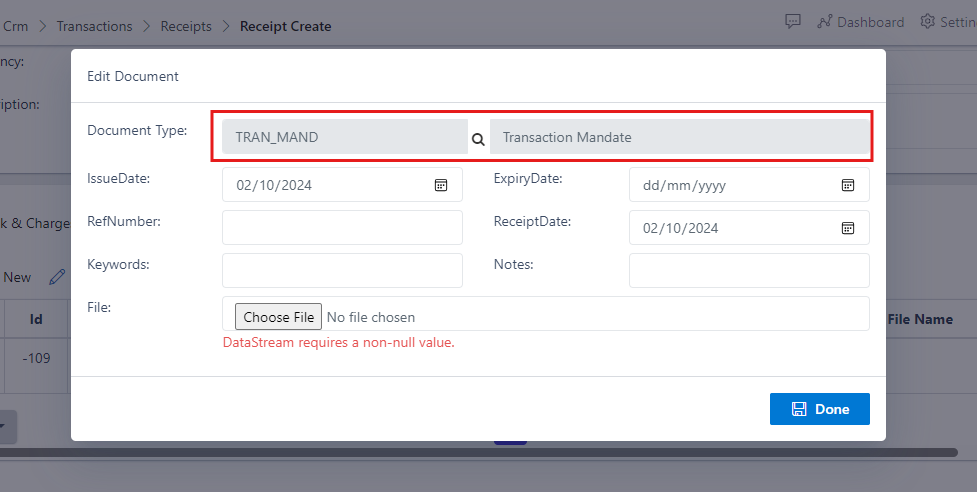
Note:You will notice the document type has now been selected, if there are other key information on the document you will like to keep track of, for example: the expiry date, reference number, receipt date, etc. you can fill them otherwise you can leave it blank if it doesn’t apply to the document type you are uploading.
Fig.32 showing selected document type
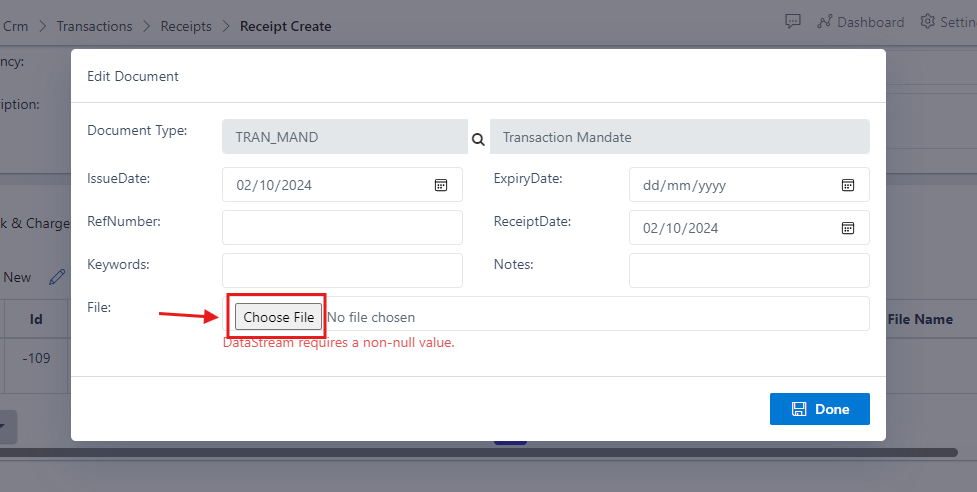
Click on the choose file button to select the transaction receipt from your personal computer file storage
Fig.33 showing "choose file" button to select a document
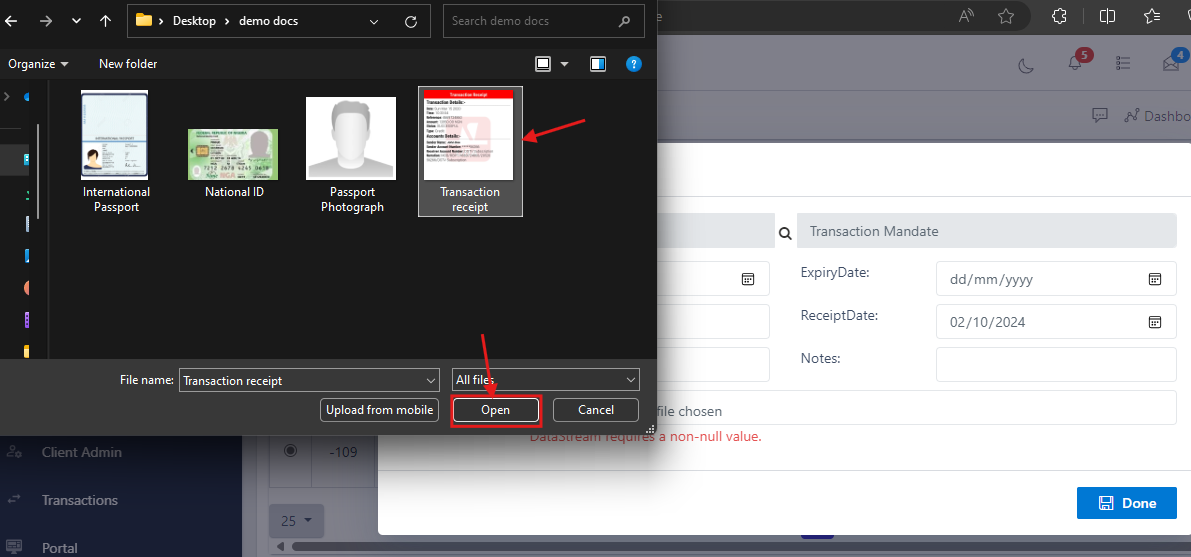
Fig.34 showing computer folder containing the document for upload
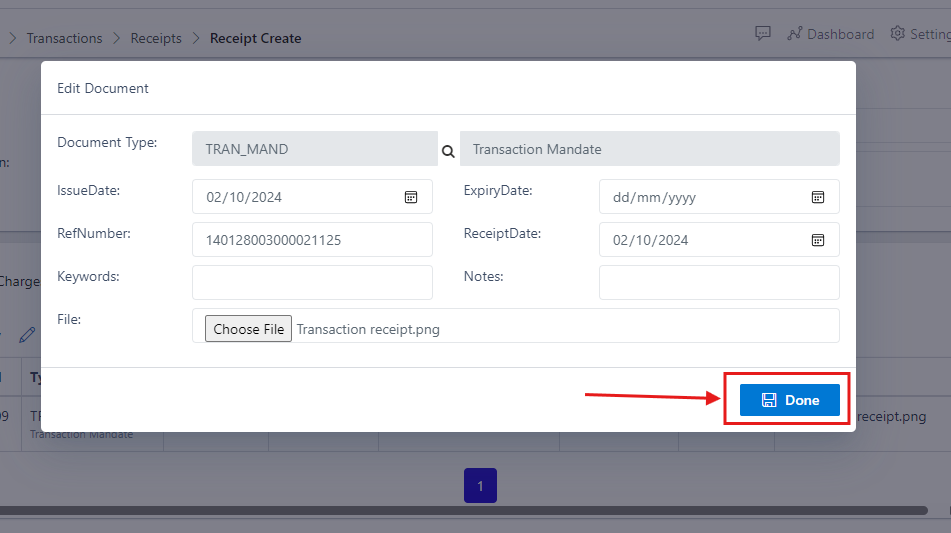
Click on the “Done” button
Fig.35 showing 'Done' button
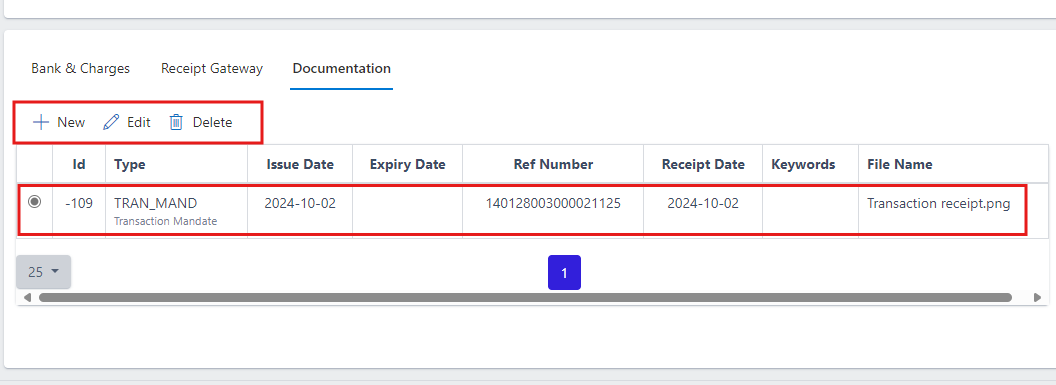
After clicking on the “Done” button, you will see the uploaded receipt appear on the table, you can also choose to add another supporting document, edit the details of existing document or delete it.
Fig.36 showing operation commands and uploaded receipt on the document table
After completely filling the details of the reciept, click on the “save and close button” to save.