Title here
Summary here
The Customer Transfer section typically refers to a feature or module that allows the transfer of customer-related data, transactions, or ownership from one entity or account to another within the system.
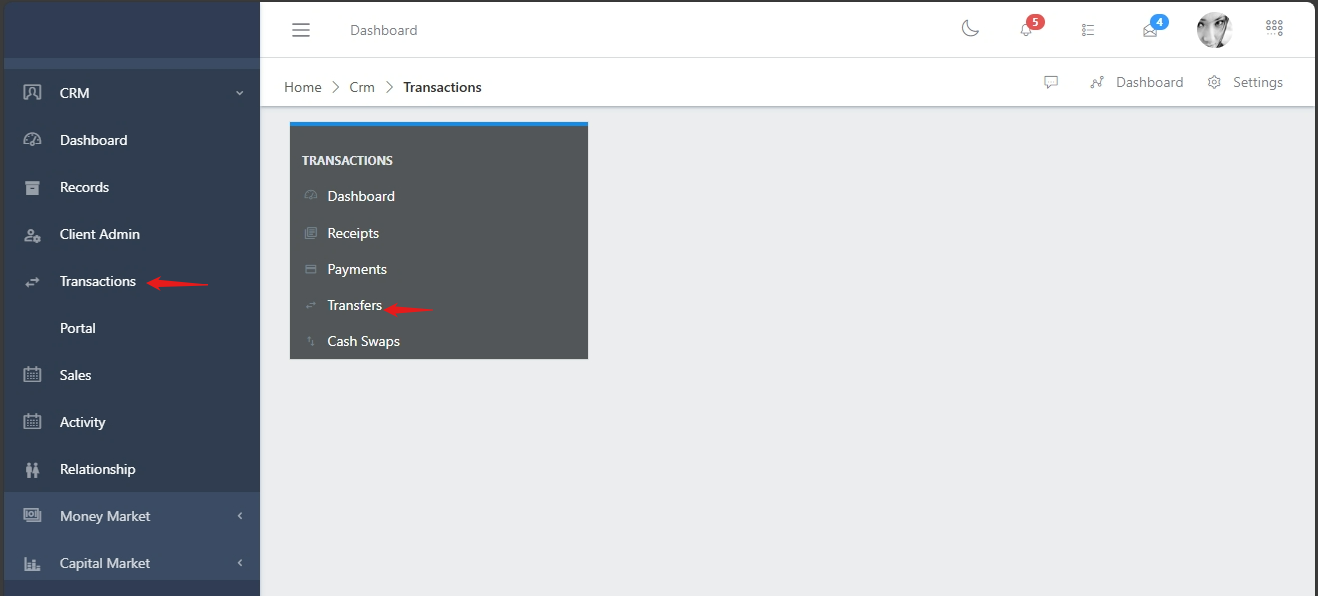
To navigate to the transfers submodule, from the homepage of the ERP, on the side bar navigation locate the “CRM” module and click on it, you will see a list of drop down menus, select the “Transactions” sub menu in the dropdowm menus, you will have the transactions dashboard displayed with different sub modules, now select the “Transfers” menu. see image below
When Transfers is clicked on, you will be directed to the the page below, in the image below you have a centralized list of all transfers with the Voucher No, transferor, channel etc. You also have a list of commands (highlighted in the image below) above the transfers list that you can use to perform various actions on a particular transfer by selecting the radio button on the left hand side

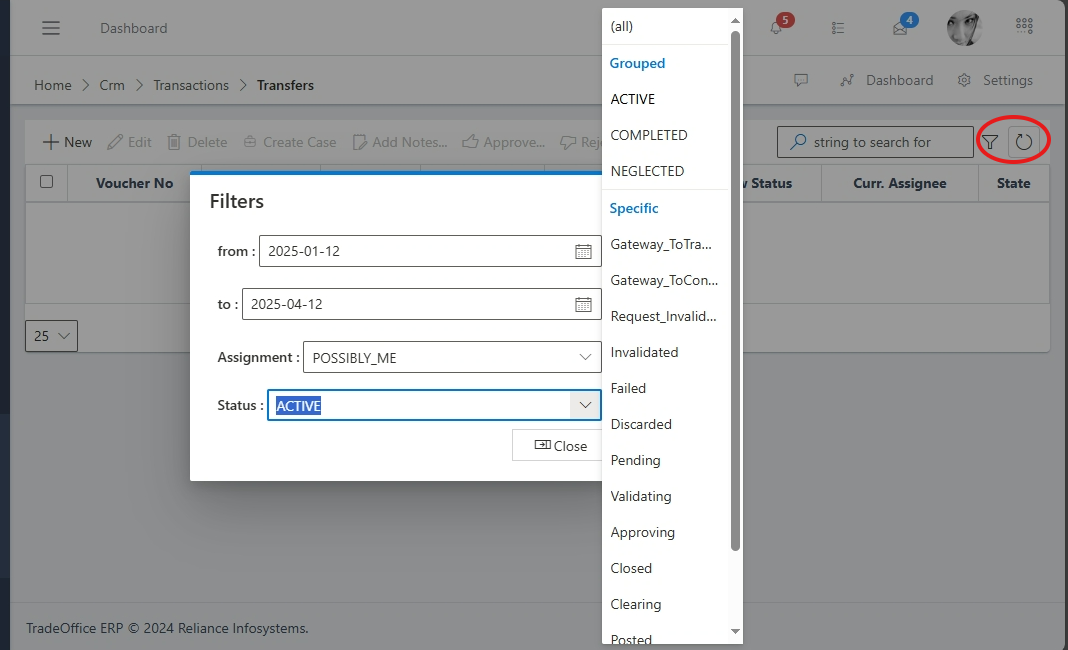
You can filter the transfers using the filter button (funnel icon) on the right side of the search bar. You can search for a transfer using the voucher no or the transferor, you can filter your search by the date or status etc as shown in the image below.
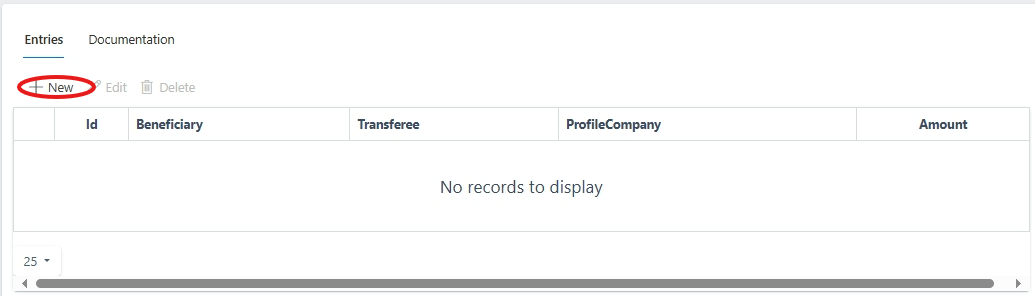
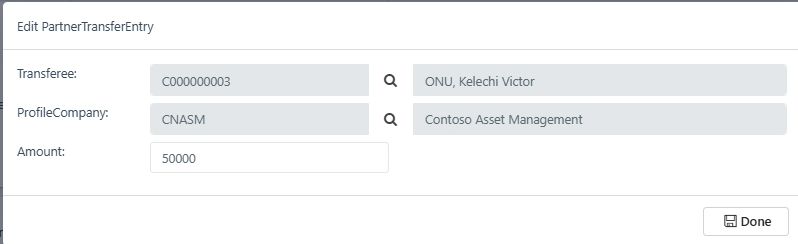
To create transfer, follow the steps below:

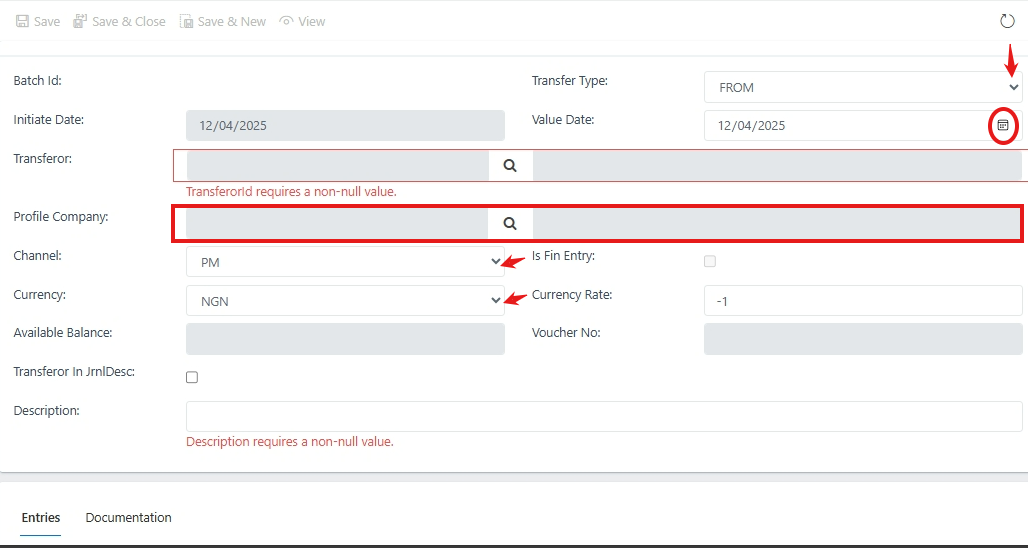
In the image below, there are fields that is indicated with an arrow like the Transfer Type, Channel and Currency and these fields are dropdowns with different options to choose from. There are other required fields like the Transferor, Profile Company