Title here
Summary here
This sub-module of leave management captures the leave dates of each staff that apply for leave within the current running leave year.
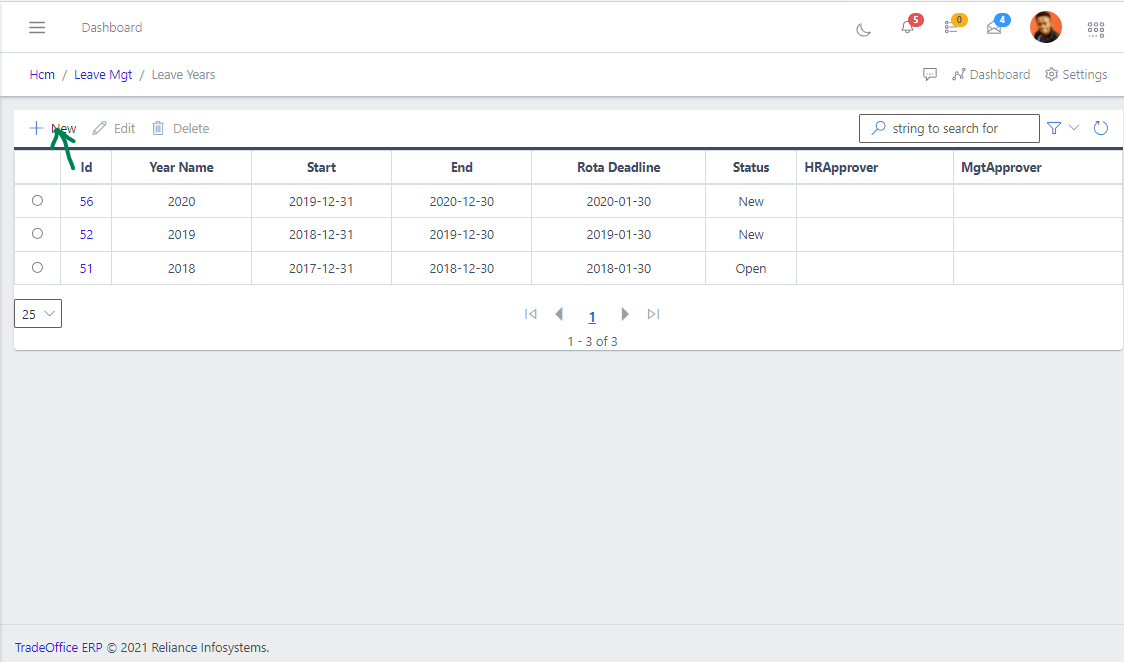
Note: The Head HR can only create new leave year a month before the year can start (that is, DEC 1). To navigate to the leave year module, you need to go from HCMLeave ManagementLeave Years.

From FIG above, HR can only do three things:
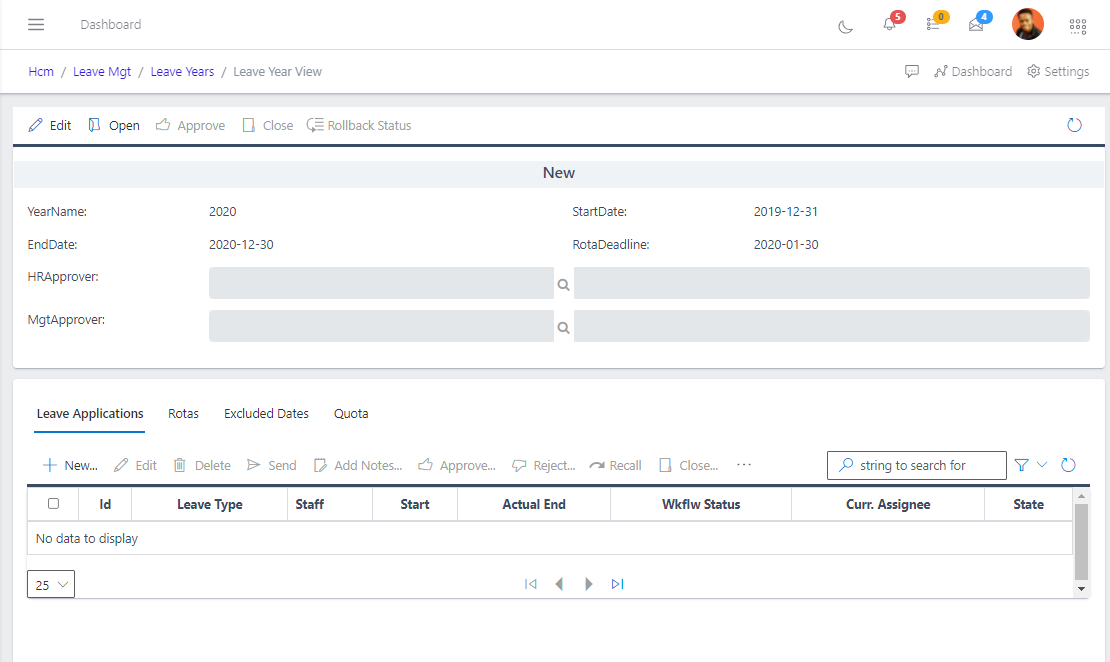
From the fig3 above the new leave year (2021) is in a new state and you can edit the quotas and specify the Excluded dates on which staff cannot take leave (for instance, retreat days, during audit etc.). At this stage the leave year is still “NEW”- and no employee can add their Rotas or apply for leave yet.
Note: Quotas are created on staff-by-staff basis due to that different staff can need different kind of leave at any given period. And rules can be set on the various kind of leave.
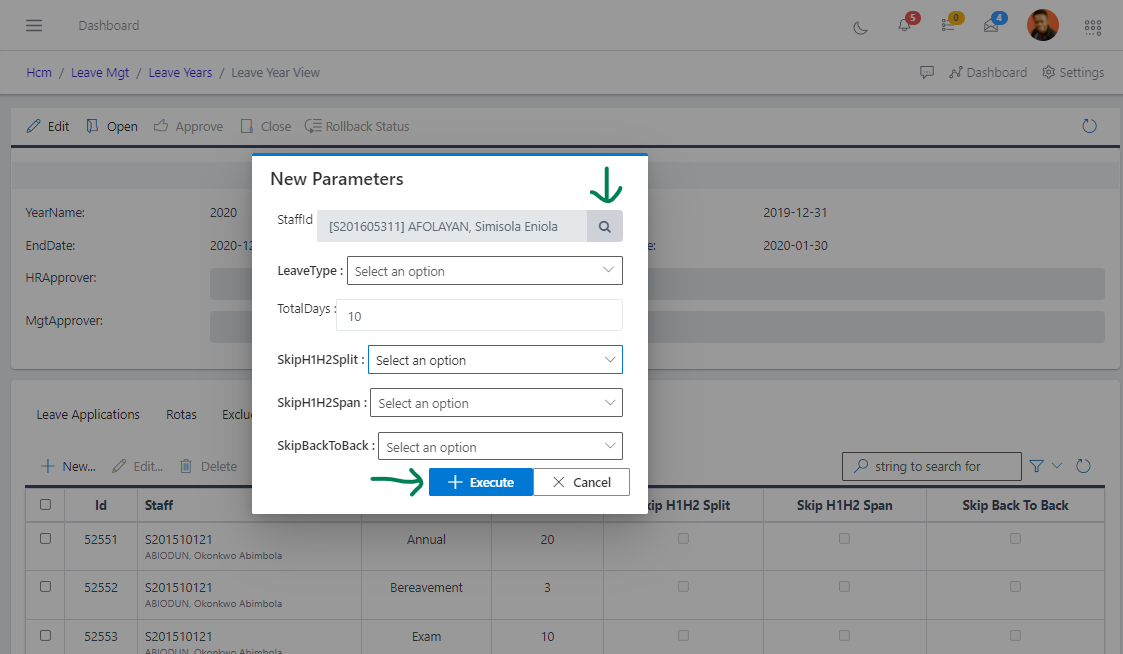
From the fig3 above, you can always create a new quota for a particular staff by clicking the create button on the “Quota”. After clicking the create button a new screen, like in the fig4 below, will pop-out. You can always fill in the necessary fields.
When all quotas and excluded dates are successfully inputted, the HR can surely move to opening the new leave year. At this stage, the leave year is now on “Open” as against the previous state of “New”.
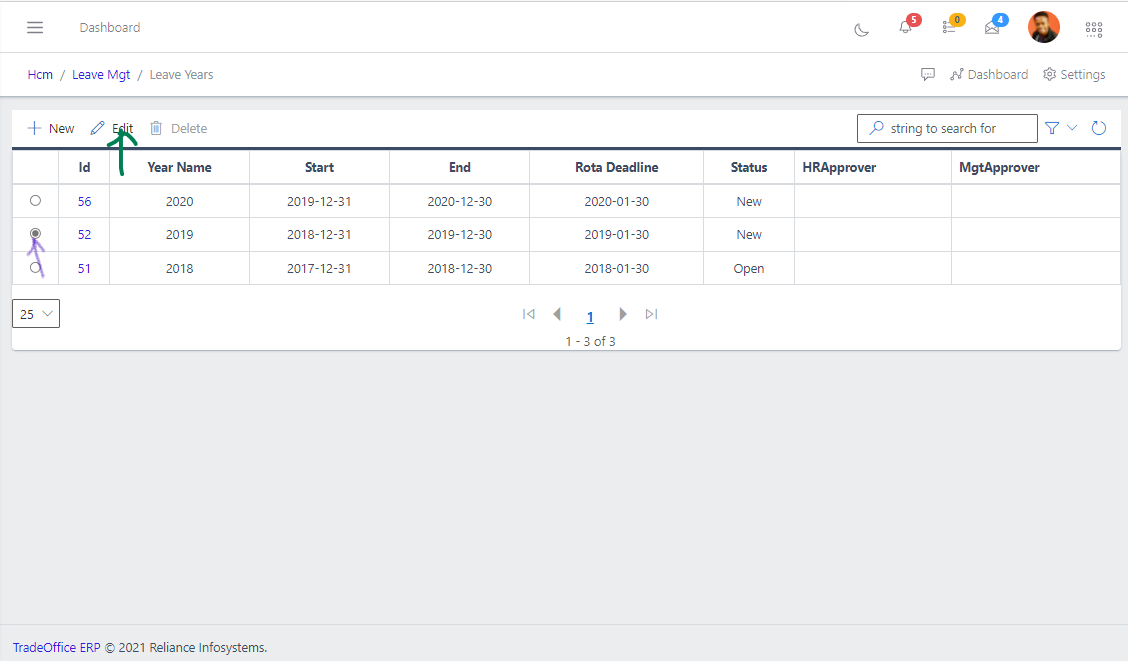
The visible edit button from “Leave Years” view is used to make changes needed on the leave year. Changes needed can occur due to some certain things needed but did not occur as at when the leave year was created. To edit a leave year, you need to check the year and click on edit (as shown in the fig5 below).
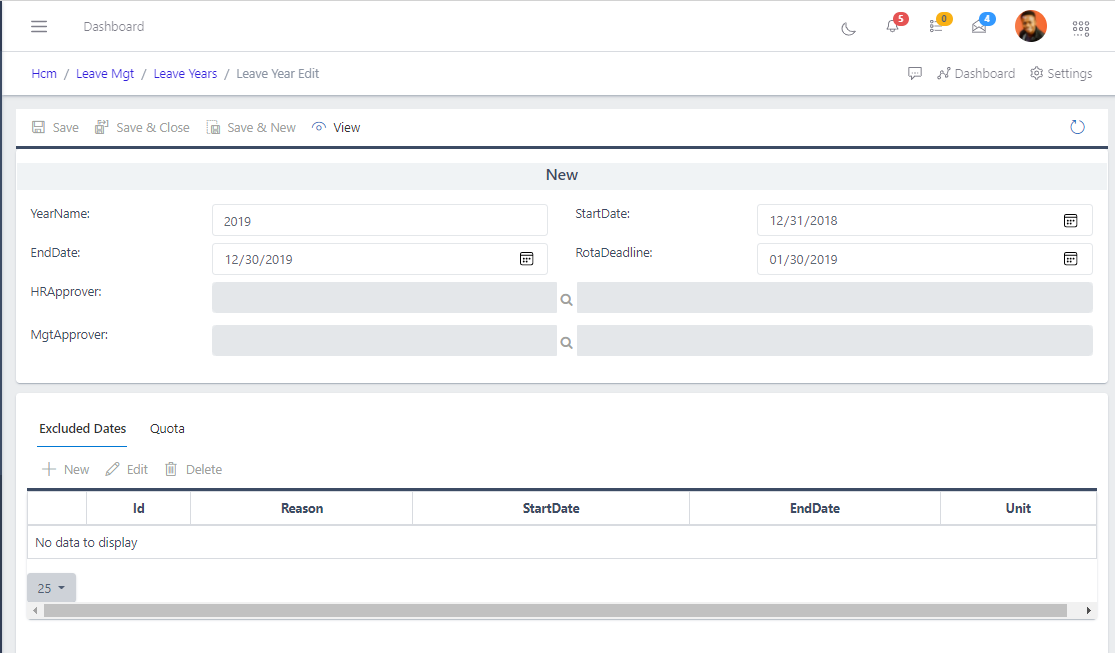
On clicking the fig5 above, a new screen (as shown in the fig6 below) is displayed where you can always make all the changes required. From the fig6 below, you can always edit the “Excluded date” by clicking the button ( as shown in the red marked area), “Quota” by clicking the button (as shown in the black marked area) and can always save all the work done by clicking the blue marked area.
The “Quota” needs to be reviewed before the HR can set the year running with “Approve”.
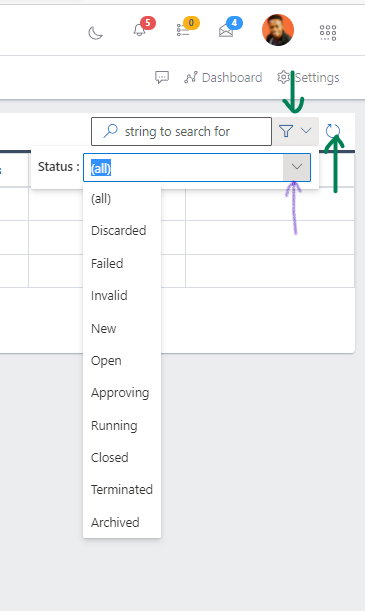
The search button help you navigate through the Leave Years output for the particular “Leave year” you are interested in. The FIG below gives a pictorial view of the search pane.