TradeOffice
Docs
TradeOffice
Docs
Blog
GitHub
Search
Search
Cancel
Loading search index…
No recent searches
No results for "
Query here
"
Title here
Date here
Summary here
Guides
Introduction
Vrm
Vendor Records
Vendor Groups
Vendors
KYV Checklist
Vendor Admin
Case Management
Vendor Relationship
Admin
Project Management
Project Templates
Project Types
Project
Project Output Types
Project Status Report
Request
Expense Retirement
Expense Advances
Setup
Vehicles
Drivers
Capital Market
Certificate Management
Holidays
Countries & States
Commission Groups
Finance Houses
FX Rates
Key Value Lists
Simple Value Lists
Tax Dates
Taxes
Corporate Action
Holidays
Countries & States
Commission Groups
Finance Houses
FX Rates
Key Value Lists
Simple Value Lists
Tax Dates
Taxes
Miscelleneous Transactions
Holidays
Countries & States
Commission Groups
Finance Houses
FX Rates
Key Value Lists
Simple Value Lists
Tax Dates
Taxes
Primary Issues
Holidays
Countries & States
Commission Groups
Finance Houses
FX Rates
Key Value Lists
Simple Value Lists
Tax Dates
Taxes
Setup
Holidays
Countries & States
Commission Groups
Exchange Trade Setup
FX Rates
Key Value Lists
Simple Value Lists
Tax Dates
Taxes
Trading
Holidays
Countries & States
Commission Groups
Contract Notes
FX Rates
Key Value Lists
Simple Value Lists
Tax Dates
Taxes
Account Management
Regions
Units
Centers
Company
Location
Crm
Records
Customer Groups
Sales Agents
Credit Rules
Customer Signup
Customers
KYC Checklist
Prevailing Relationship Managers
Client Admin
Case Callover
Document Required Item
Case Categories
Case Management
Document Required Groups
Case Class Owners
Transactions
Payments
Receipts
Cash Swap
Transfers
Activity
Portal
Customer Questions
Reviewed Faq
Web Profiles
Web Profiles
Relationship
Default (Group) Subscriptions
Call Notes
Customer Subscriptions
Notifications
Finance
Asset Management
Asset Groups
Asset Maintenance
Asset Register
Project Management
Projects
Partner Transactions
Payments
Receipts
Cash Swaps
Transfers
Warrant Batches
Direct Entries
Recurring Journals
Statistics Journals
GL Journal
Cash Management
Petty Cash Reimburse
Cash Book Balances
Cash Reconciliation
Cash Statements
Currency Swaps
Expense and Income
Cash Disbursement
Expense Advances
Expense Types
Income One-Off
Income Types
Prepayments
Ledger
GL Account Activity
GL Accounts
GL Balances
GL Renumbering
GL Posting Rules
GL Revalue
Statistics Account
Reports
GL Account Creation CallOver
GL History Audit
GL Posting CallOver
Statistics Account Creation CallOver
Statistics Posting CallOver
Setup
Centers
Fi Bases
Financial Configuration
Intercompany Accounts
Statements
Other Comp. Income (FY)
Other Comp. Income (Ranged)
Profit & Loss(FY)
Profit & Loss(Ranged)
Stat. of Comp. Income (FY)
Stat. of Fin. Position
Trial Balanace
Partner Management
Customer Accounts
Customer Credit Rules
Customers
Sales Agents
Vendors
Partner Groups
Vendor Credit Rules
Customer Balances
Customer Debit Balance Age
Vendor Balances
Fund Management
Reporting
Balance Sheet
Comprehensive Income
Inflows
Net flows (Real $ Adjusted)
Outflows
P $ L Statement
Performance
Scheme Contributions
Contribution Batches
Contributions
Distributions
Scheme Liquidations
Distributions
Liquidations
Scheme Loans
Loan Applications
Loan Repayments
Loan Type
Repayment Batches
Repayment Distributions
Setup
Subscriber Management
Cases
Loan Valuation
Subscribe Register
Subscriber Holdings
Transactions
Orders
Trade sheets
Trades
Valuation
Gross Assets
Liabilities
Net Assets
Subscriber Holdings
Hcm
Leave Management
Leave Quota
Leave Applications
Rota Submissions
Leave Years
Payroll
Expense Advances
Expense Retirements
Grade Packages
HMO Remittance
Incentives and Sanctions
Loan Types
NHF Remittance
Pay Items
PAYE Remittance
Payments
Payroll Runs
Payroll Year
Pension Remittance
Reimbursement Claims
Reward Types
Scheme and Upfronts
Staff Balances
Staff Loans
Receipts
Transfers
Records
Staff Communication
Staff Grade
Staff List
Staff Position
WorkForce Management
Application
Interview
Interview Session
Staff Budget
Performance Management
Customer Questions
Performance Targets
Reviewed Faq
Appraisal Session
Web Profiles
Activity
Stock/Equity Holdings
Cash Balance
Bond HTM Holdings
Loan Management
Term Loans
Loan Types
(Re)Payment Entries
Provision Entries
Repayment Plans
Loans
Term Loans
Loan Types
(Re)Payment Entries
Provision Entries
Repayment Plans
Loans
Money Market
Term Investments
Investment Types
(Re)Payment Entries
Investments
Trading
TBill Order
Tbill Dealers
MM Order
MM Placements
MM Tradesheet
TBill TradeSheet
TBill Transaction
Tbill Transactions
TBill Type
Debt
Commercial Papers
Promissory note
Issuers Account
Issuers
Organisation
Master Data
Holidays
Countries & States
Commission Groups
Finance Houses
FX Rates
Key Value Lists
Simple Value Lists
Tax Dates
Taxes
Structure
Regions
Units
Centers
Company
Location
Staffing
Heirarchy
Staff Groups
Discipline
Organogram
Research
Capital Market
Holidays
Countries & States
Commission Groups
Finance Houses
FX Rates
Key Value Lists
Simple Value Lists
Tax Dates
Taxes
Money Market
Holidays
Countries & States
Commission Groups
Finance Houses
FX Rates
Key Value Lists
Simple Value Lists
Tax Dates
Taxes
News
Holidays
Countries & States
Commission Groups
Finance Houses
FX Rates
Key Value Lists
Simple Value Lists
Tax Dates
Taxes
Recommendations
Holidays
Countries & States
Commission Groups
Finance Houses
FX Rates
Key Value Lists
Simple Value Lists
Tax Dates
Taxes
Companies
Regions
Units
Centers
Company
Location
Micro Economic Data
Heirarchy
Staff Groups
Discipline
Organogram
Self Service
Admin
Petty Cash
Expense Advance
Expense Retirement
Requisition
Compensation
Past Grades
Pay Slips
Scheme Enrollment
Loan Application
Leave Mgt
Leave Quota
Leave Rota
Leave Applications
Performance Mgt
Performance Appraisals
Performance Targets
Selfservice Records
Direct Reports
Past Positions
Supply Chain Management
Item Mgt
Brand
Activity
Activity Over Period
Cash Balances
Daily Trade Summary
Last Activity
Stock Holdings
Trade Activity
Valuation Summary
Activity
Activity Over Period
Cash Balances
Daily Trade Summary
Last Activity
Stock Holdings
Trade Activity
Valuation Summary
Inventory
Adjustments
Reconciliation
Stock Counts
Transfers
Item Mgt
Brands
Sales
Purchasing
Deliveries
Orders
Payments
Returns
RFQs
Sales
Invoices
Orders
Quotes
Receipts
Returns
Shipping
Setup
Quotes
Quotes
Setup
System
Document Management
Canned Reports
Document Types
Document Required Items
Document Requirement Groups
Security
System Roles
Modules
Audit Trail
Entity Operations
User Templates
Users
System Jobs
Approval Workflow
Scheduled Tasks
Workflow Instances
Notifications
Notification Templates
Notification Types
Bulk Mail Types
Notification Queue
On this page
Navigate to Taxes
Create a Tax Date
Editing a Tax Date
Delete a Tax Date
Approve a Tax Date
Activate a Tax Date
Tax Dates
On this page
Navigate to Taxes
Create a Tax Date
Editing a Tax Date
Delete a Tax Date
Approve a Tax Date
Activate a Tax Date
Navigate to Taxes
#
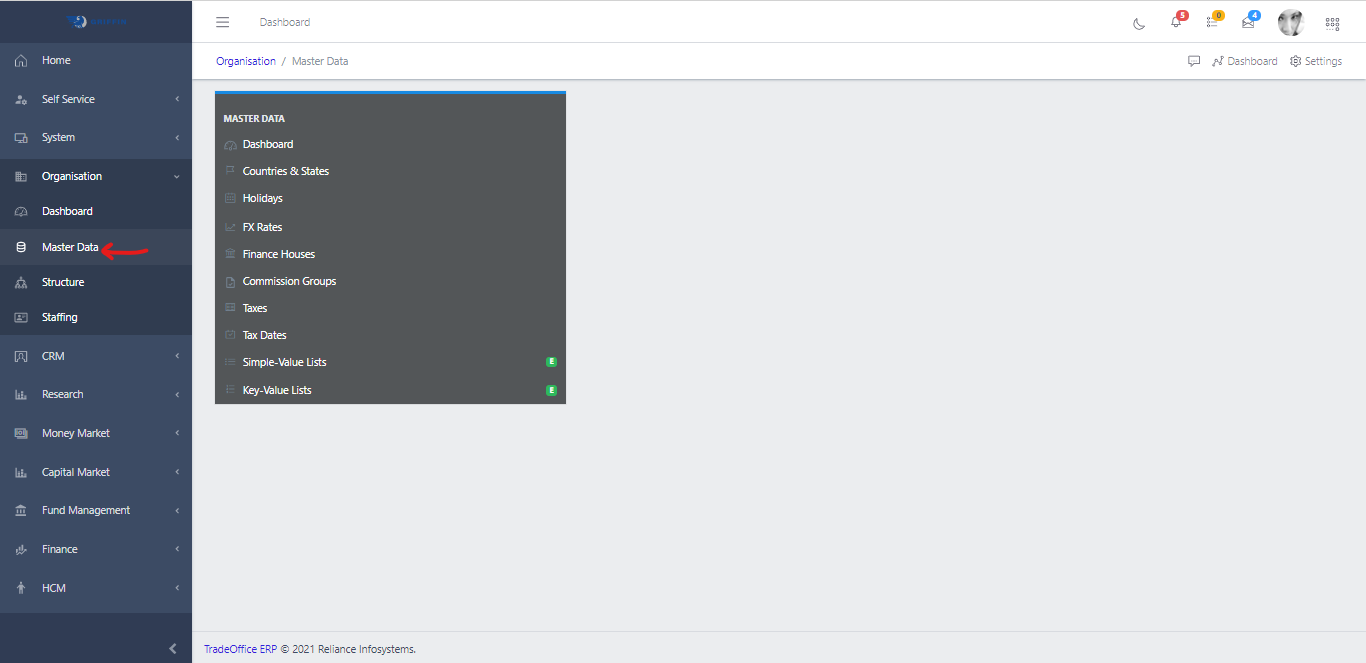
Access the Master Data sub-module of the Organisation module.
Fig 1.0
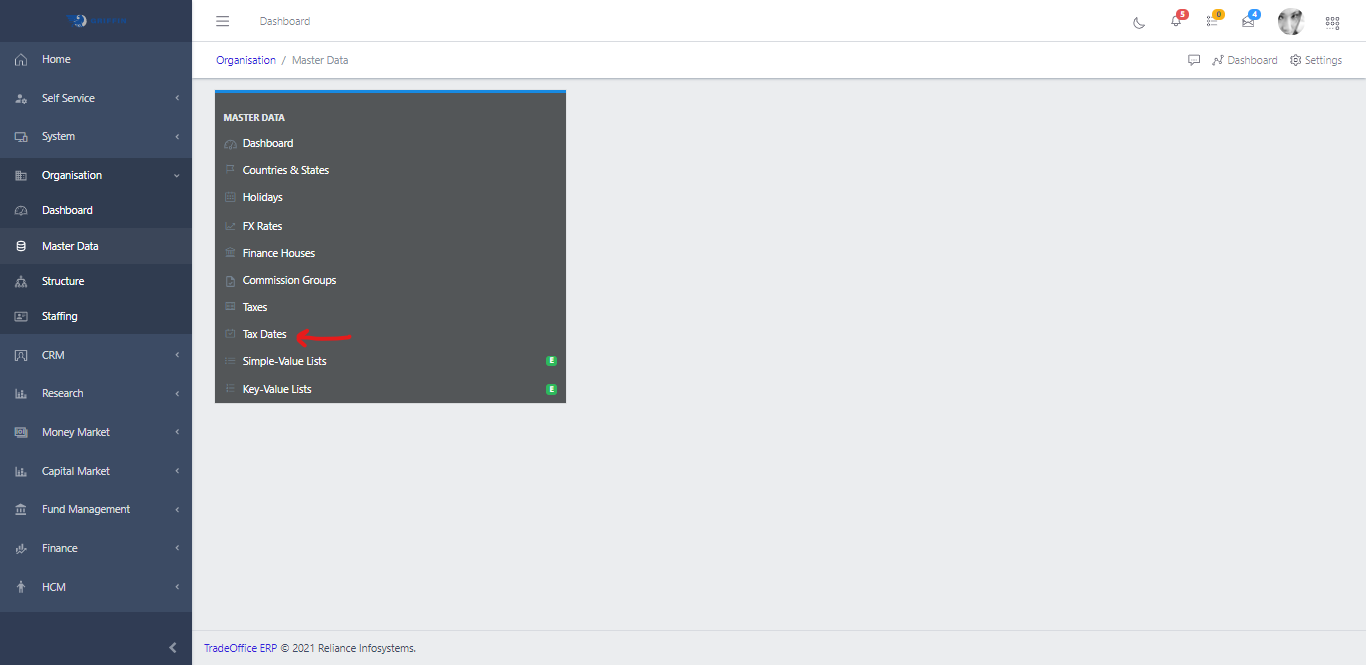
Click on Tax Date.
Fig 1.1
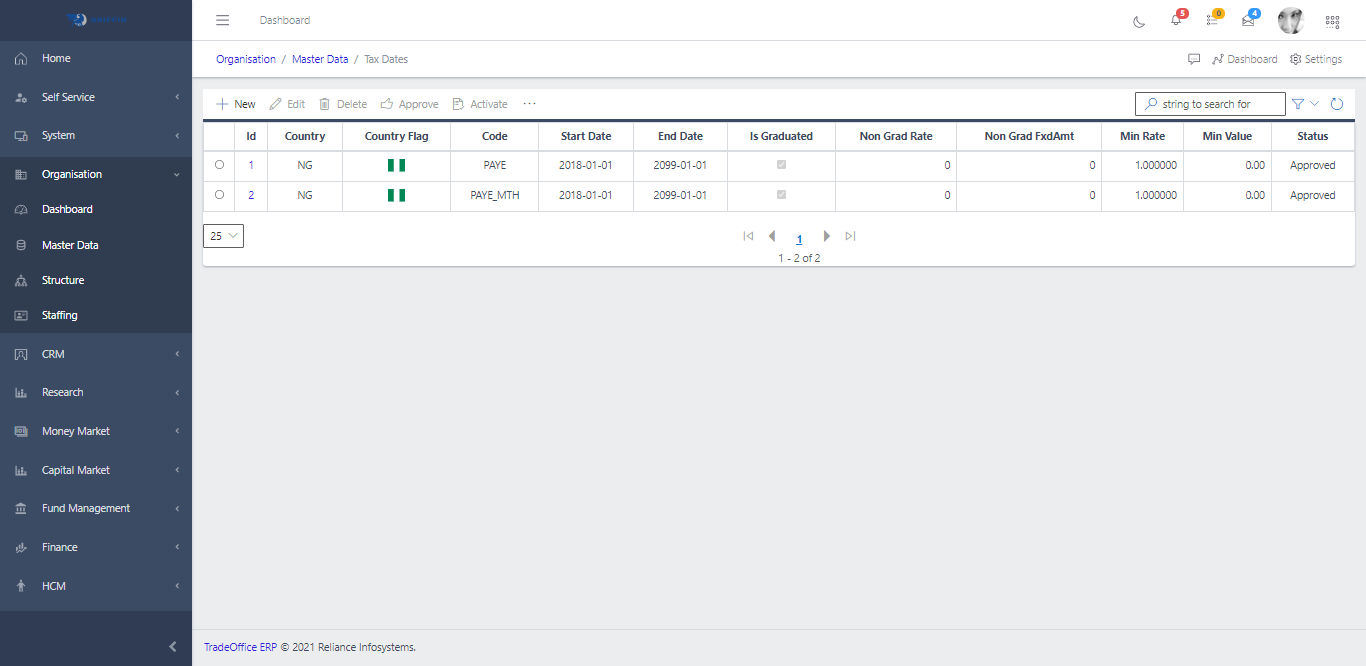
This displays a list view of Taxes.
Fig 1.2
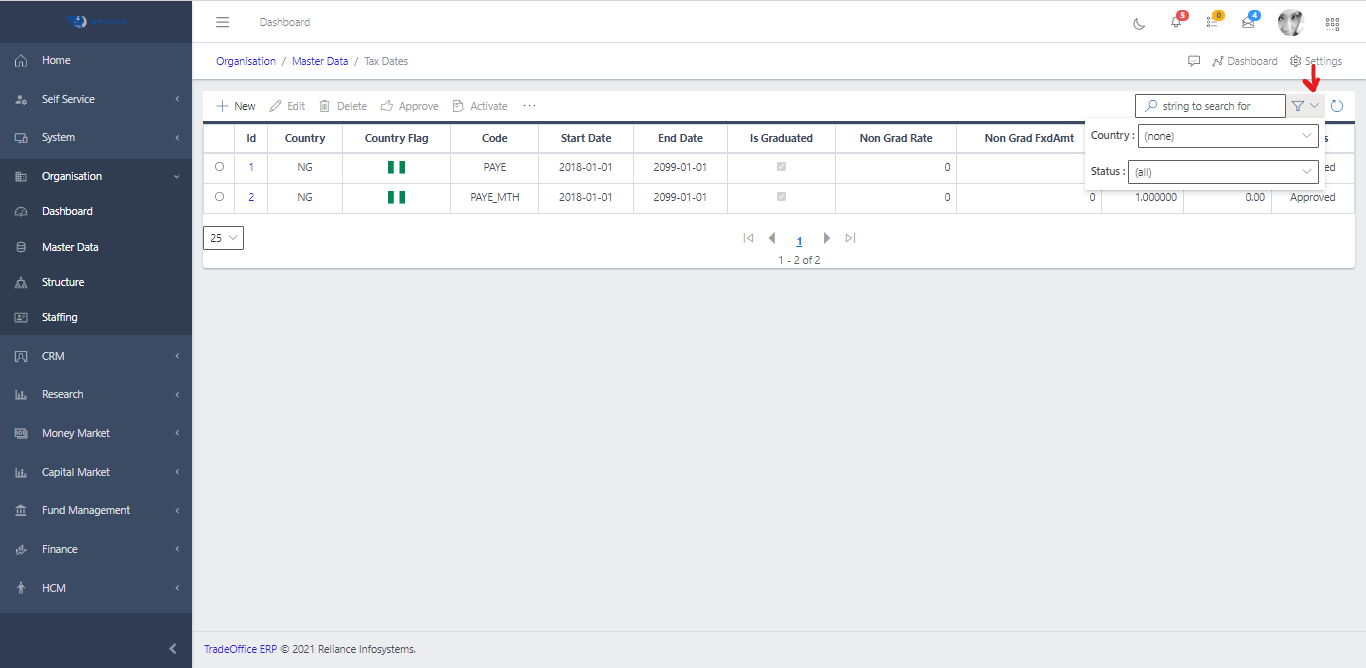
Use the Filter button, when clicked, gives you a dropdown where you can specify various parameters for filtering the records:
Country: A dropdown list of countries
Status: A dropdown list of different status
Fig 1.3
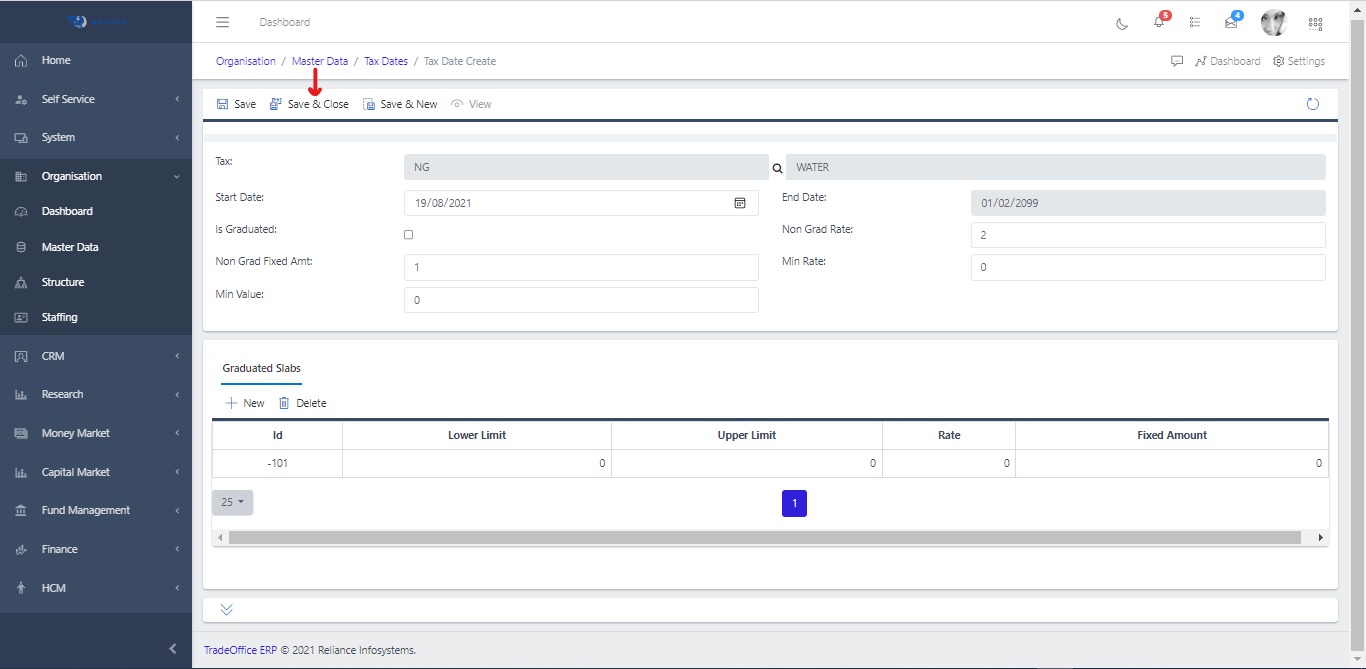
Create a Tax Date
#
To create a tax date, hit the New button in the toolbar area and populate the form fields.
Fig 2
The following are some of the fields that needs to be populated:
Search string: for filtering records
Tax: Select a type of tax(must have been created before)
Start Date: Specify the start date for the new tax
End Date: Specify the end date for the new tax
After filling out the form, click the Save and Close button to save changes.
Fig 2.1
Now search for the newly created Tax Date by filtering the records. Go to the search filter, filter the records by status – pending.
This should return the newly created tax date
Editing a Tax Date
#
To edit a pending tax date, select the particular record you want to edit by clicking the radio button
Click the Edit button
Fig 3
Delete a Tax Date
#
To delete a tax date, select the particular record you want to delete by clicking the radio button
Click the Delete button
Fig 3.1
Approve a Tax Date
#
To approve a tax date, select the particular record you want to approve by clicking the radio button
Click the Approve button
Fig 3.2
Activate a Tax Date
#
To activate a tax date, select the particular record you want to activate by clicking the radio button
Click the Activate button
Fig 3.3
NOTE:
#
Approved tax date cannot be updated or edited. To update a tax date, it must be in a pending state
Prev
Tax Dates
Next
Tax Dates