Title here
Summary here
The rota submissions submodule capture the details of how users can submit their rota and create a new rota for their supervisor to approve.
Note: Rotas are automatically created on our behalf when the HR declare the year open. But the rotas that are automatically created can be edited. As a supervisor, you can (from your module) see the rotas of the staff assigned to you or those that you will be reviewing for.
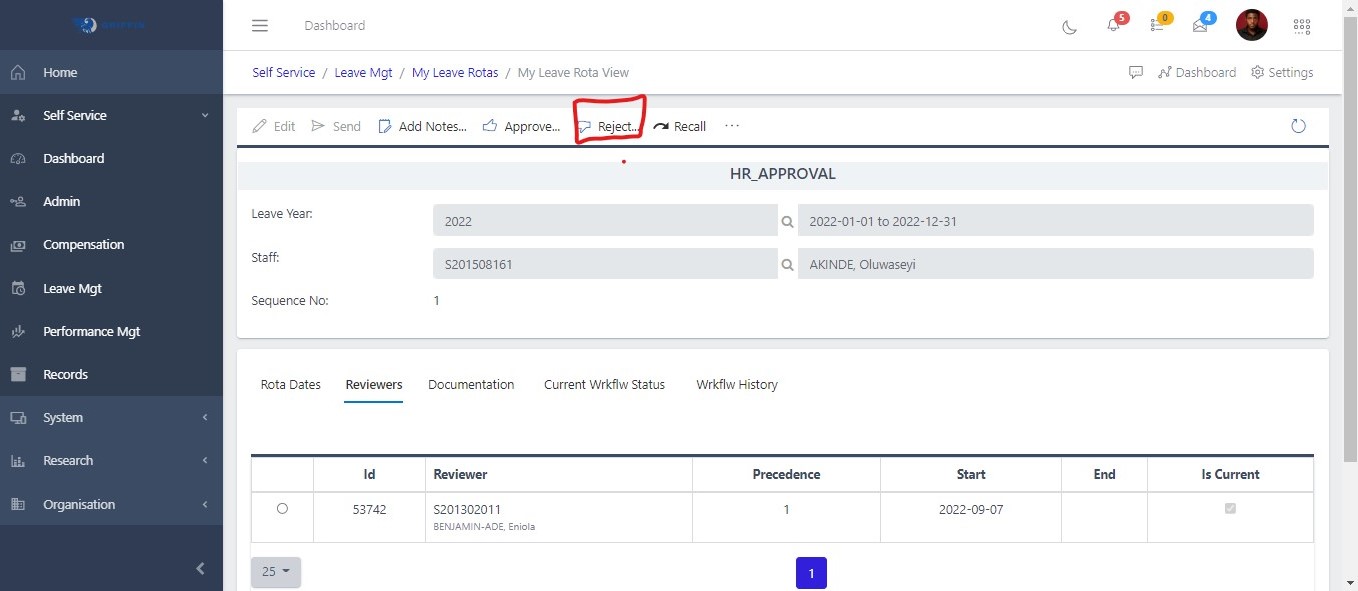
FIG 2.1 My Leave Rota View
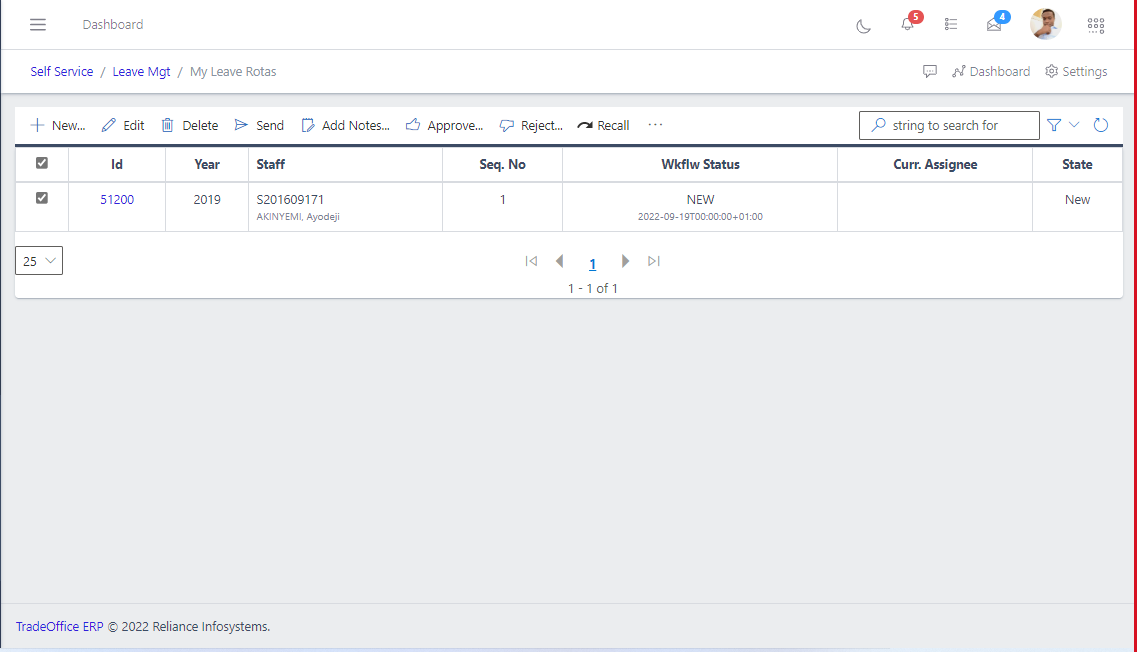
On clicking Rota submissions from Self Service, you can only see the screen displayed above. To get to see data on the screen, you need to search through the list using the search drop-down button . On clicking the Search buttton, you are required to supply filters to the field displayed as shown in FIG 2.2 below to look exactly like FIG 2.3 below.
FIG 2.2 Before passing filter values
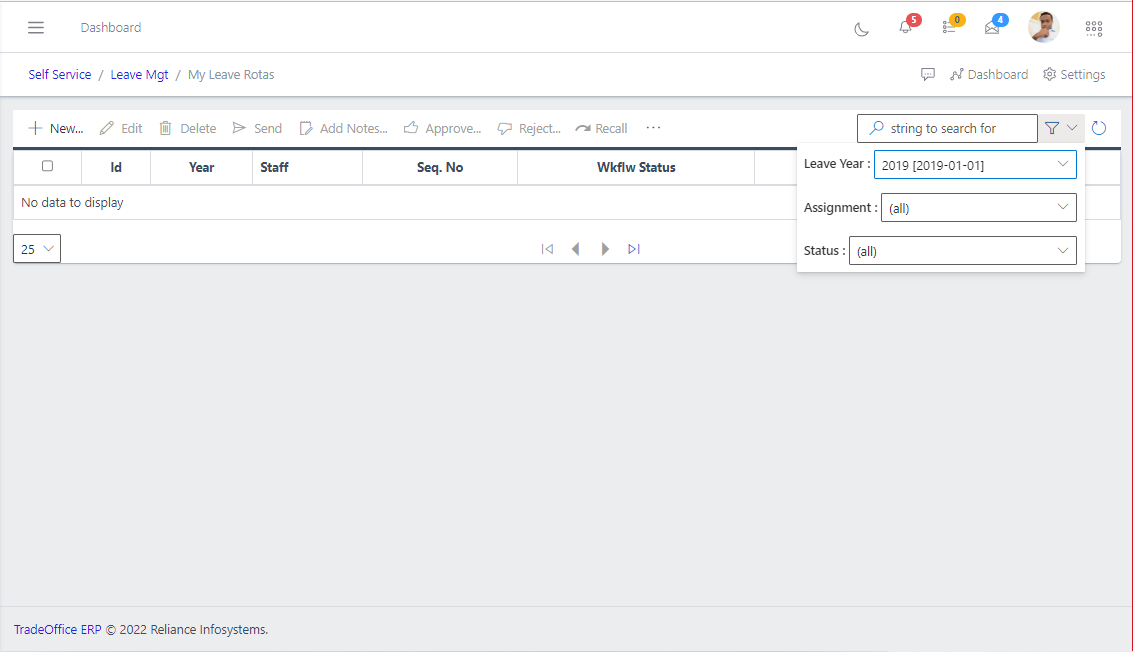
FIG 2.3 After passing filter values
Rotas are automatically created on your behalf when the HR declare the year open. All you can really do is to edit/update the rota created.
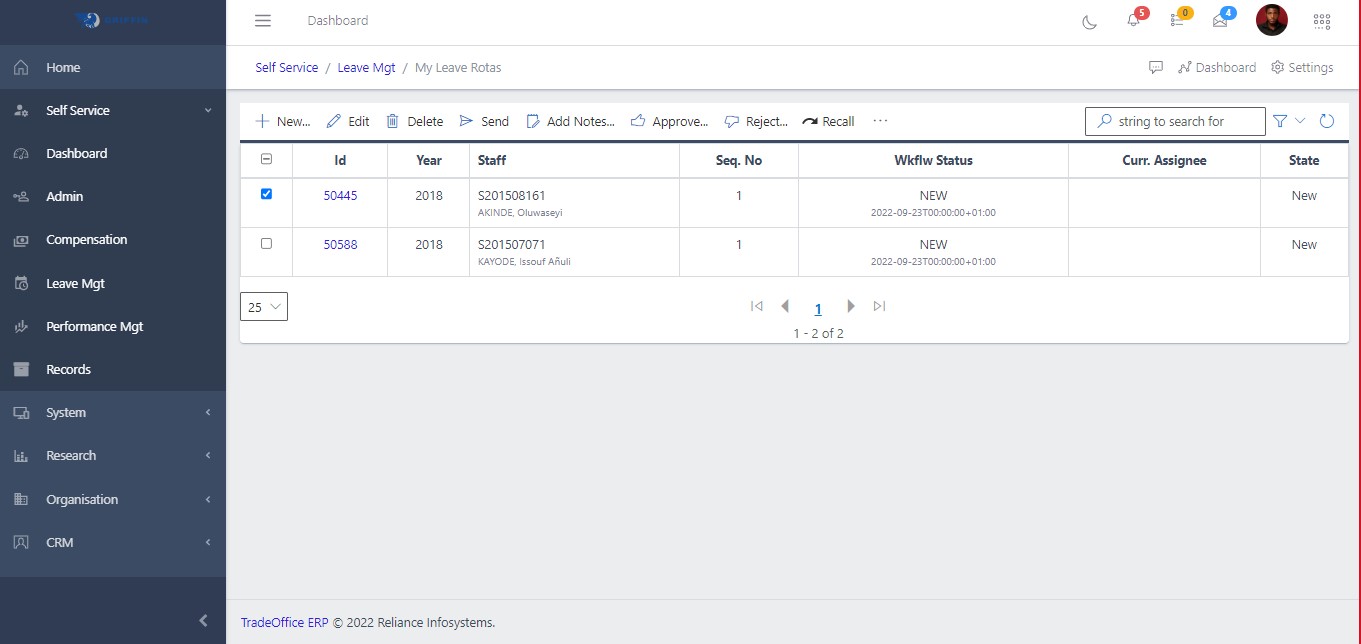
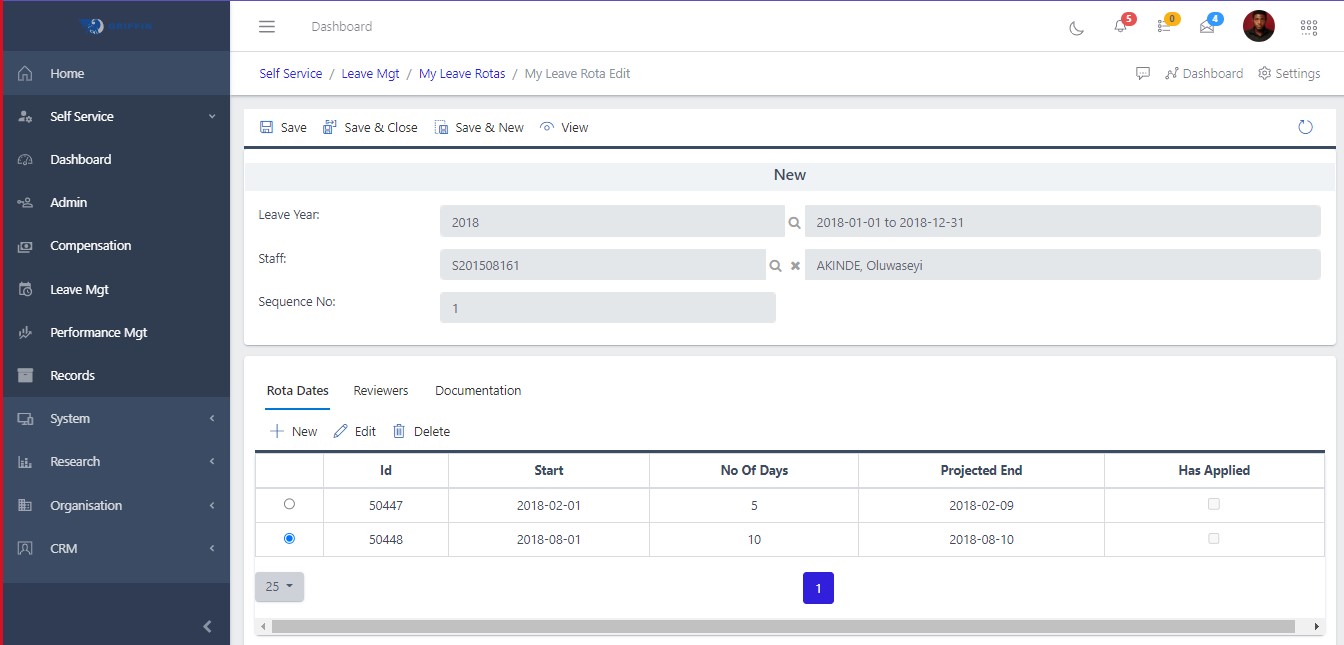
After which you are done searching the list for the staff(s) you want to edit or update, you get to see the staffs’ information displayed as shown in FIG 2.4 below.
FIG 2.4 List of staff

Note: remember all staff leave Rota are automatically generated when the new Leave Year was declared open. The Figure above shows the list of rota for staffs that are assigned to you and your own rota. To edit your rota, you need to scroll through the list to find your name and check the box beside it the click on the update button above.
FIG 2.5 Editing Rota
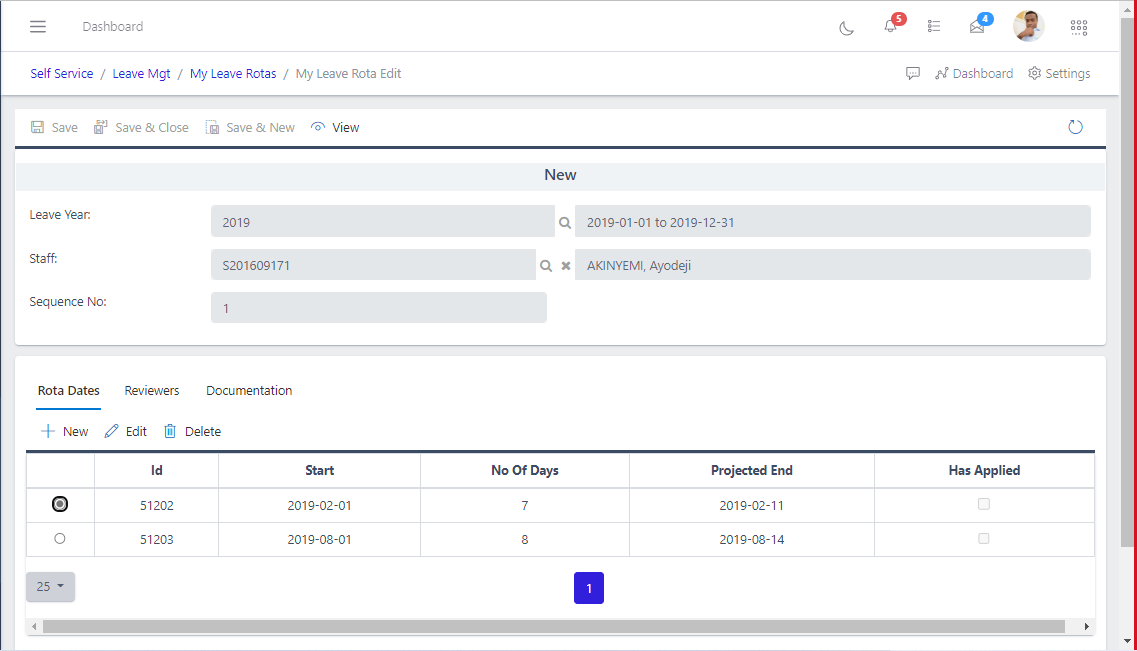
From the figure above, you can create a new rota, edit an existing rota, or delete a rota. From the other pane you can review your supervisor, add more supervisor, lastly from documentation, you can add documents.
To add to the existing rota date, you need to click on the create button . Adding to the rota dates simply means you are creating a new rota. The new rota you create must add up to the leave quota you are permitted for the year (the number of days on the newly created rota and the existing ones must add up to your leave quota).
FIG 2.5.1 Adding a new quota
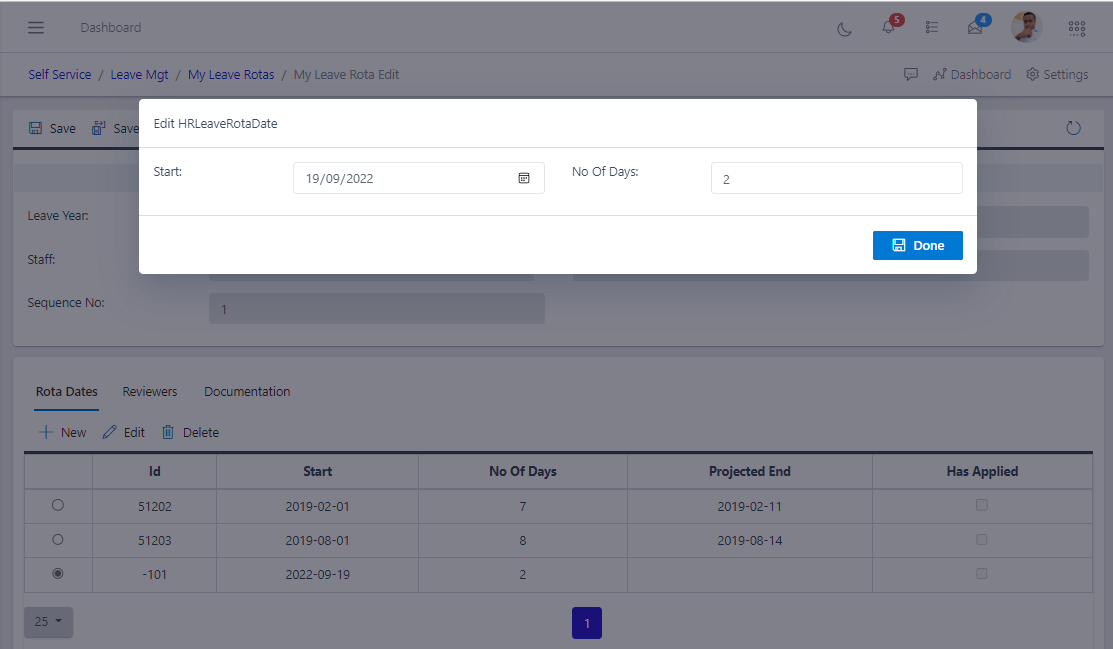
Clicking on the add button brings up the view as shown in FIG 2.5.1. You can select the number of days you want and click DONE. A new view is populated with the leave date you specify, then you can click the save button as highlighted in the FIG 2.5.2 below
FIG 2.5.2 Saving the newly created rota
You can edit the rota dates that you have by clicking the radio button beside the ID and then click on edit a new view comes up where you can edit the date and number of days as shown in FIG 2.5.1 above.
To delete a rota, you need to check the radio button beside the rota ID and click the delete button .
The reviewer pane is where you can add and remove a reviewer. A reviewer is someone that reviews your application once you send them.
Add a new reviewer: To add a new reviewer, you need to click on the add button . On clicking the add button, a new view pops up where you can select the staff you want to make your supervisor.
Edit existing reviewer: This is use to edit an existing reviewer.
Delete existing reviewer: This button in used to delete a reviewer.
After all the editing needed has been done, you need to send the rota submission for the supervisor/ reviewer to approve. To do this, you need to hit the send button, as shown in the FIG 2.6 below, to send.
FIG 2.6
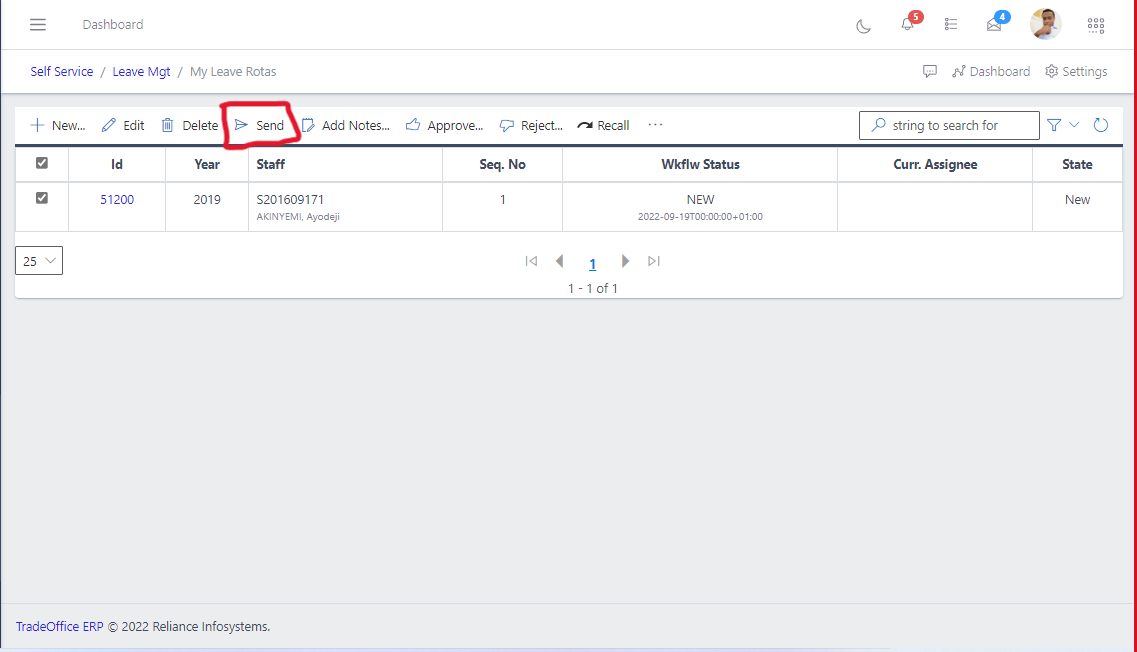
Note: On sending the rota submission, the “work-flow status” changes from “NEW” to “SUP_APPROVAL”. If the staff have more than one supervisor, then the status will change to “SUP1_APPROVAL”.
After a leave rota has been sent and there is a discovery of error on the part of the staff, the staff can move to recalling the leave rota by clicking the recall button as shown in the FIG 2.7 below.
FIG 2.7
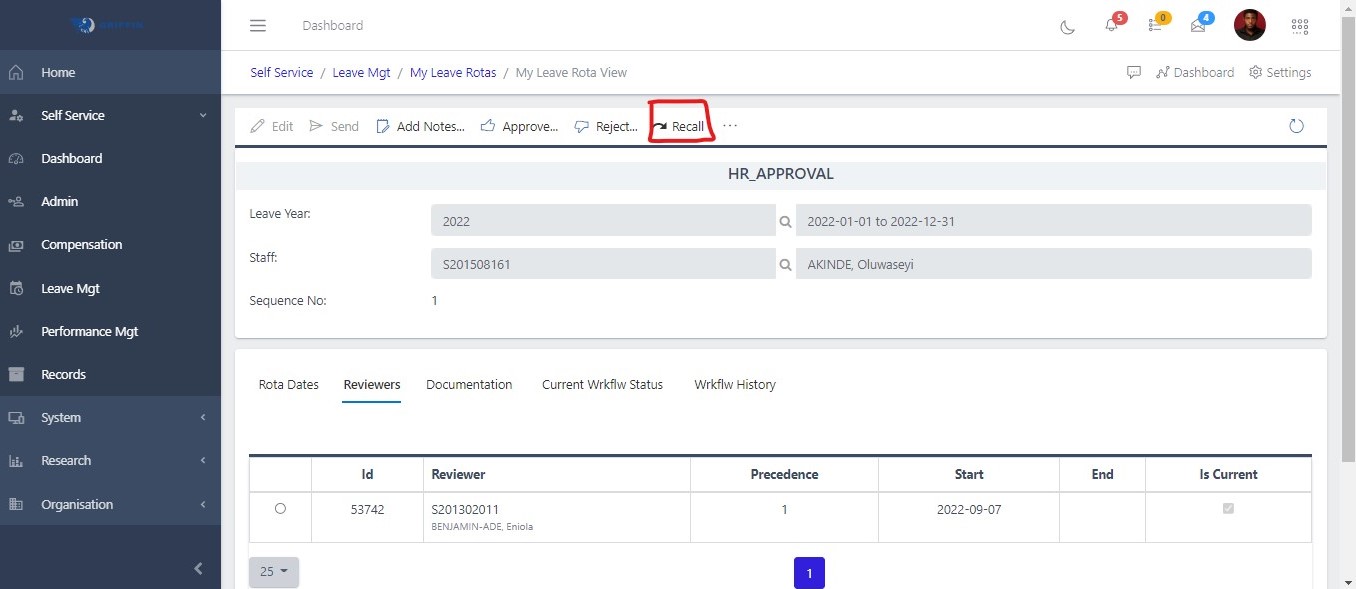
Note: after clicking the recall button, the “work-flow status” changes from “SUP_APPROVAL” to “NEW”.
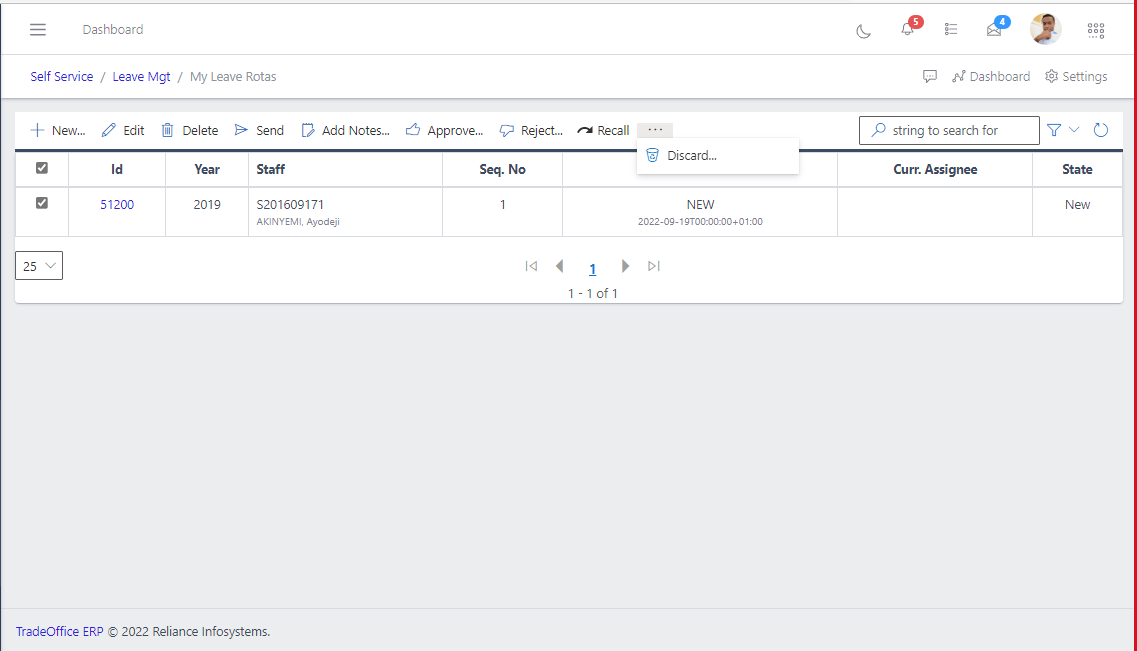
Rota submission discarding is also possible when the rota submission is viewed. Discarding a rota submission changes its “work-flow status” to “Discarded” and creates a new leave rota entry with the previous dates and splits. To discard, you need to click the discard button as shown in the FIG 2.8.1 below.
FIG 2.8.1
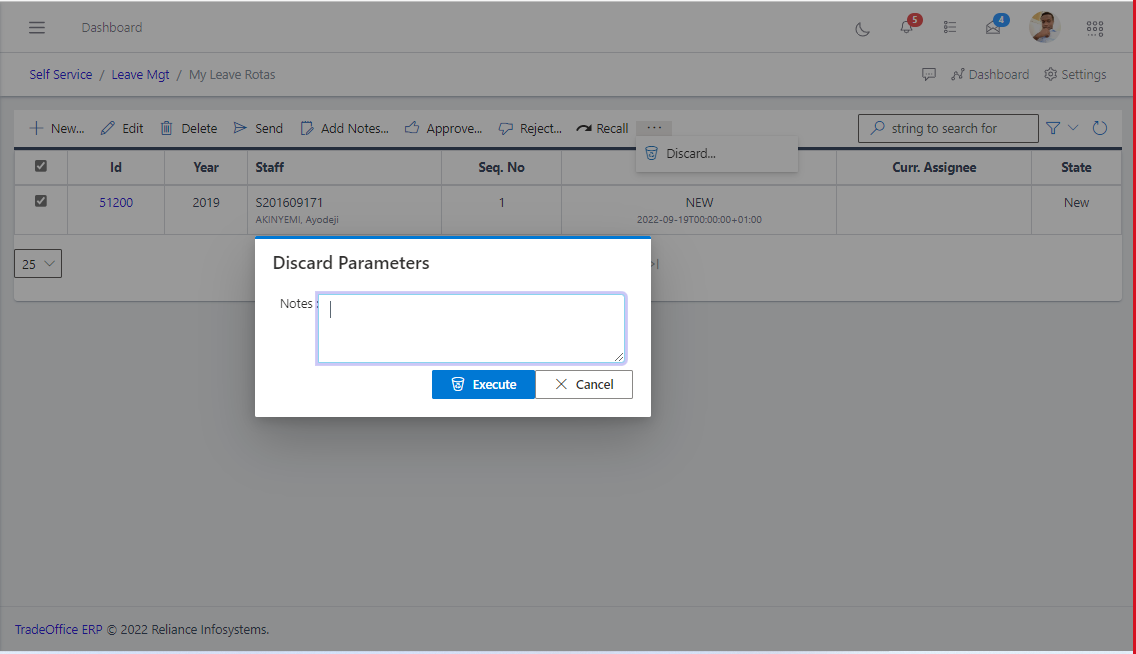
Clicking the DISCARD button pop-out a new screen to ass note on why you choose to discard as shown in the FIG 2.8.2 below.
FIG 2.8.2
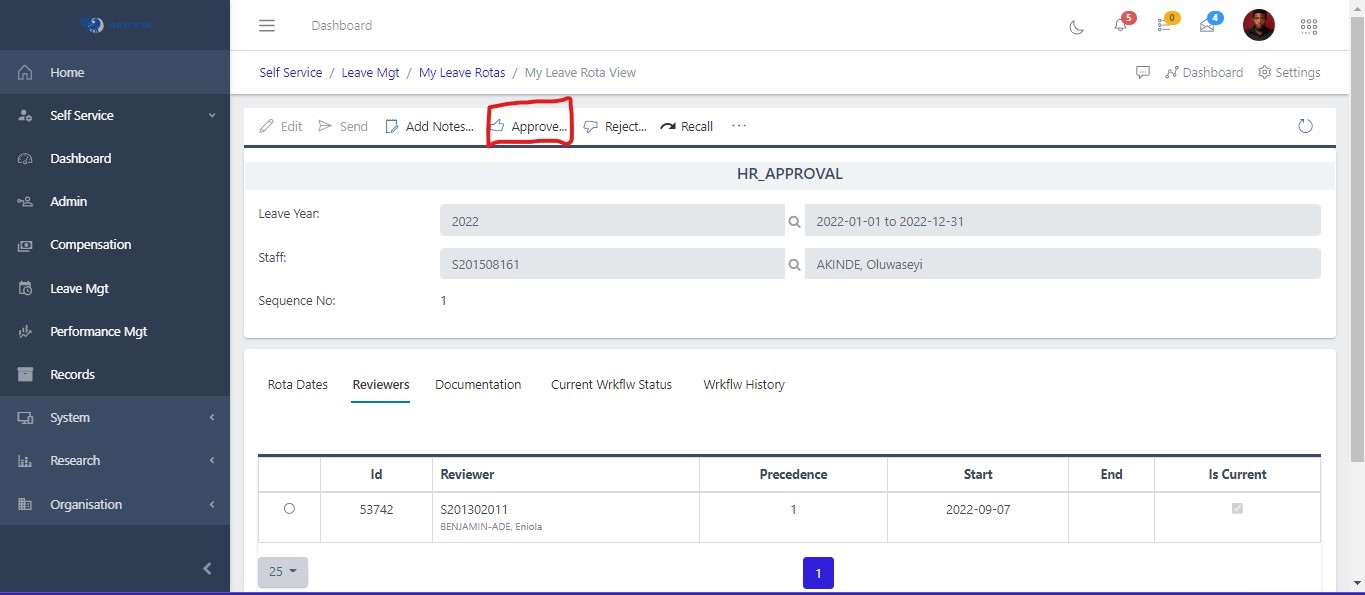
To approve a leave rota, you need to click the approve button. From the new screen that pop-out, add the comment and click execute as shown in the FIG 2.9 below. You can only approve if you are a reviewer/supervisor and you are reviewing for a staff.
FIG 2.9
To reject a rota submission,