Title here
Summary here
The vendor group serves as utility that helps to logically group or categorize vendors within a particular organization. These vendors may be grouped or categorized based on the kind of services they are subscribed to in an organization. An organization can have as many vendor groups as they want.
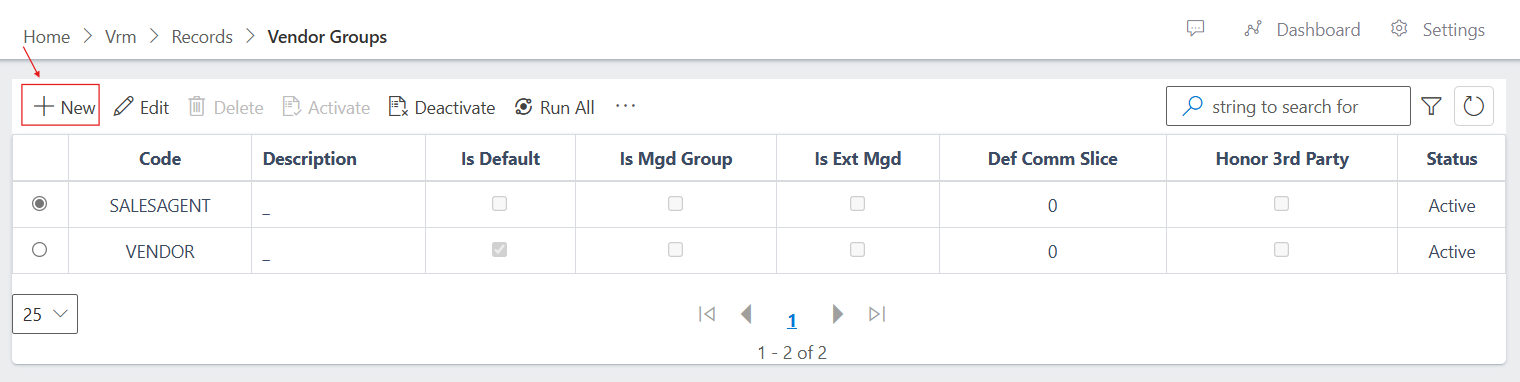
To navigate to the vendor groups submodule, from the homepage of the ERP, on the side bar navigation locate the “vrm” module and click on it, you will see a list of drop down menus, select the “records” sub menu in the dropdowm menus, you will have the records dashoard displayed with different sub modules, now select the “vendor groups” menu. see image below

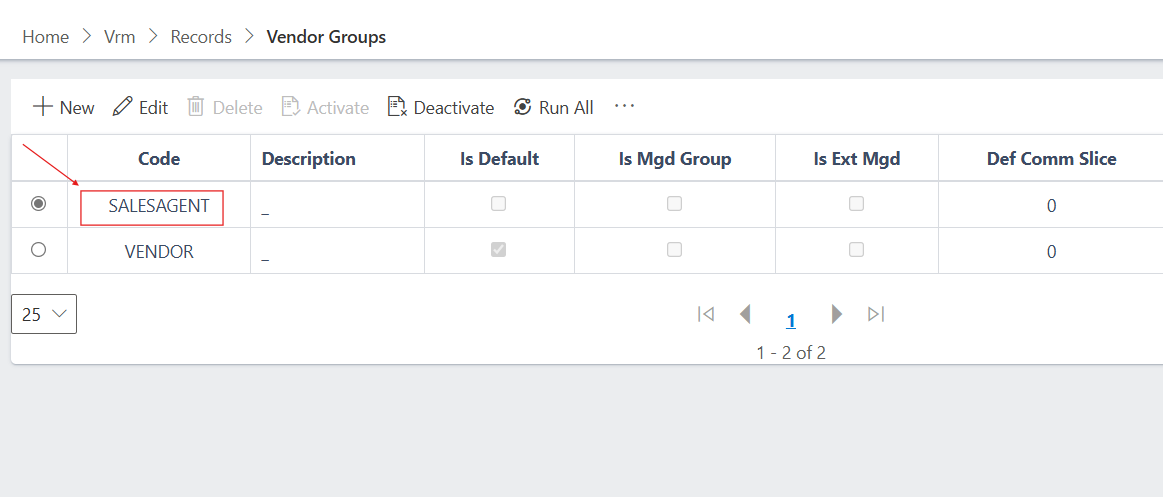
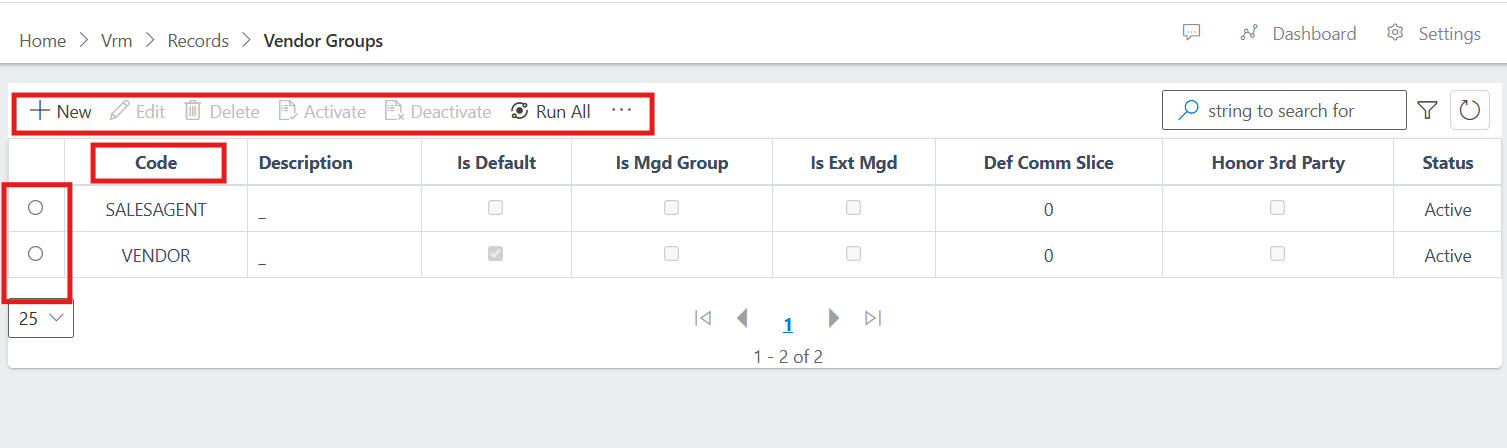
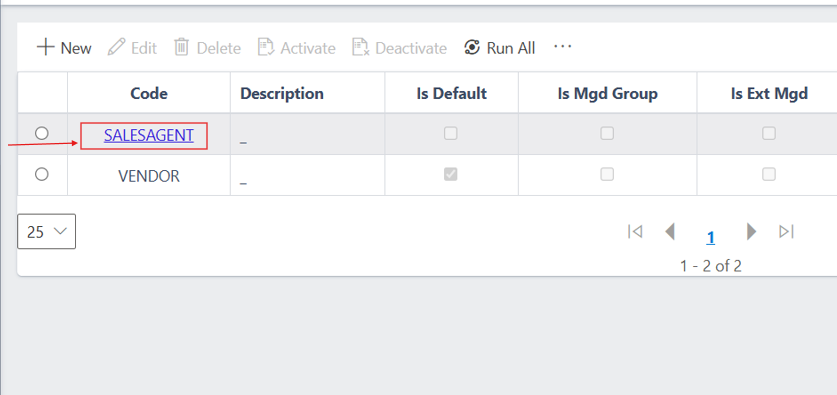
In the image below you have a centralized list of all vendor groups and properties for each. You also have a list of commands (highlighted in the image below) above the vendor group list that you can use to perform various actions on a particular vendor group by selecting the radio button on the left hand side of the vendor group name.
Also in the image below you will notice the headers on the table, the code tab shows the name of the vendor group.
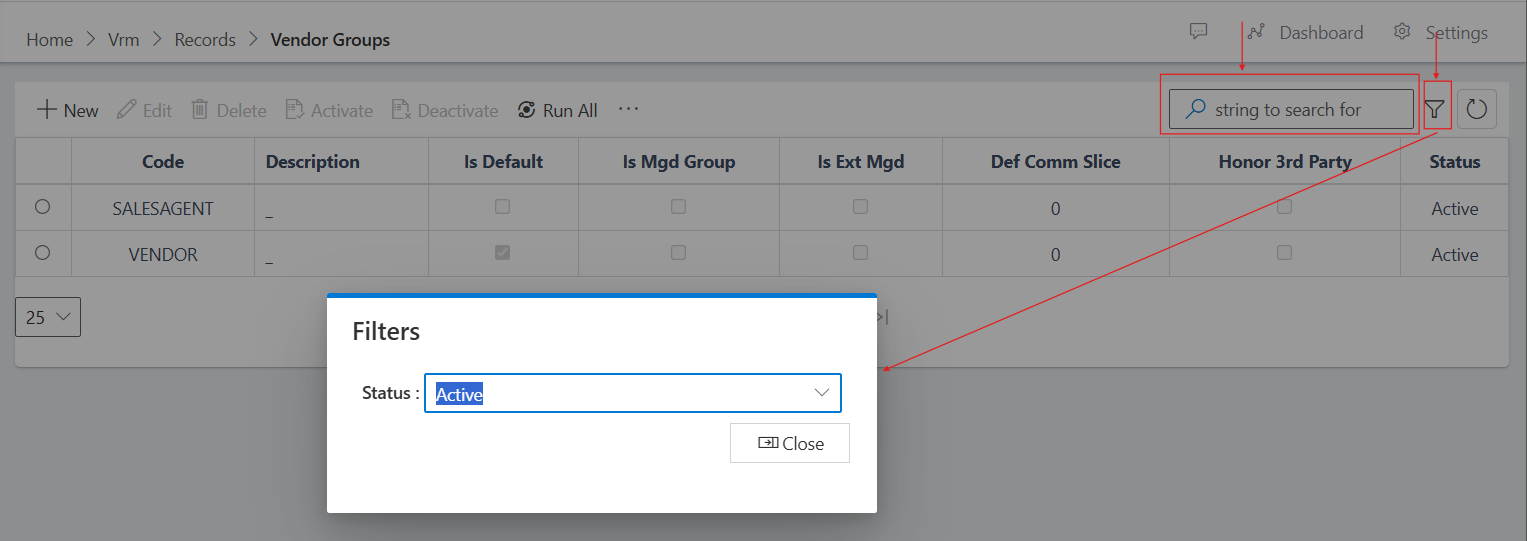
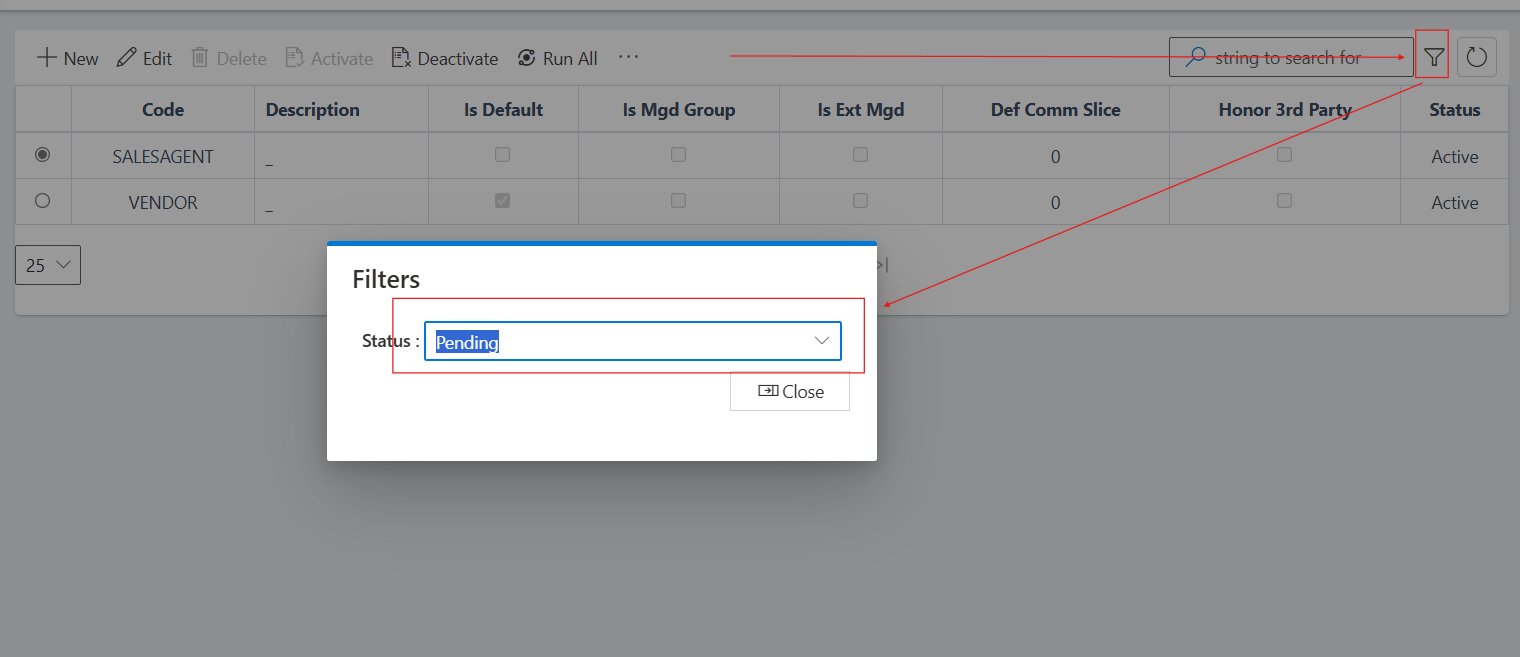
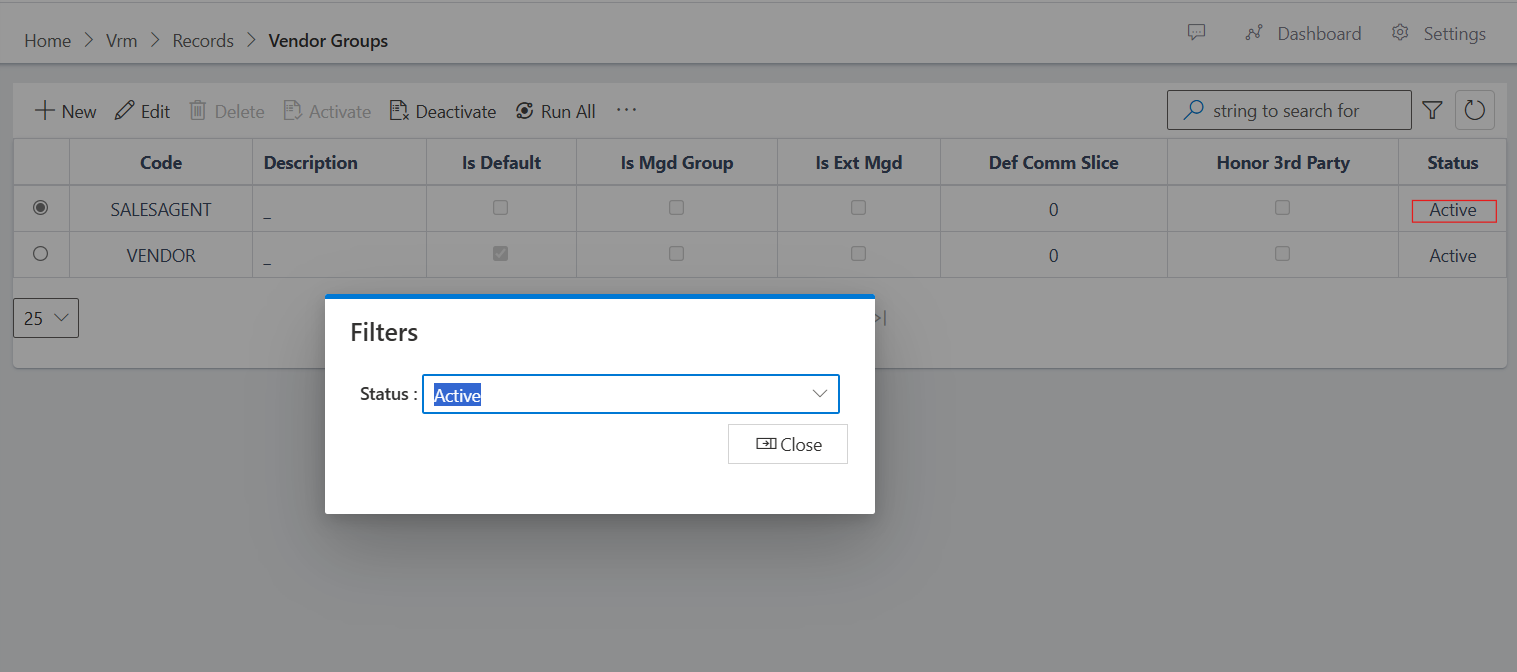
You can filter the vendor groups using the filter button (funnel icon) on the right side of the search bar. You can search for a vendor group using the code, you can filter your search by the vendor status as shown in the image below.
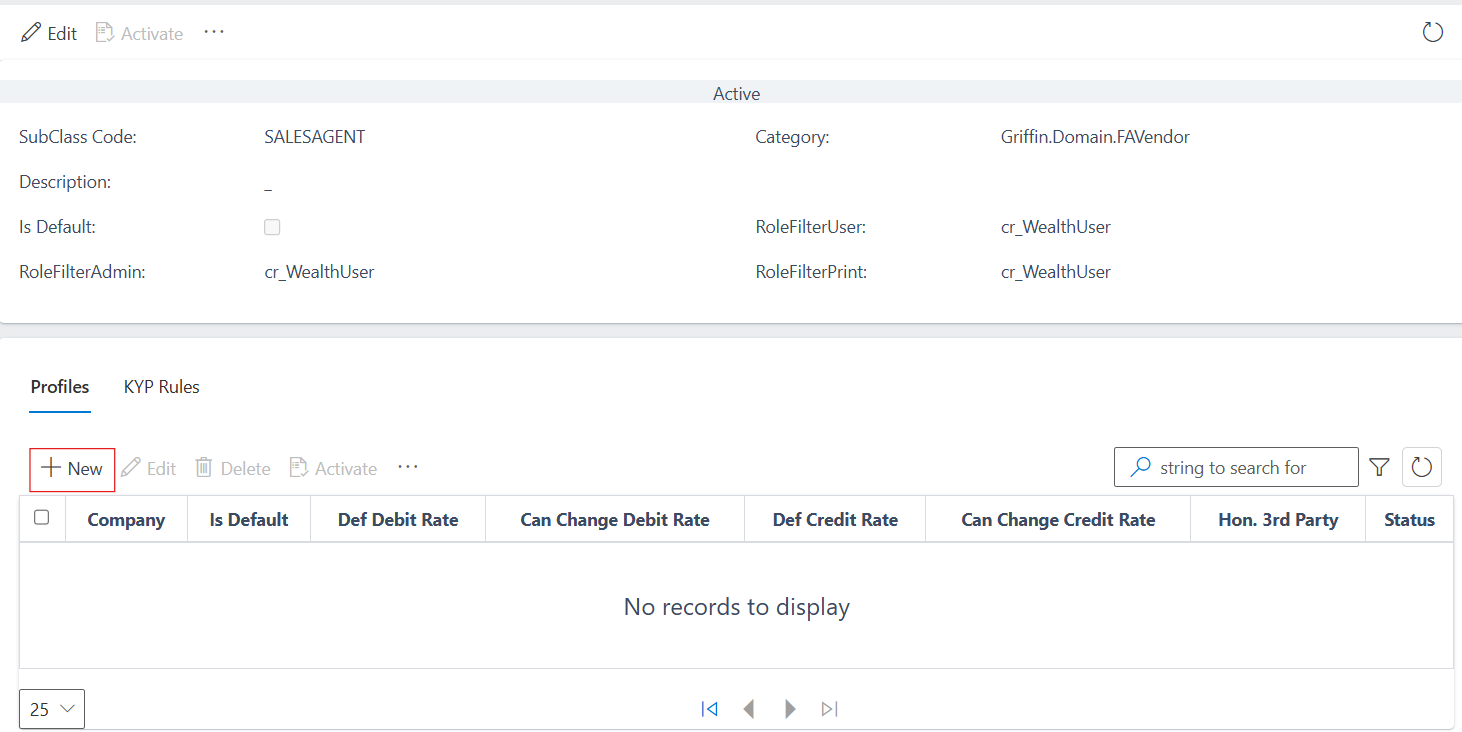
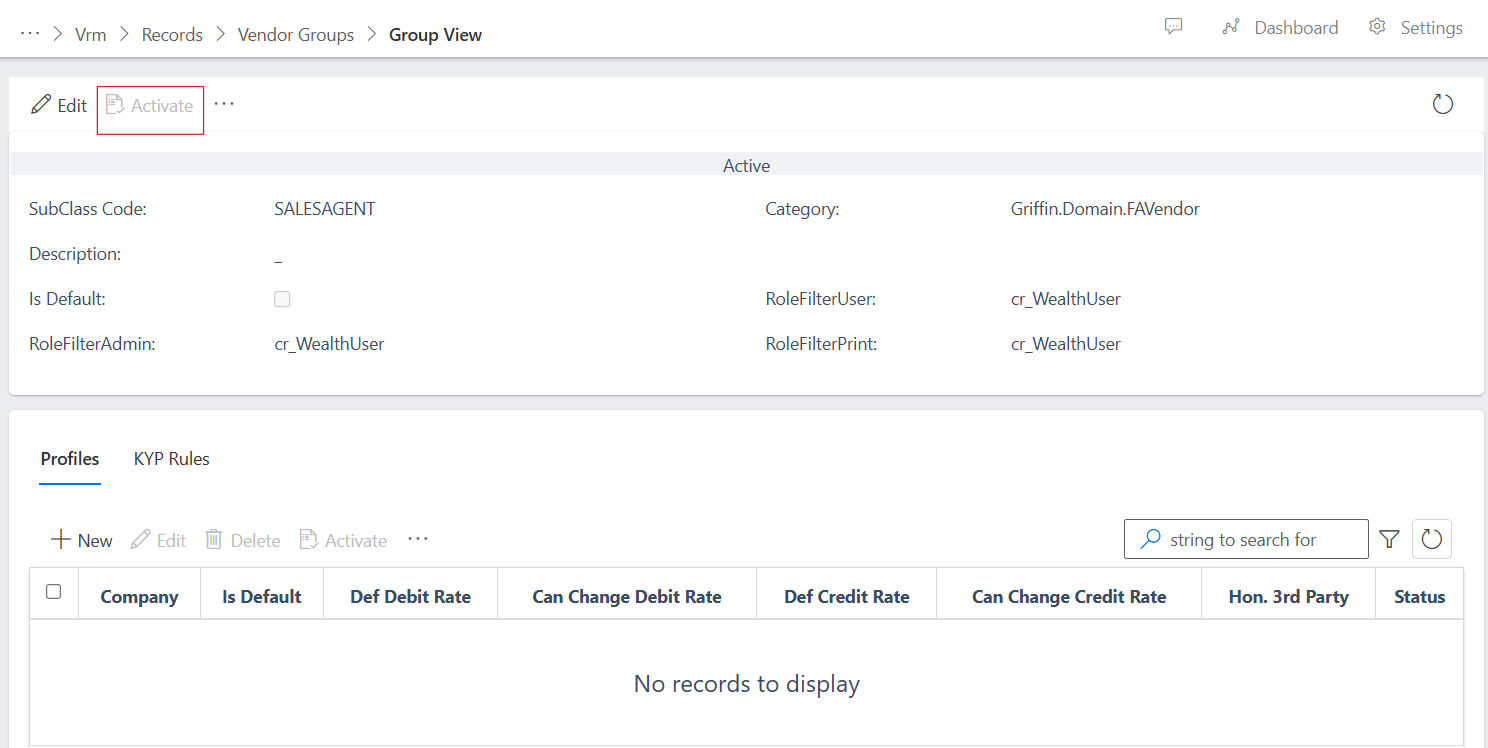
Also, to view the total information of a vendor group, you click on the name of the vendor group.
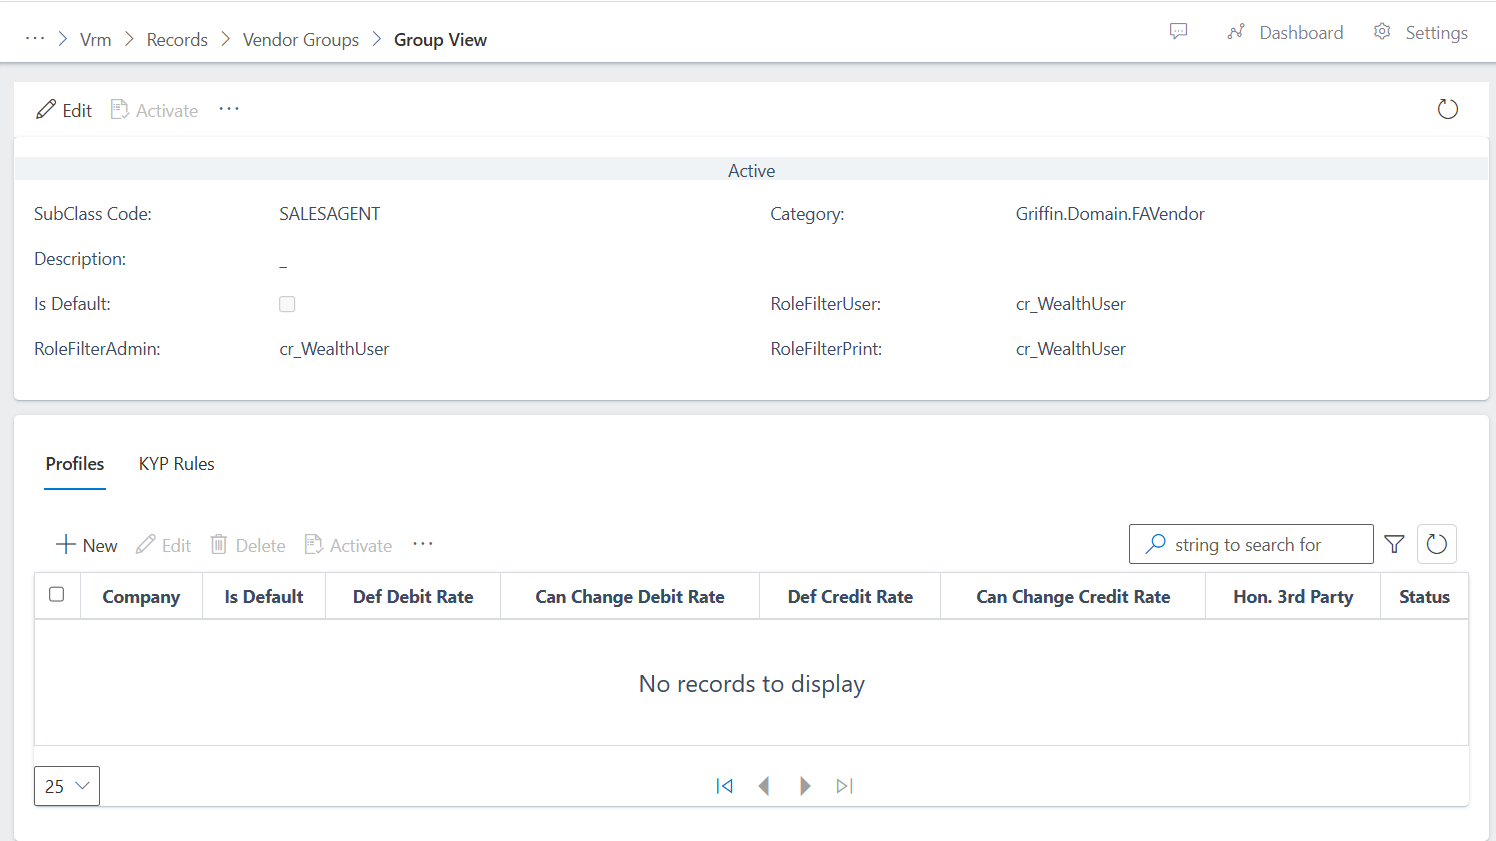
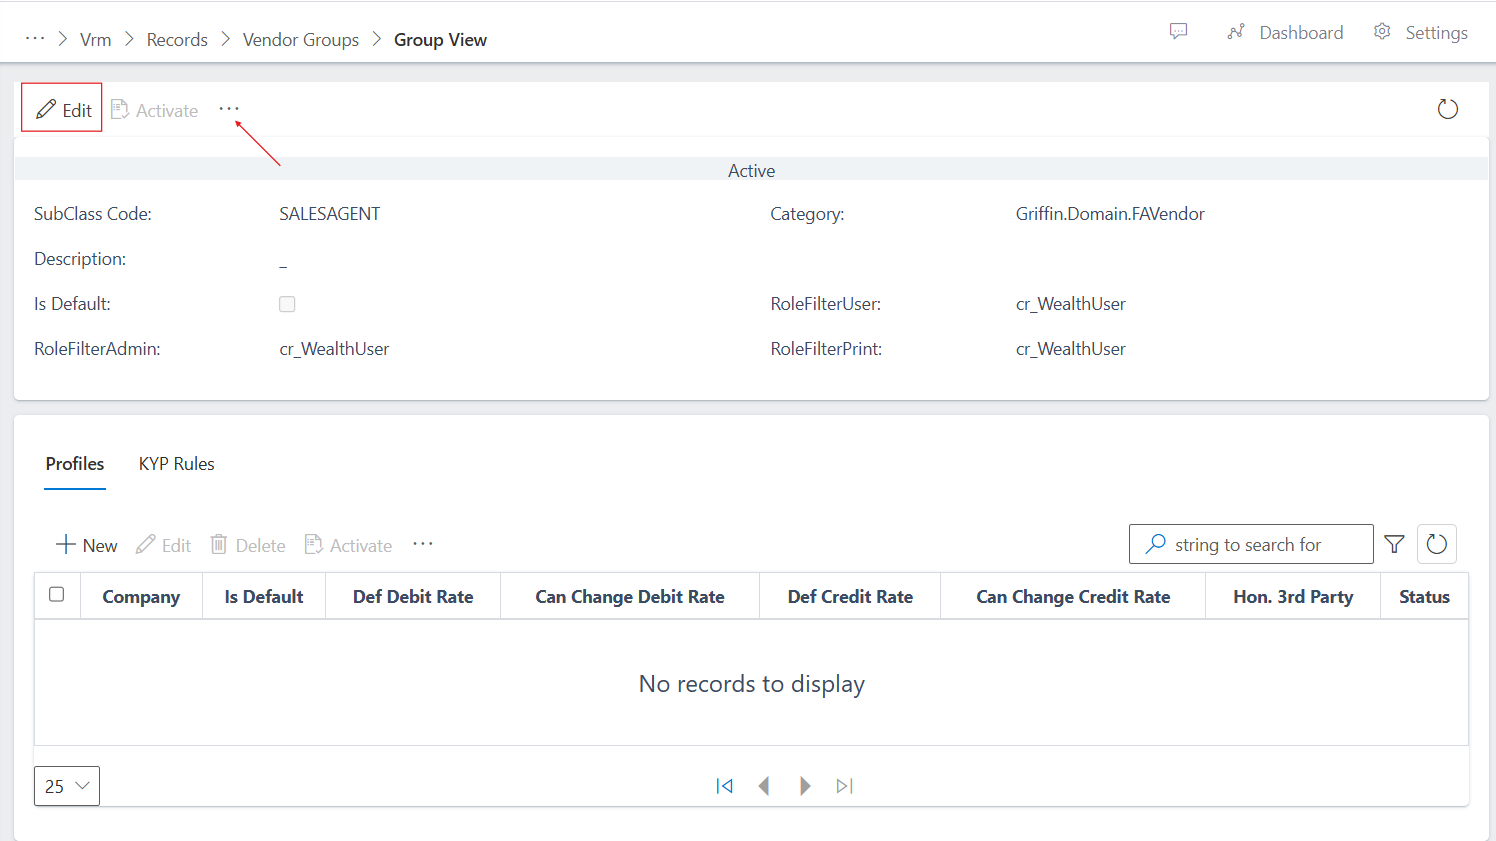
You can also edit the basic information of the vendor group and you will also notice the three dots (…) after the activate command, you can click on it to access more command options as shown below.
To create vendor group, follow the steps below:
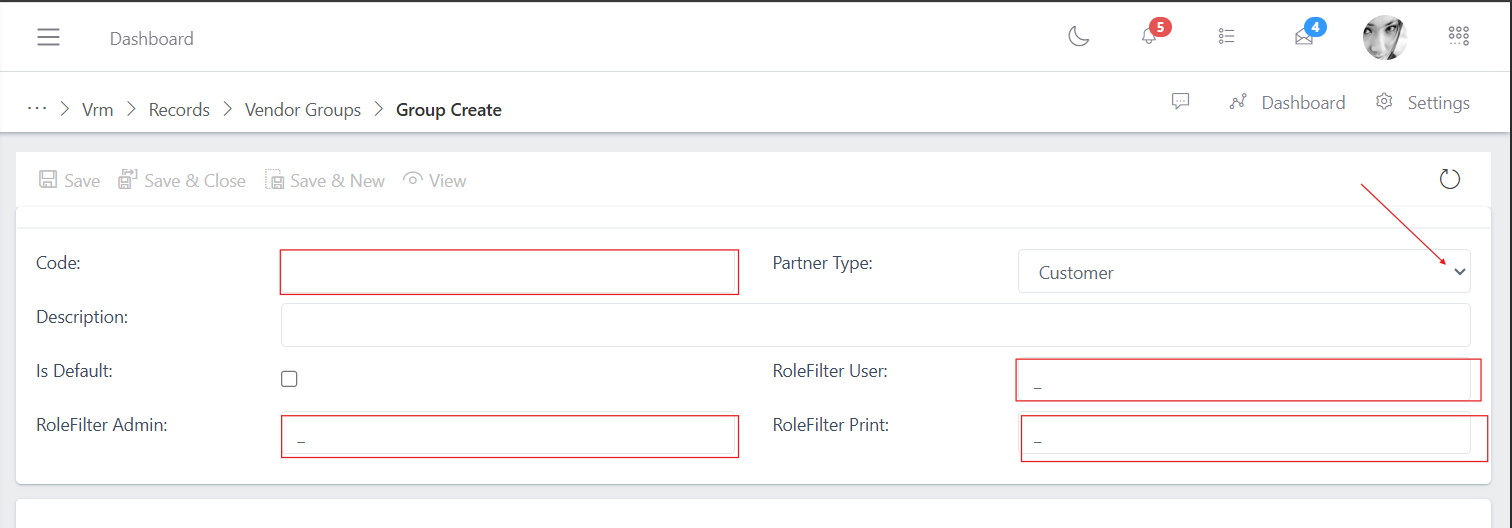
After filling all the necessary details completely, click on the save button to save the vendor group information.
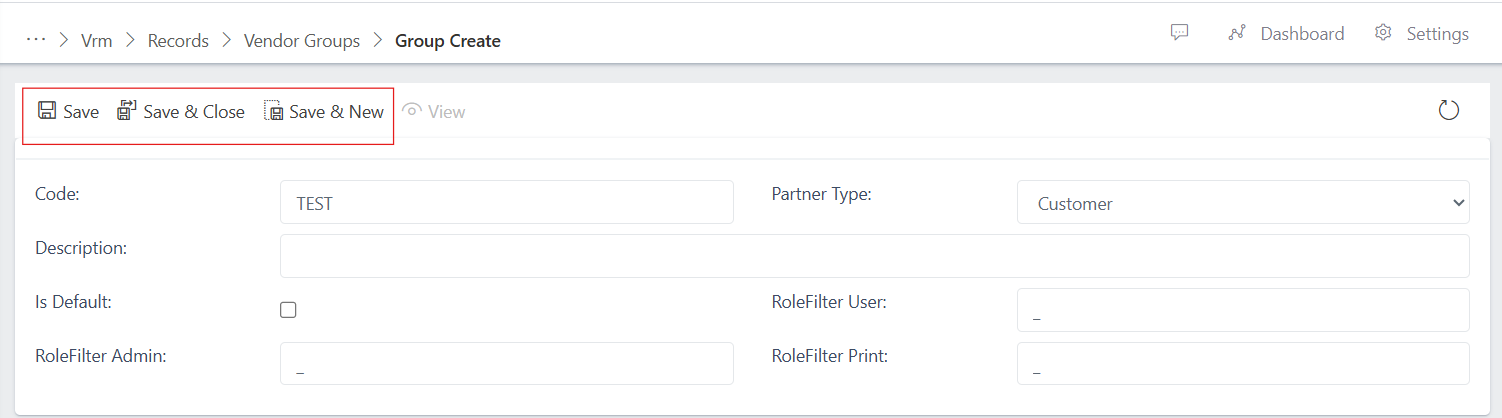
Whenever you save an entity for the first time, it assumes a pending status (see image below),
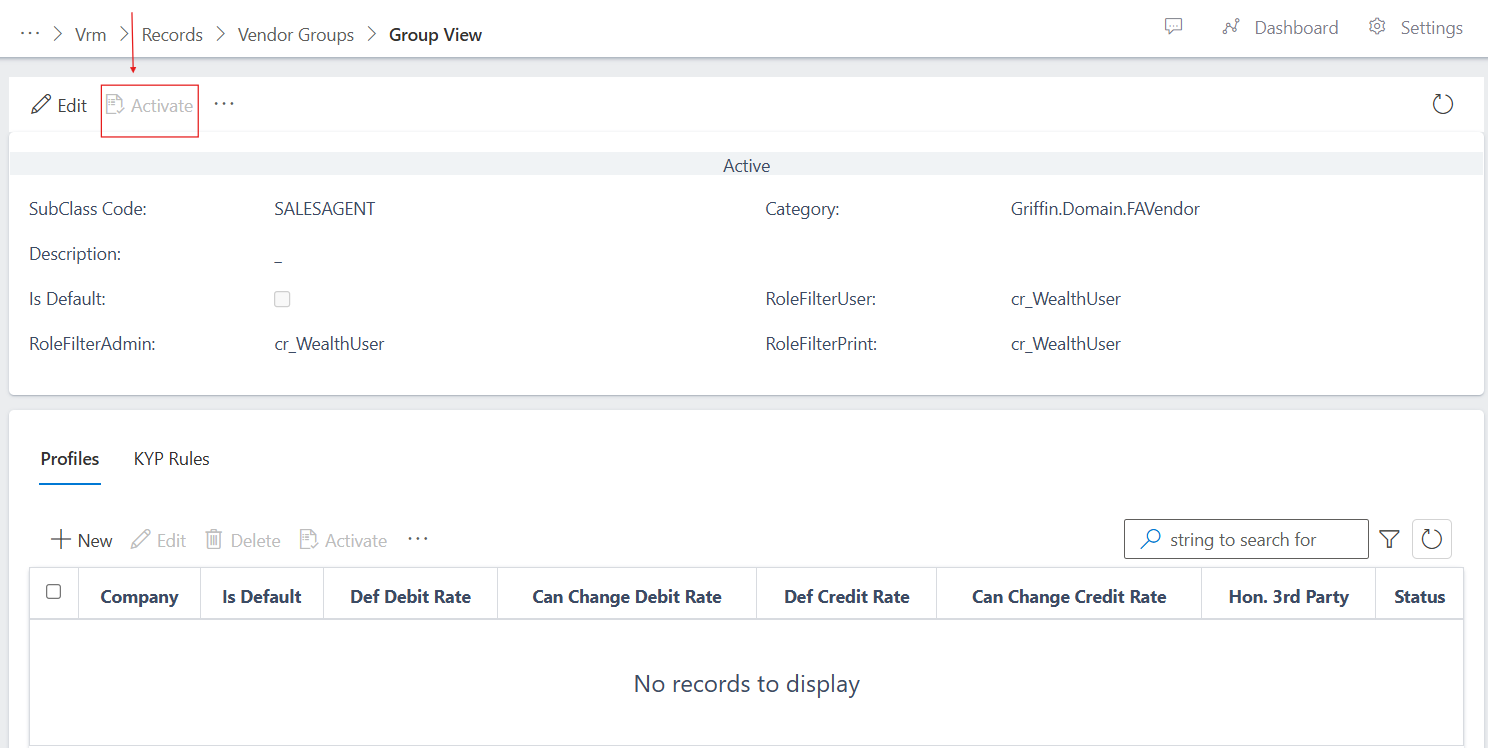
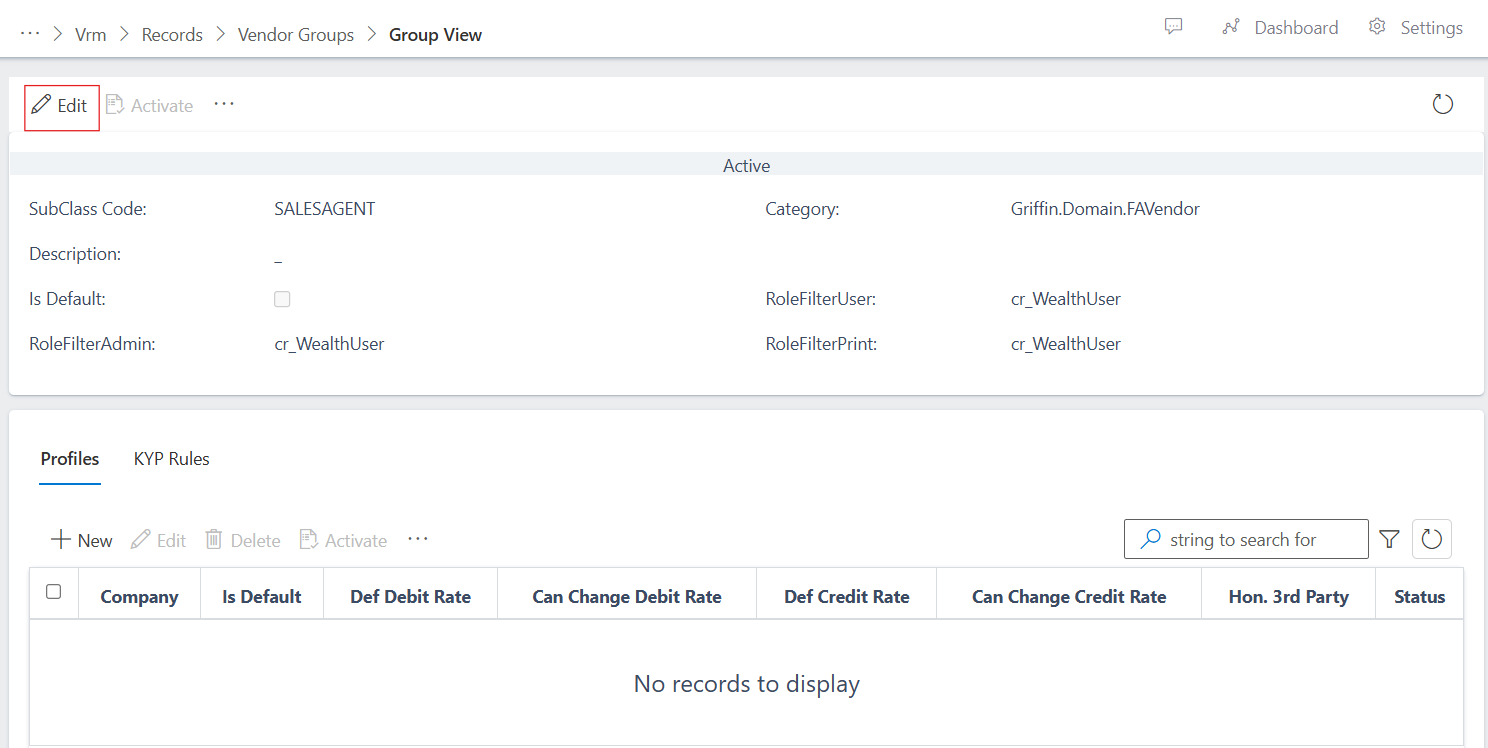
To activate the vendor group you can either click on the view button: where it takes you to the vendor group information view and then you click the activate button as show in the images below:
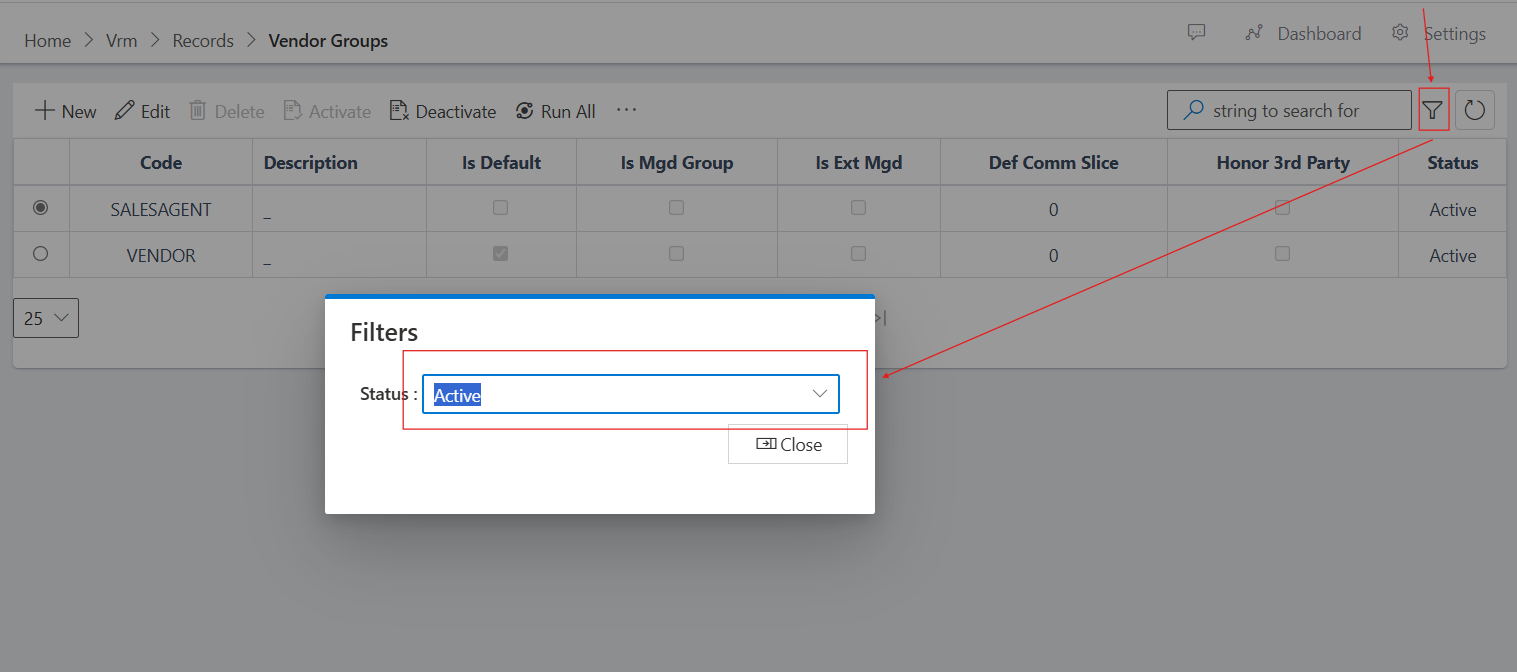
Alternatively you can also directly activate vendor groups from the vendor groups list view. This is usually the case when the operator initially clicks on the “save and close”, the app saves the vendor group details and then takes you to the vendor groups list where you will have to filter for “pending” since newly saved entities (vendor groups in this case) assumes a pending status or “all” to spool all entities irrespective of thier status. see image below:
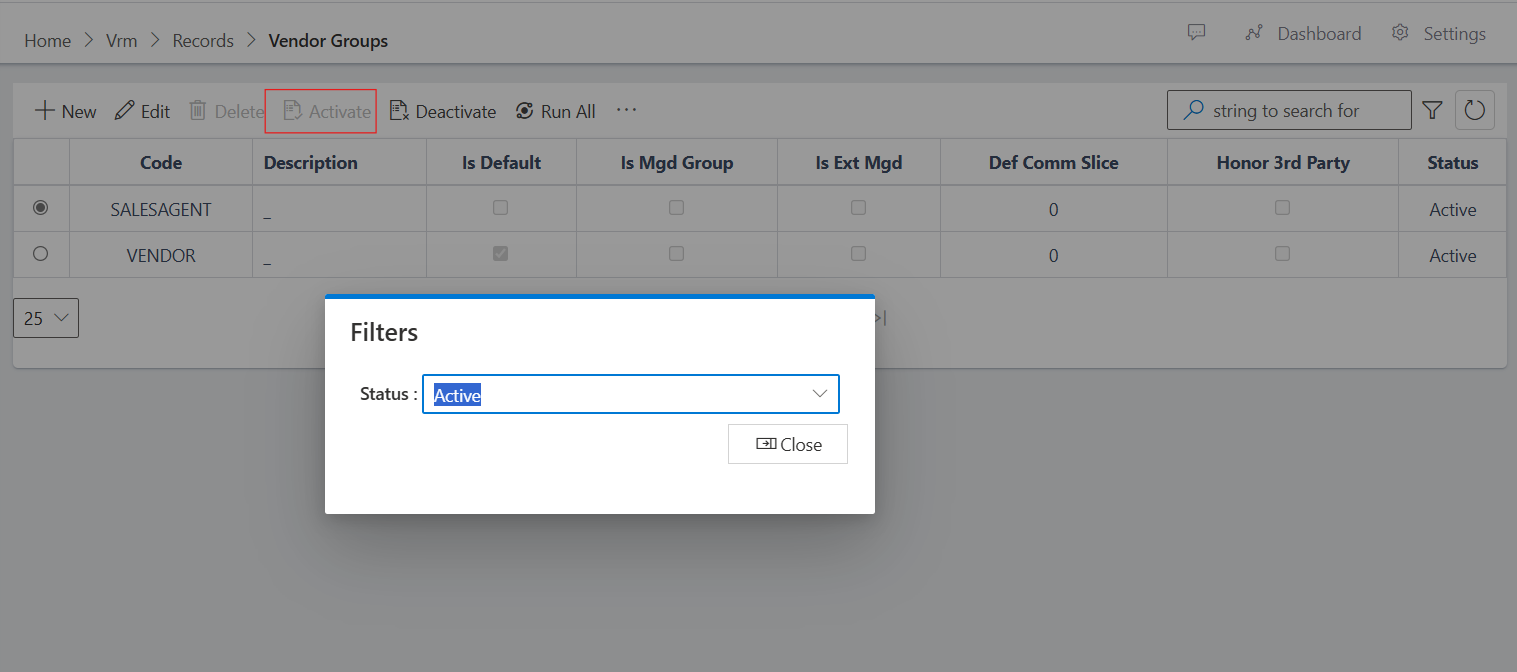
Now, to activate the BDC vendor group as shown in the image above, click on the radio button on the left hand side of the BDC vendor group and then click on the activate button above on the command bar area. see image below:
After clicking on activate, the status of the newly created vendor group changes from pending to active as shown below:
A profile must be created for a vendor group in order to link the vendor group to the company that it will reside in within the app.
Note: This step is also very crucial in order to allow successful vendor onboarding when creating a vendor on the app, because the vendor group for the onboarding vendor will be required and if there is no matching company profile linked to the vendor group, the vendor onboaring details will fail to save.