Title here
Summary here
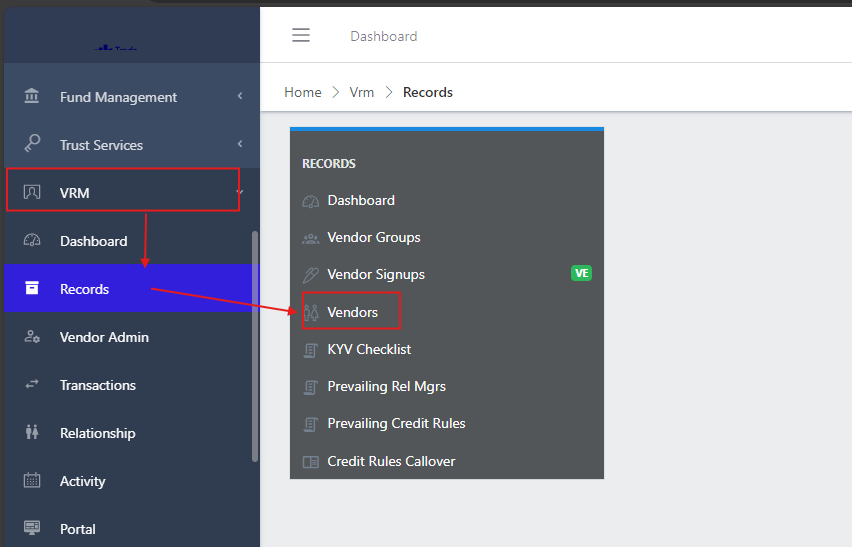
To navigate to the vendor submodule, from the homepage of the ERP, on the side bar navigation locate the “vrm” module and click on it, you will see a list of drop down menus, select the “records” sub menu in the dropdowm menus, you will have the records dashoard displayed with different sub modules, now select the vendors menu. see image below
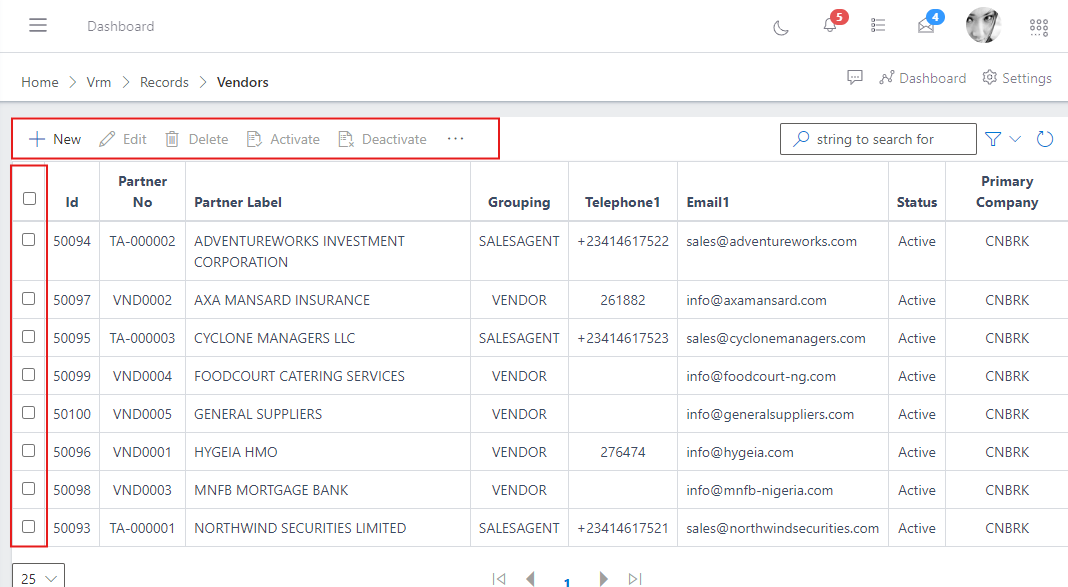
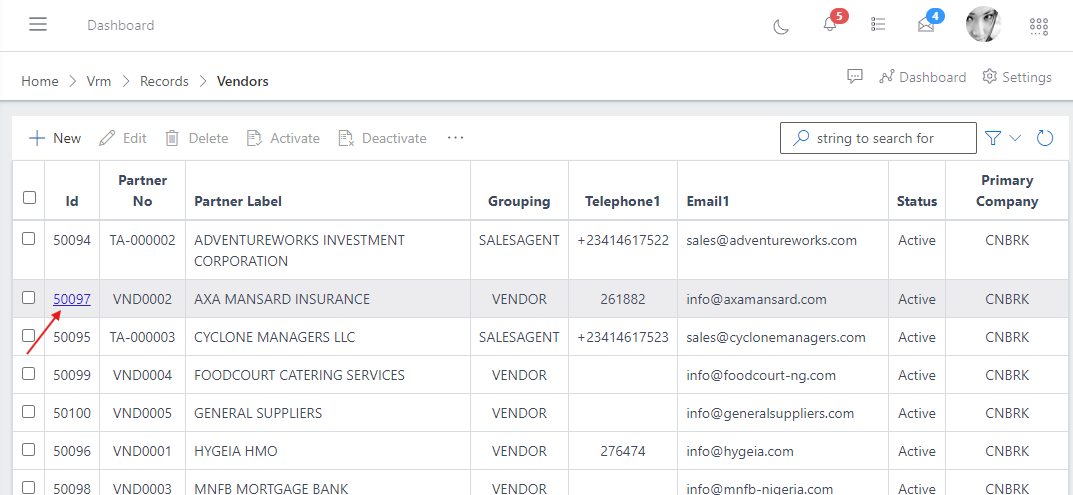
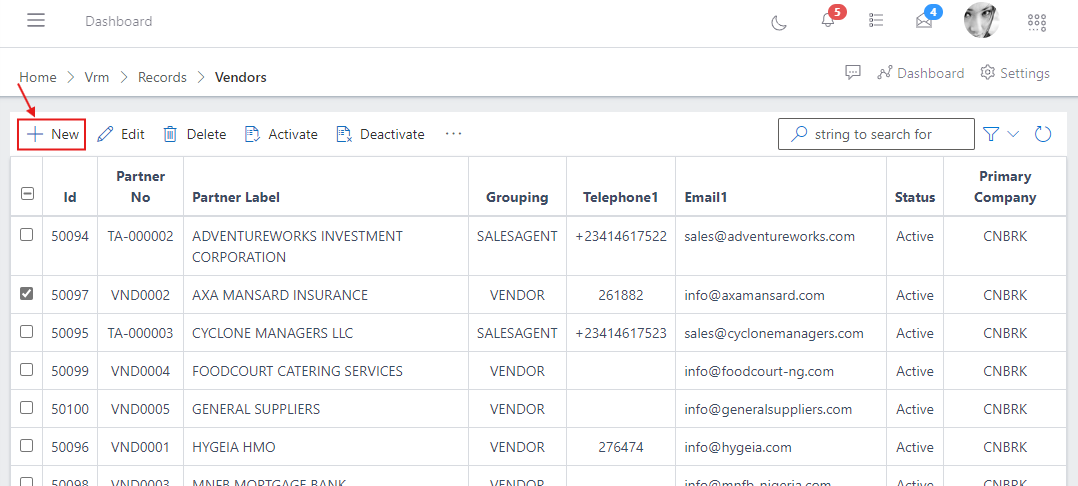
In the vendors view you have a centralized list of all vendors with a summarized information view. You also have a list of commands (highlighted in the image below) above the vendor list that you can use to perform various actions on a particular vendor or group of vendors by selecting the checkbox on the left hand side of the vendor’s ID.
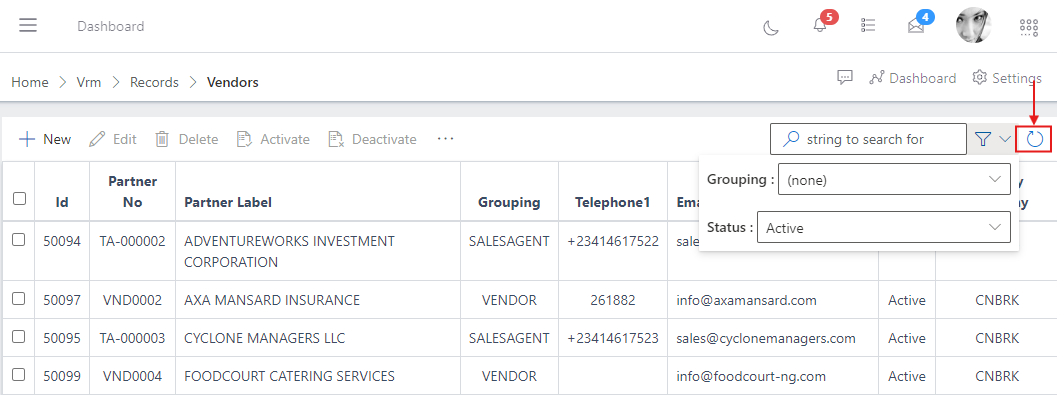
You can quickly search for a vendor with thier names, ID or vendor number using the search bar and you can also narrow down the specifity of your search using the filter button (funnel icon) on the right side of the search bar. You can search for a vendor and filter your search by the vendor’s company, group, status, etc as shown in the image below.
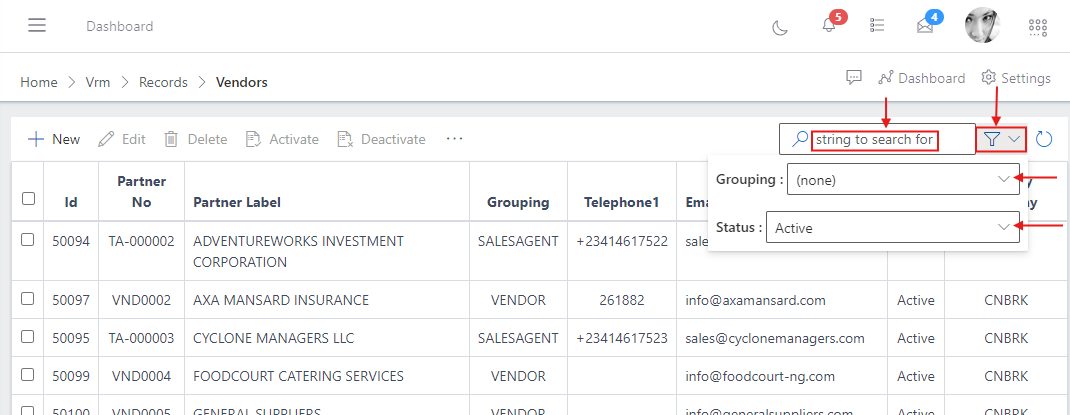
Also, to view the full information of a vendor, you click on the ID of the vendor.
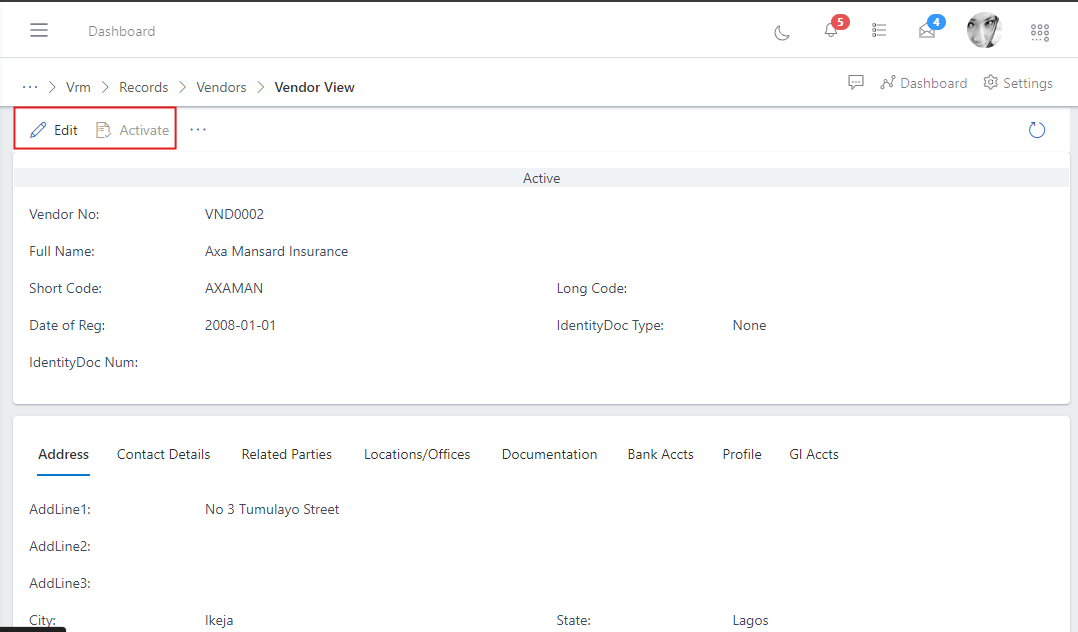
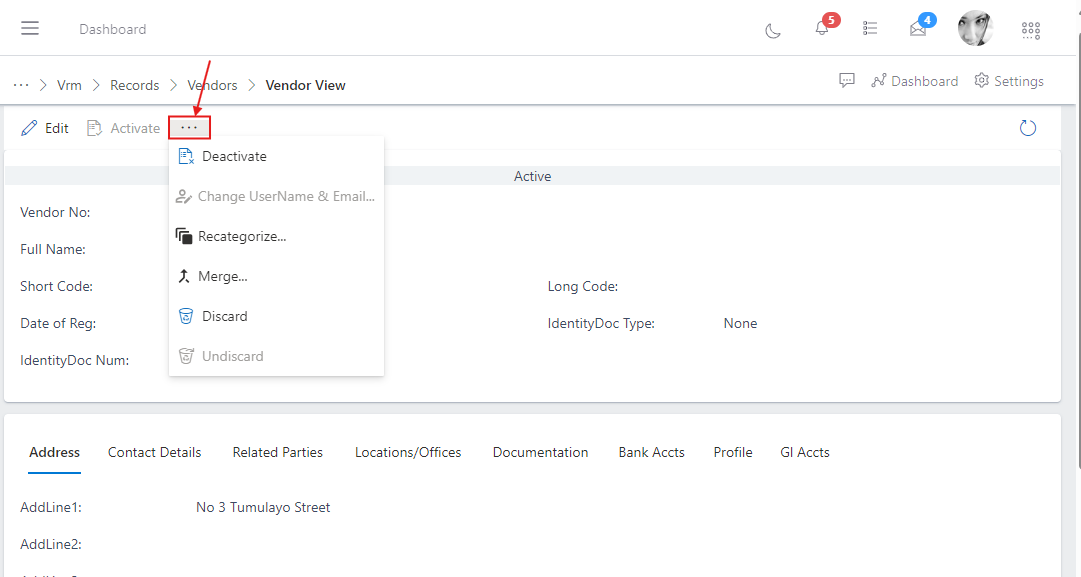
In the image above you will notice the commands above that was highlighted, you can either choose to edit the vendor details or activate the vendor. You will also notice the three dots (…) after the activate command, you can click on it to access more command options as shown below.
To onboard a new vendor, follow the steps below:
Navigate to the vendors section under the records sub-module of vrm module: see how to navigate in the section above.
In the vendors section you will see the list of existing vendors and a button named “new” at the top left corner where you have a list of commands. click on the “new” button.
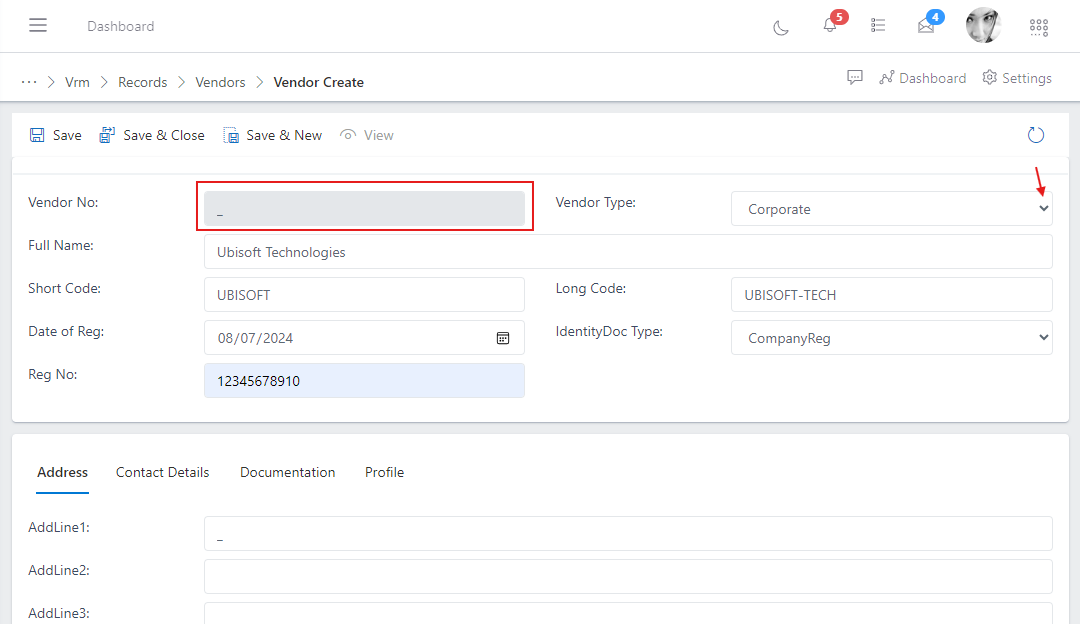
In the image above you will notice the “vendor no” field is greyed out, it will be automatically generated once the vendor information is saved. And on the right you have the “vendor type” drop down menu options, click on it to choose the type of vendor you are onboarding, the vendor could be an individual, Enterprise, a coroporate body etc as shown in the scenario above.
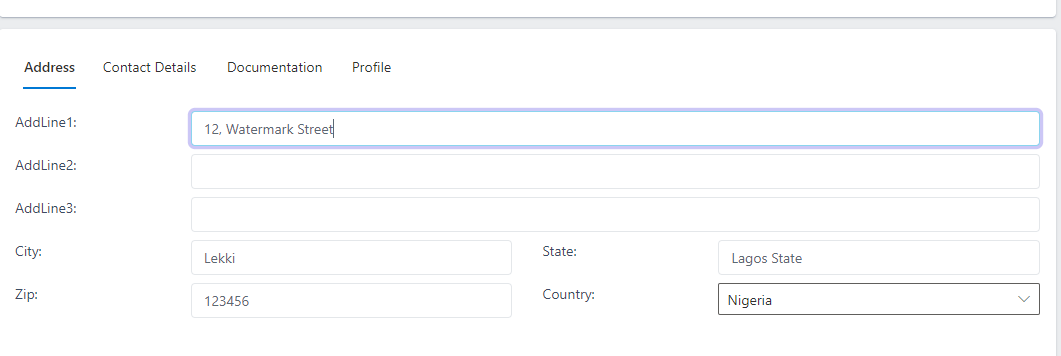
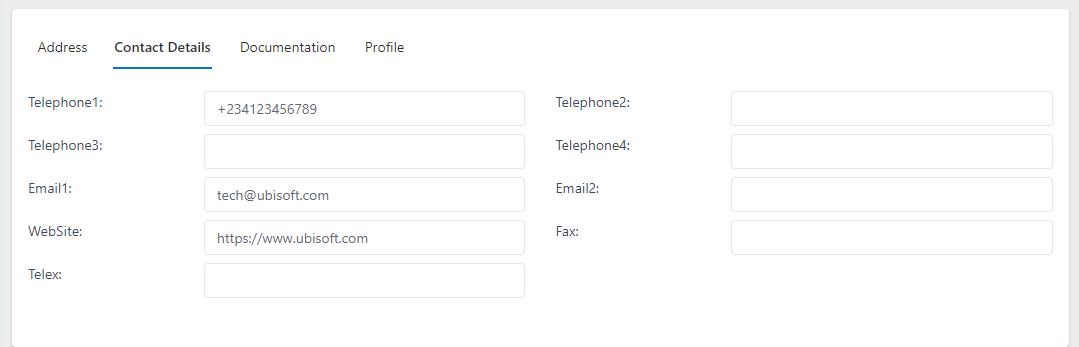
In the image below, still on the same page of the vendor onboarding form, at the bottom you have a table of sections to fill in the address, contact details, Documentation and profile information of the vendor that is being onboarded. note: The necessary details in these fields must be filled.
To do this, click on the new button under the documentation tab as shown in the image below

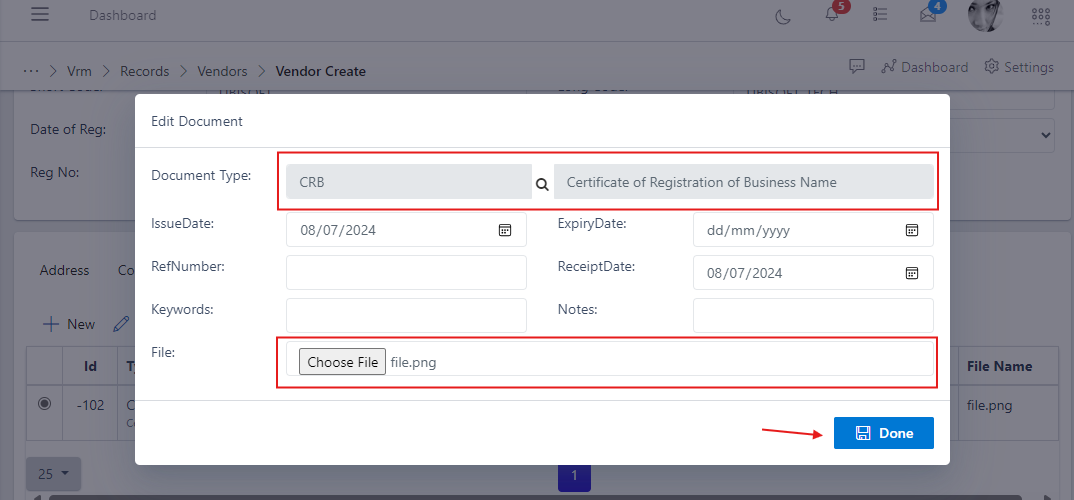
Select the document type and choose the softcopy of the document you want to upload from your computer, in the example below, the selected document type is a Certificate of Registration of Business Name (CRB). Also fill in the issue date and expiry date of the selected document if applicable, click done to save.
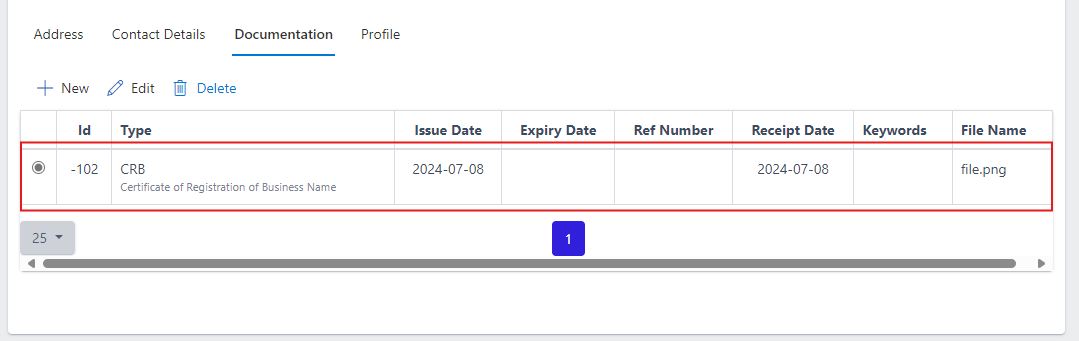
After successfully adding a document, you should see it as shown in the image below, you can add as many document as necessary.
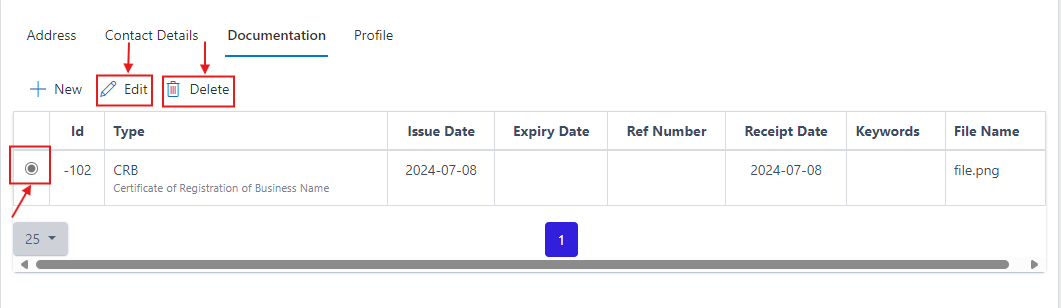
You can also edit or delete a document by first selecting the radio button on the left side of the document ID and then selecting the edit or delete button as the case may be, see image below:
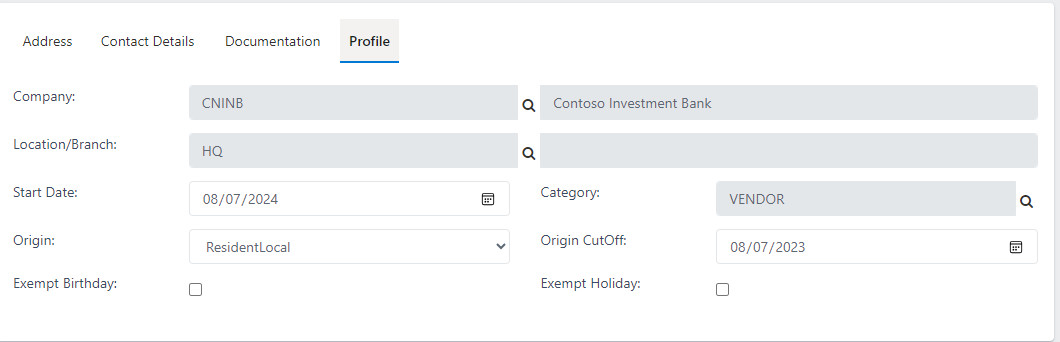
Add all the necessary vendor profile information as shown in the image below
Note: The Category field, is also known as the Vendor Group. This is where you determine which group the vendor belongs to.
AFter filling all the necessary details completely, click on the save button to save the vendor information.
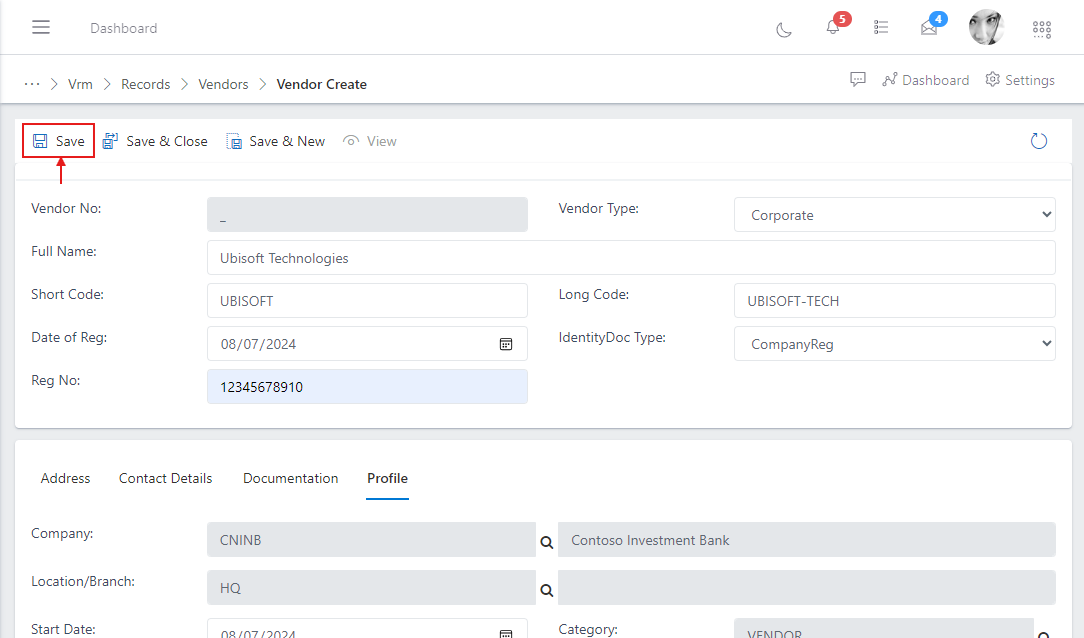
If you notice the image above you will see “save”, “save & new” and “save & close” buttons.
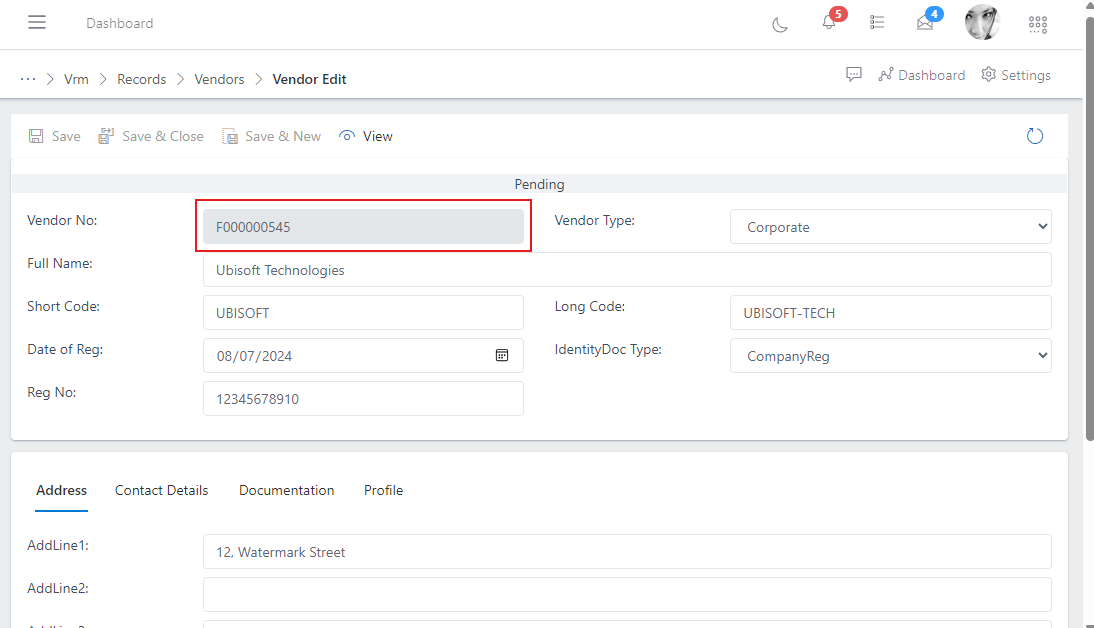
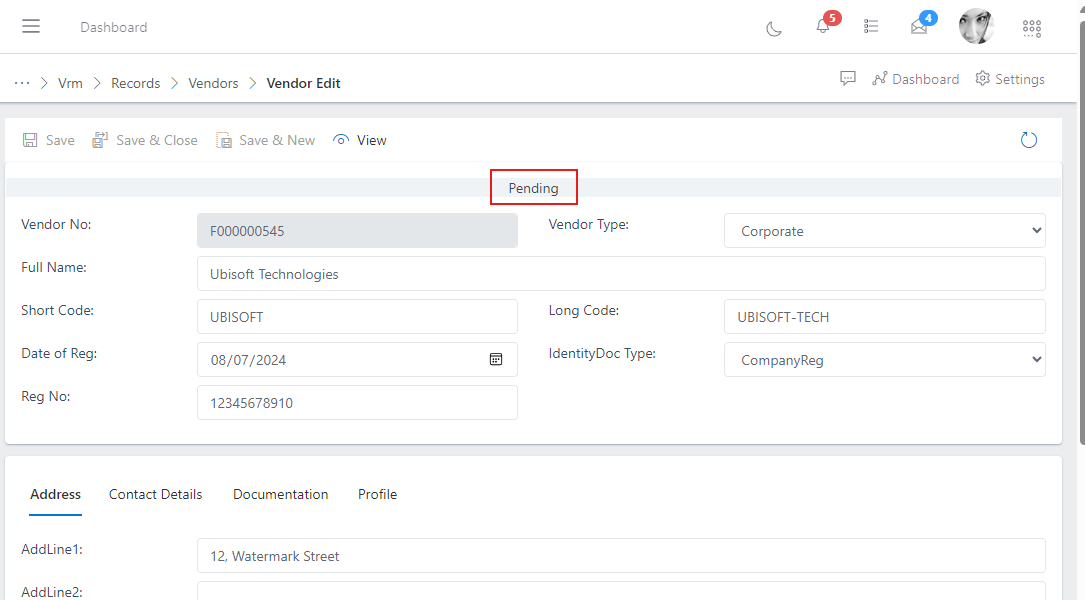
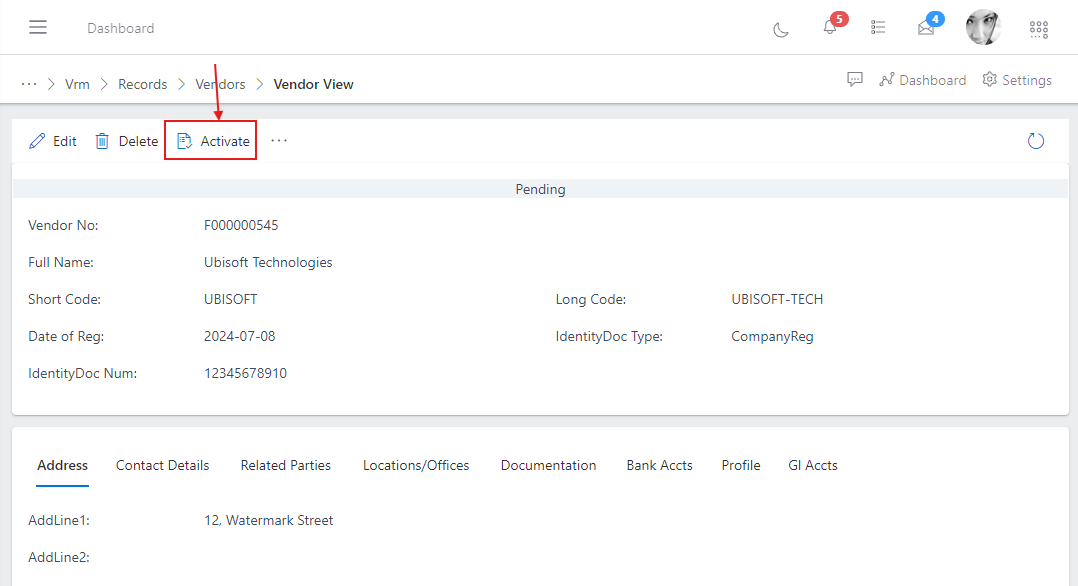
Whenever you save a vendor information for the first time, they assume a pending status (see image above), this is to allow whoever is in the operations to go through the vendor information and assertain that the vendor’s details are fine before they go ahead to activate the vendor.
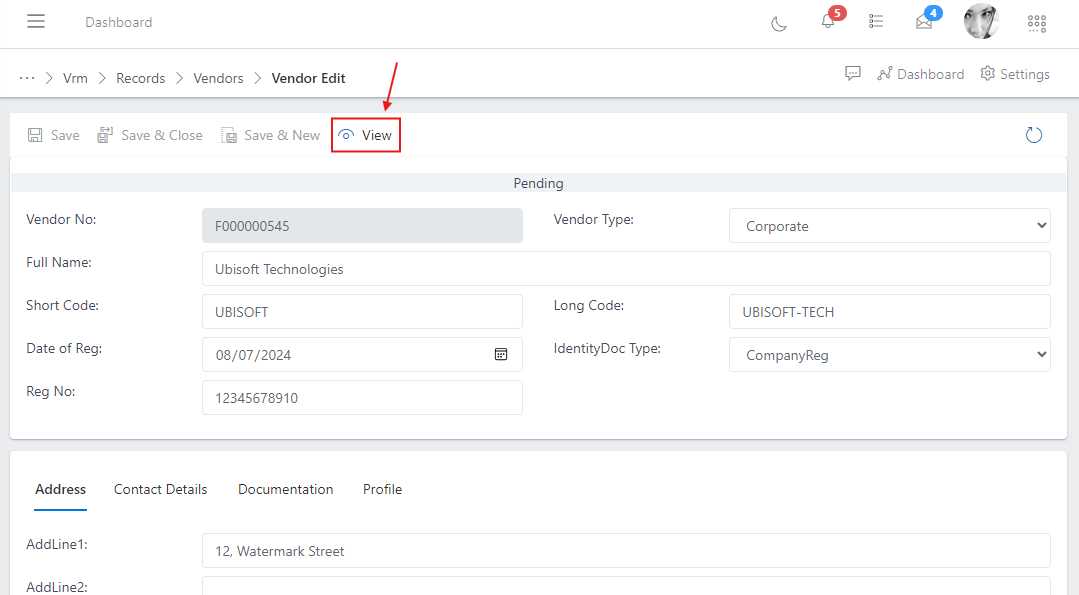
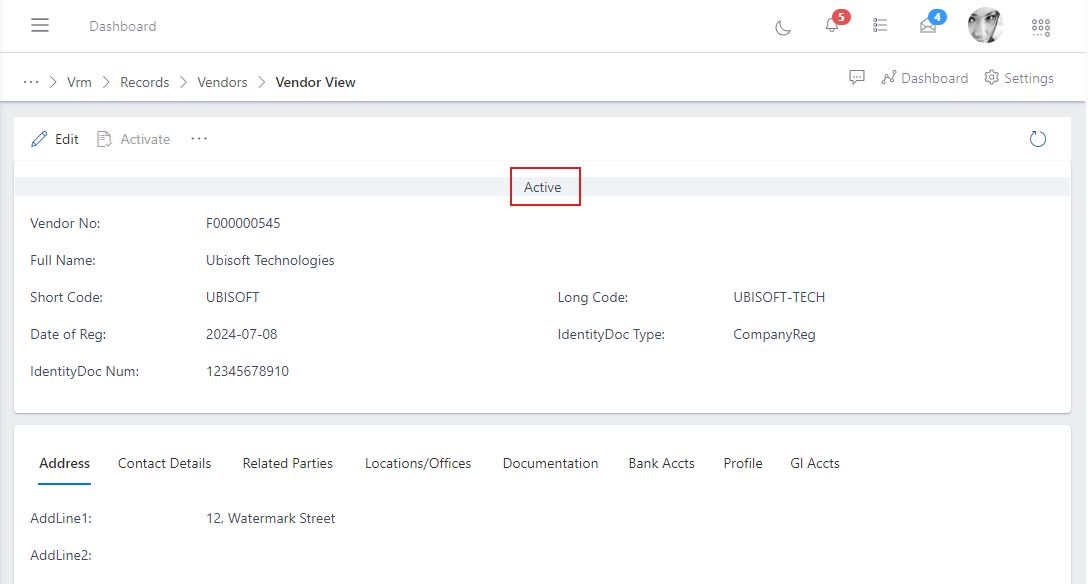
To activate the vendor you can either click on the view button: where it takes you to the vendor information view and then you click the activate button as show in the images below:
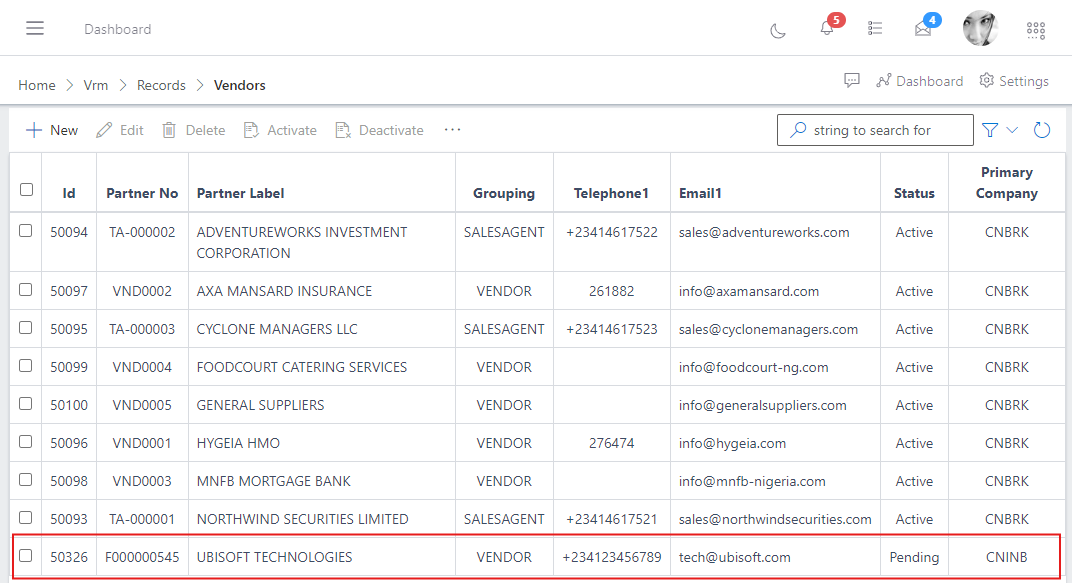
Alternatively you can also directly activate vendors from the vendors list view, and then fiter the list for “all” or “pending” using the funnel icon. see image below


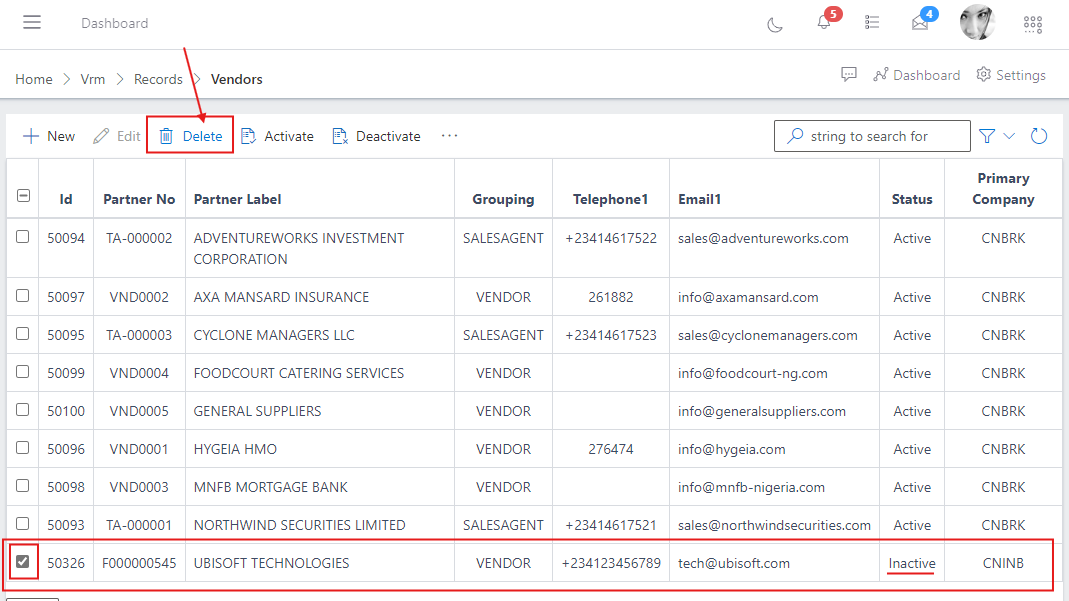
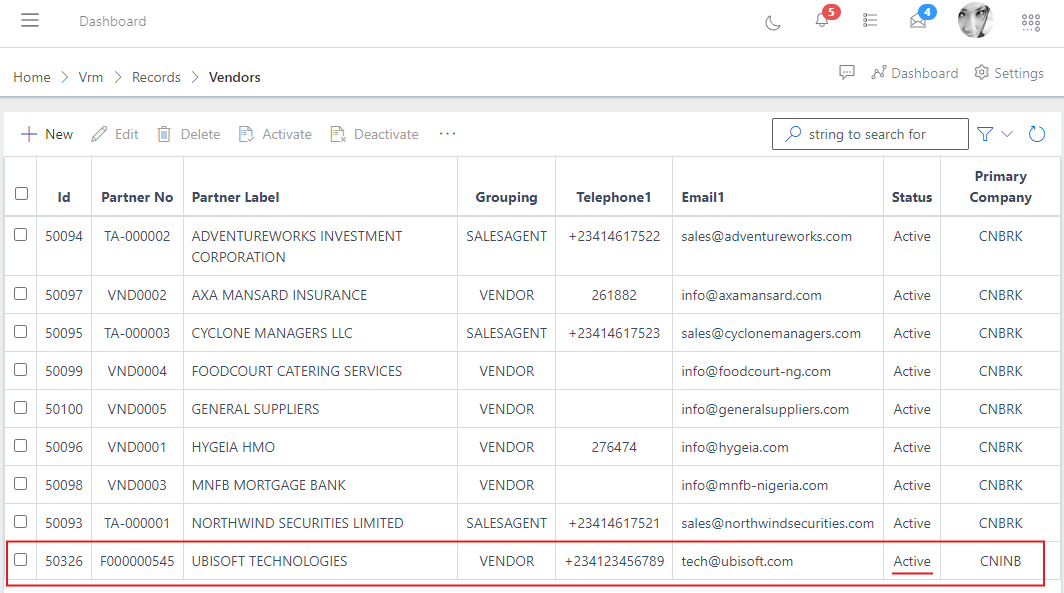
see the image below you will notice all the vendors are rendered on the vendors list and our newly created vendor “Ubisoft Technologies” now appears on the list, and has a pending status
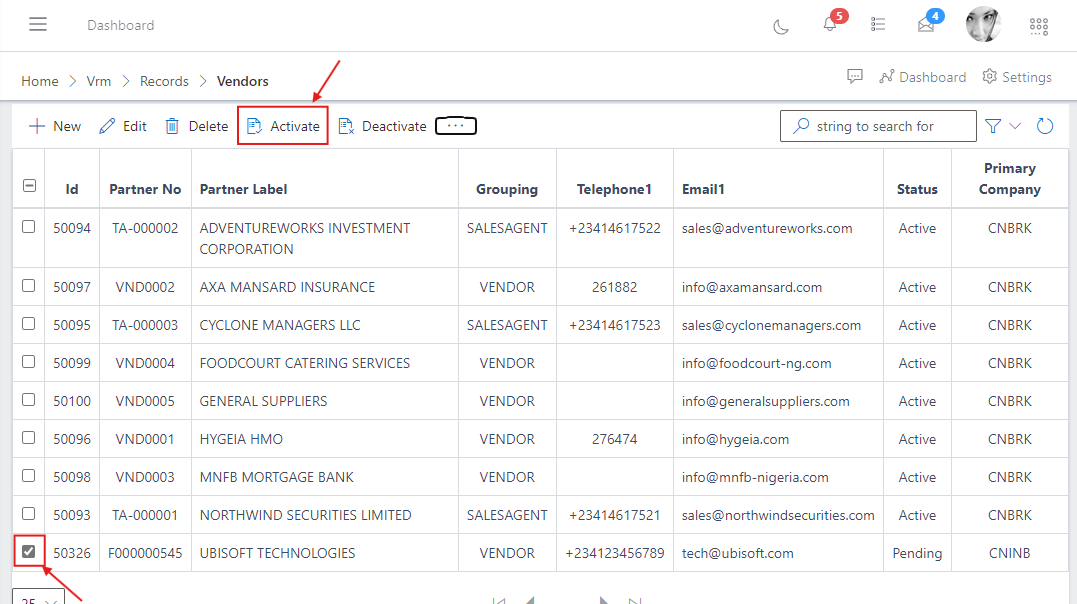
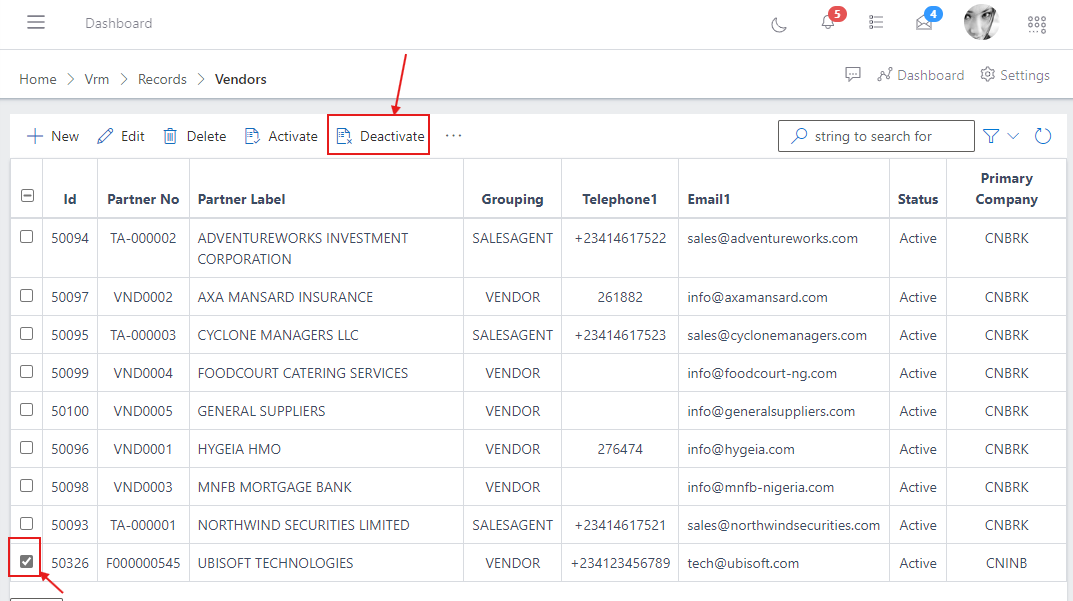
To activate from the vendors list view you can simply select the vendor you want to activate by clicking on the checkbox on the left side of the vendor’s ID and then click on the activate button at the top of the vendor’s list, see the images below:
In the image above you will notice that the vendor “Adewale Dele Jide, Engr.” is now active in the ERP and can now make transactions or subscribe to services across the system.
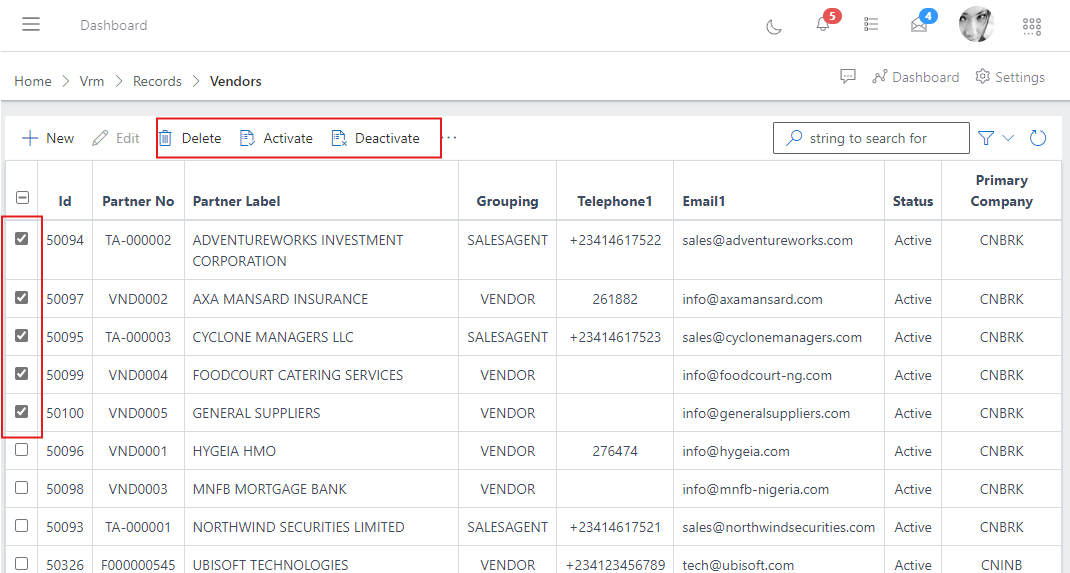
Note: If you would like to activate or deactivate multiple vendors at the same time, this approach of activating from the vendor’s list view is the preffered way as you are provided the option to select multiple vendors at the same time by using the checkboxes and perform bulk operations like bulk delete, deactivation or activation, see image below:
Note: Once a vendor is activated within the system, a financial account is automatically created for them in the Finance module of the application, there will be no need of re-entering the vendor details in the Finance module for the sake of creating a vendor financial account as every prior details needed is now available in the Finance module of the ERP.
Note: Before a vendor can be deleted, the vendor must first be deactivated: see how to deactivate a vendor in the Deactivating a vendor section above.